Baked Chicken Breast for Weekly Meal Prep – Simple, Juicy, and Reliable
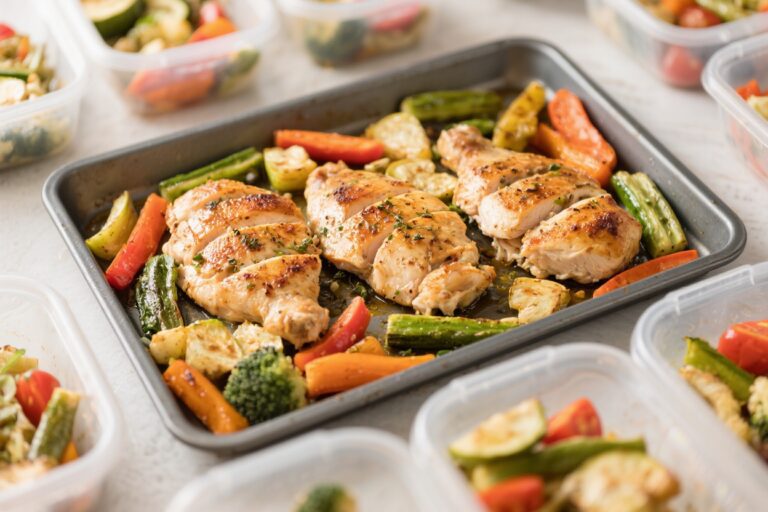
Meal prep doesn’t have to be complicated. A batch of well-seasoned, juicy baked chicken breasts can set you up for easy lunches and quick dinners all week. This recipe keeps the process simple and repeatable, with clear steps that produce tender chicken every time.
You’ll get clean flavors that pair with almost anything, plus a few variations to keep things interesting. If you’ve ever struggled with dry chicken, this method will change your routine for good.
Ingredients
Method
- Preheat and prep: Heat the oven to 425°F (220°C). Line a sheet pan with foil or parchment for easy cleanup and set a metal rack on top if you have one. The rack promotes even cooking.
- Quick brine (optional but recommended): In a large bowl, mix 4 cups water with 3 tablespoons kosher salt until dissolved. Submerge the chicken breasts for 15 minutes. This step helps the meat stay juicy. Rinse quickly under cool water and pat very dry with paper towels.
- Even the thickness: If any breasts are much thicker on one end, place them between two sheets of plastic wrap and pound gently with a rolling pin or meat mallet until they’re an even 3/4 to 1 inch thick. Even thickness = even cooking.
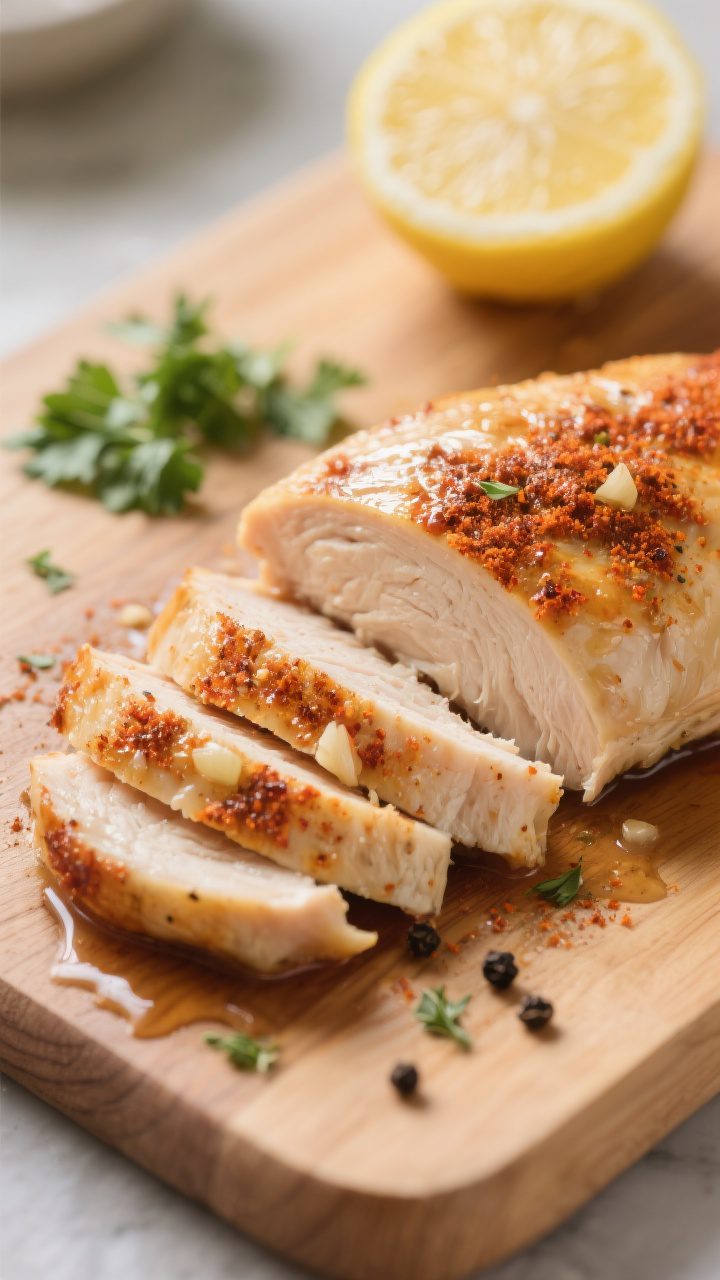
- Season well: Place chicken on the pan. Rub with olive oil. In a small bowl, mix kosher salt, pepper, garlic powder, onion powder, paprika, and oregano if using. Sprinkle generously on both sides and press lightly so it sticks.
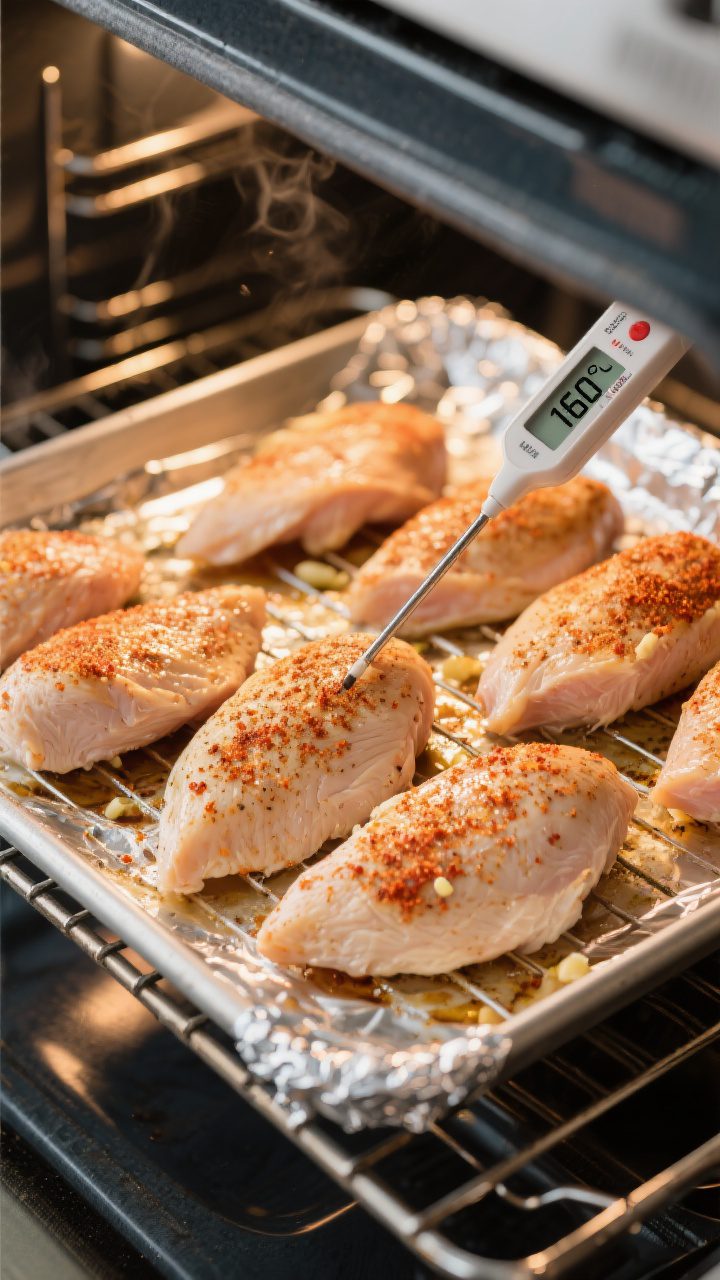
- Bake: Cook for 16–20 minutes, depending on thickness. Start checking at 15 minutes. Target internal temperature is 160°F when pulled from the oven (it will rise to 165°F as it rests). Use an instant-read thermometer for best results.
- Rest: Transfer the chicken to a plate or cutting board and let it rest 5–10 minutes. This allows the juices to redistribute so the slices stay moist.
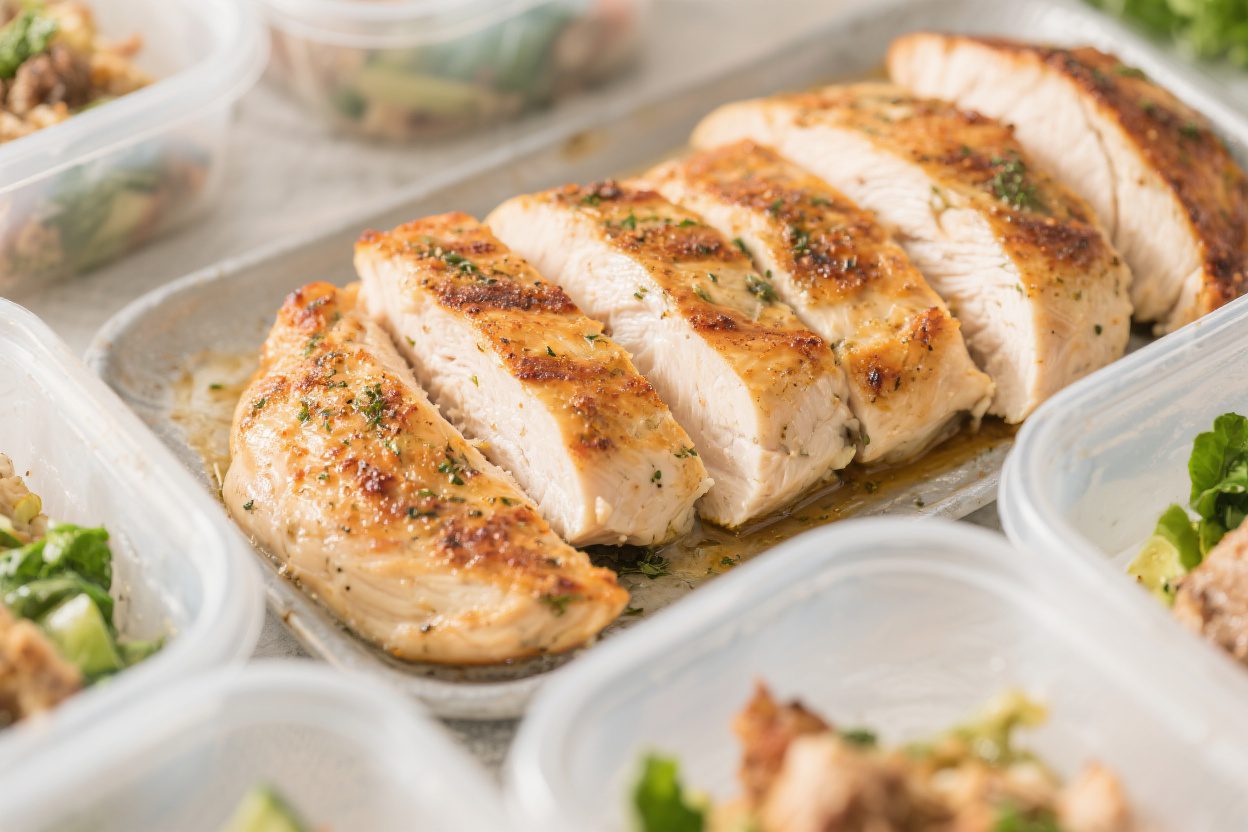
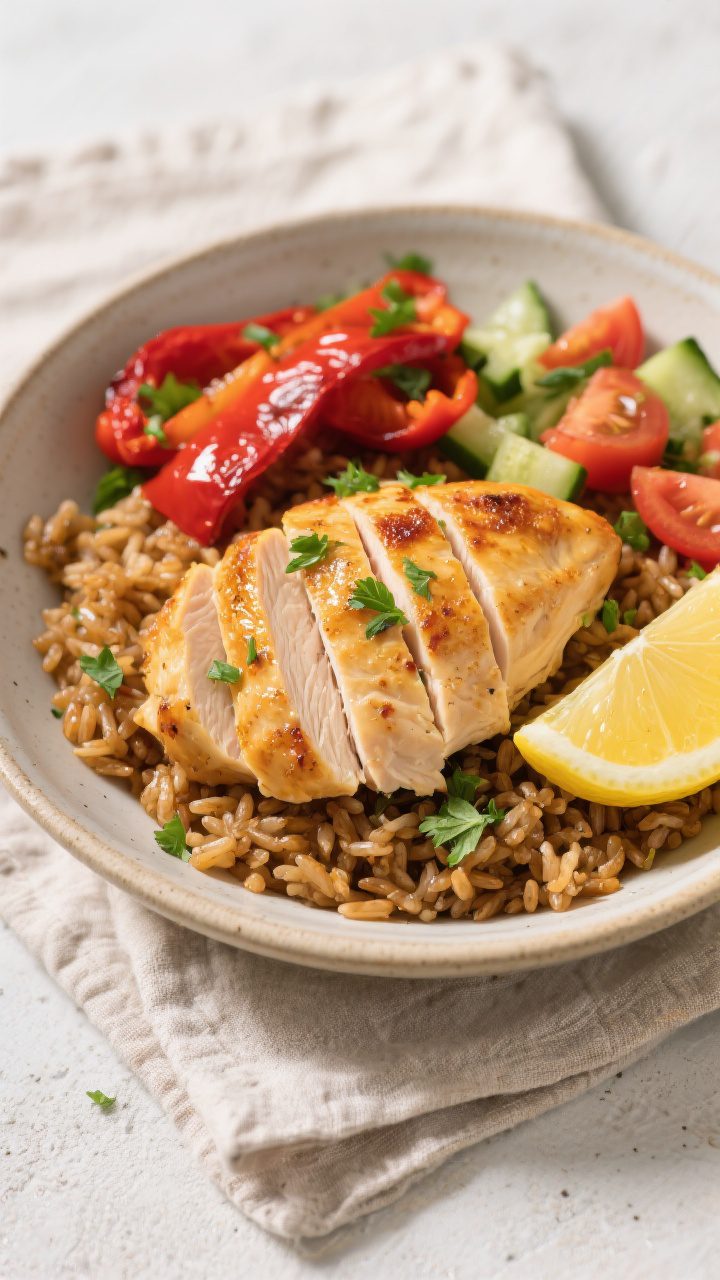
- Slice or cube: For meal prep, slice against the grain into 1/2-inch pieces or cube into bite-size chunks. Squeeze a little fresh lemon over the top and sprinkle with parsley if you like.
What Makes This Recipe So Good
- Consistently juicy: A quick brine, even cooking temperature, and rest time help lock in moisture.
- Fast and scalable: Bake 2 breasts or 10 at once with the same method.
- Neutral but flavorful: The base seasoning tastes great on its own and plays well with sauces and sides.
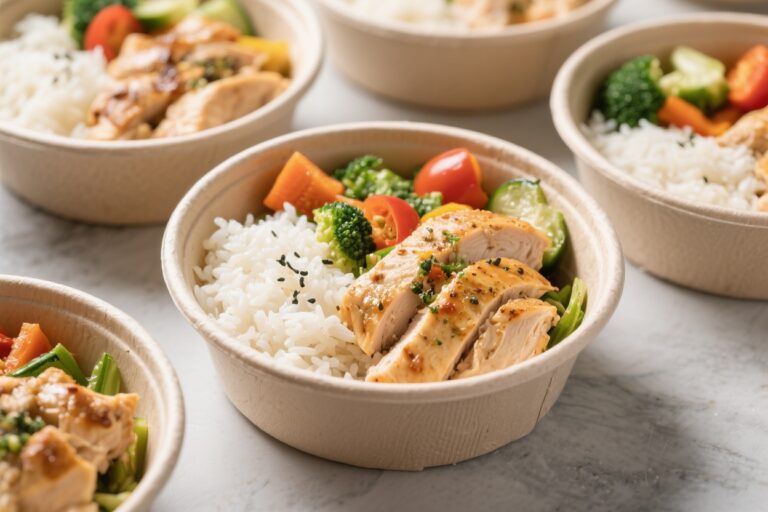
- Meal-prep friendly: Slices and reheats without drying out, ideal for salads, bowls, wraps, and pasta.
- Low effort: Minimal prep, pantry ingredients, and easy cleanup.
Ingredients
- 4 boneless, skinless chicken breasts (6–8 ounces each)
- 4 cups water (for optional quick brine)
- 3 tablespoons kosher salt (for brine)
- 1 tablespoon olive oil
- 1 teaspoon kosher salt (for seasoning)
- 1/2 teaspoon black pepper
- 1 teaspoon garlic powder
- 1 teaspoon onion powder
- 1 teaspoon smoked paprika (or sweet paprika)
- Optional: 1/2 teaspoon dried oregano or Italian seasoning
- Optional garnish: fresh lemon wedges and chopped parsley
How to Make It
- Preheat and prep: Heat the oven to 425°F (220°C). Line a sheet pan with foil or parchment for easy cleanup and set a metal rack on top if you have one.
The rack promotes even cooking.
- Quick brine (optional but recommended): In a large bowl, mix 4 cups water with 3 tablespoons kosher salt until dissolved. Submerge the chicken breasts for 15 minutes. This step helps the meat stay juicy.
Rinse quickly under cool water and pat very dry with paper towels.
- Even the thickness: If any breasts are much thicker on one end, place them between two sheets of plastic wrap and pound gently with a rolling pin or meat mallet until they’re an even 3/4 to 1 inch thick. Even thickness = even cooking.
- Season well: Place chicken on the pan. Rub with olive oil. In a small bowl, mix kosher salt, pepper, garlic powder, onion powder, paprika, and oregano if using.
Sprinkle generously on both sides and press lightly so it sticks.
- Bake: Cook for 16–20 minutes, depending on thickness. Start checking at 15 minutes. Target internal temperature is 160°F when pulled from the oven (it will rise to 165°F as it rests). Use an instant-read thermometer for best results.
- Rest: Transfer the chicken to a plate or cutting board and let it rest 5–10 minutes.
This allows the juices to redistribute so the slices stay moist.
- Slice or cube: For meal prep, slice against the grain into 1/2-inch pieces or cube into bite-size chunks. Squeeze a little fresh lemon over the top and sprinkle with parsley if you like.
How to Store
- Refrigerator: Store sliced or whole breasts in airtight containers for up to 4 days. Keep portions separated if you’re assembling different meals.
- Freezer: Freeze cooked, cooled chicken in freezer-safe bags for up to 3 months.
Press out the air and label with the date. Freeze in single-meal portions for convenience.
- Reheating: Warm gently to avoid drying out. Microwave at 50% power in short bursts with a splash of broth or water, or reheat in a covered skillet over low heat.
Avoid high heat.
- Pack smart: If building bowls, keep wet ingredients (salsas, dressings) separate and add just before eating to maintain texture.
Why This is Good for You
- Lean protein: Chicken breast is high in protein and low in saturated fat, which supports muscle maintenance and keeps you satisfied.
- Balanced eating: Pairing this chicken with whole grains, veggies, and healthy fats makes balanced meals easy all week.
- Steady energy: Protein-rich lunches help curb mid-afternoon crashes and snacking.
- Portion control: Pre-cooked servings help you stay consistent without extra effort.
Pitfalls to Watch Out For
- Skipping the thermometer: Overcooking is the main reason chicken turns dry. A thermometer removes the guesswork.
- Uneven thickness: Thick ends take longer, leaving thin ends dry. Pound to an even thickness for consistent results.
- Under-seasoning: Chicken breast is mild.
Be generous with salt and spices so the final dish isn’t bland.
- No rest time: Slicing immediately releases juices onto the cutting board instead of keeping them in the meat.
- Storing while hot: Lidding hot chicken creates steam and sogginess. Let it cool slightly before sealing.
Recipe Variations
- Lemon Herb: Add lemon zest to the seasoning and finish with a squeeze of lemon. Swap oregano for thyme and parsley.
- Smoky Chipotle: Use smoked paprika and a pinch of chipotle powder.
Serve with corn, black beans, and avocado.
- Garlic Parmesan: Add 1 tablespoon grated Parmesan and 1/2 teaspoon Italian seasoning to the dry rub. Finish with a light drizzle of olive oil.
- Honey Mustard: Brush on a mix of 1 tablespoon Dijon and 1 teaspoon honey during the last 5 minutes of baking.
- Cajun: Use a Cajun spice blend, then pair with rice and roasted peppers for a quick bowl.
- Mediterranean: Season with oregano, garlic, and lemon, and serve with cucumber, tomatoes, olives, and feta.
FAQ
How do I keep baked chicken breast from drying out?
Rest it after baking, aim for the right internal temperature, and try the quick brine. Pounding to even thickness also prevents overcooking thin ends.
Can I use frozen chicken breasts?
Yes, but thaw them fully in the fridge first for even cooking.
Pat them very dry before seasoning to help the spices stick.
What if my chicken breasts are very large?
Bake longer, but still pull them around 160°F and rest to reach 165°F. You can also butterfly or cut them in half for faster, more even cooking.
Do I need a rack on the sheet pan?
It helps air circulate and prevents soggy bottoms, but it’s not required. If you skip the rack, flip the breasts once halfway through for more even browning.
Can I meal prep for more than four days?
For food safety and quality, keep cooked chicken in the fridge for up to 4 days.
For longer storage, freeze it and thaw portions as needed.
What sauces go well with this?
Try tzatziki, chimichurri, pesto, salsa verde, hummus, or a light yogurt-garlic sauce. These add flavor without heavy prep.
How should I slice it for salads and wraps?
Slice against the grain into thin strips for wraps, or cube into 1/2-inch pieces for salads and bowls. Smaller cuts reheat more gently, too.
Can I reduce sodium?
Skip the brine and season lightly with salt, boosting flavor with herbs, citrus, and spices.
Consider salt-free seasoning blends.
In Conclusion
Baked chicken breast is one of the easiest ways to set yourself up for a week of balanced, satisfying meals. With a quick brine, solid seasoning, and careful cooking, you’ll have juicy chicken that works in countless dishes. Keep a batch in the fridge or freezer, mix in a few variations, and you’ll always have a simple, healthy option ready to go.
This is the kind of recipe that earns a spot in your regular rotation—reliable, flexible, and genuinely tasty.
Printable Recipe Card
Want just the essential recipe details without scrolling through the article? Get our printable recipe card with just the ingredients and instructions.