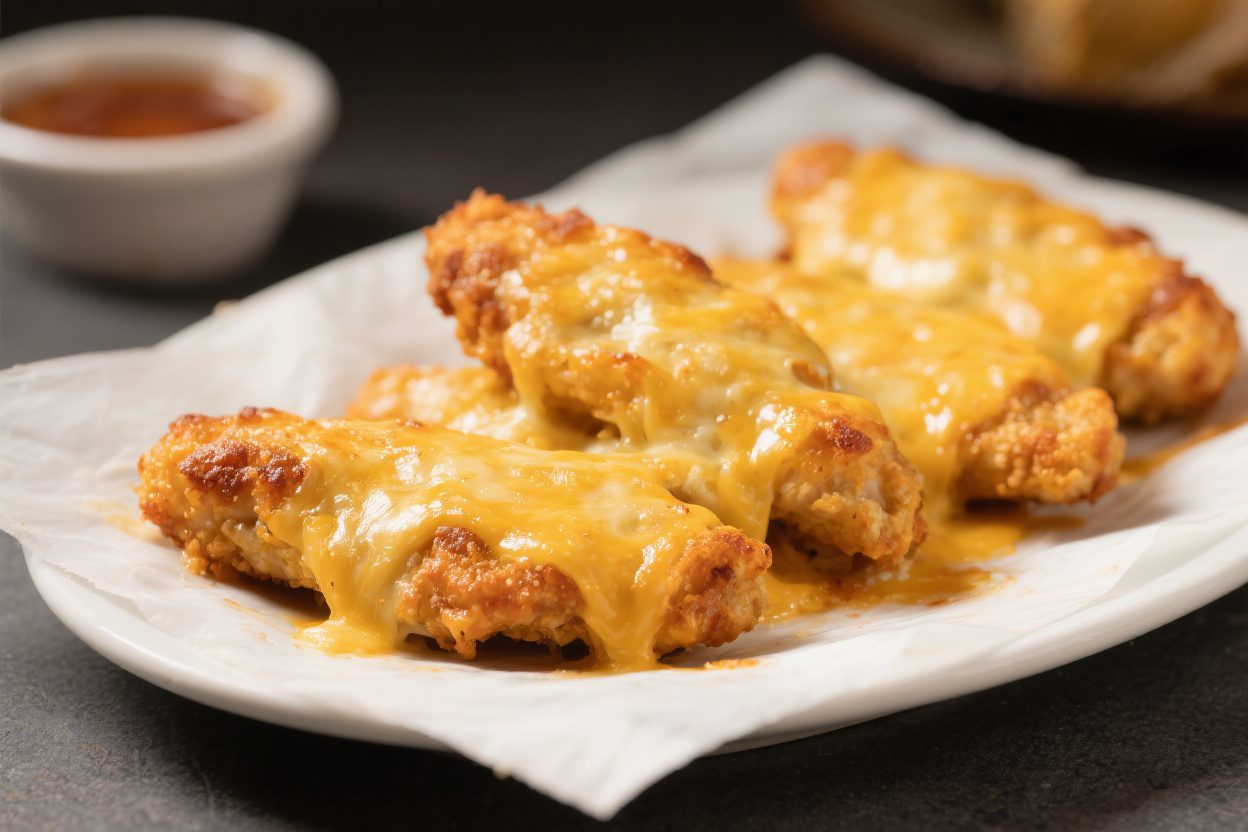
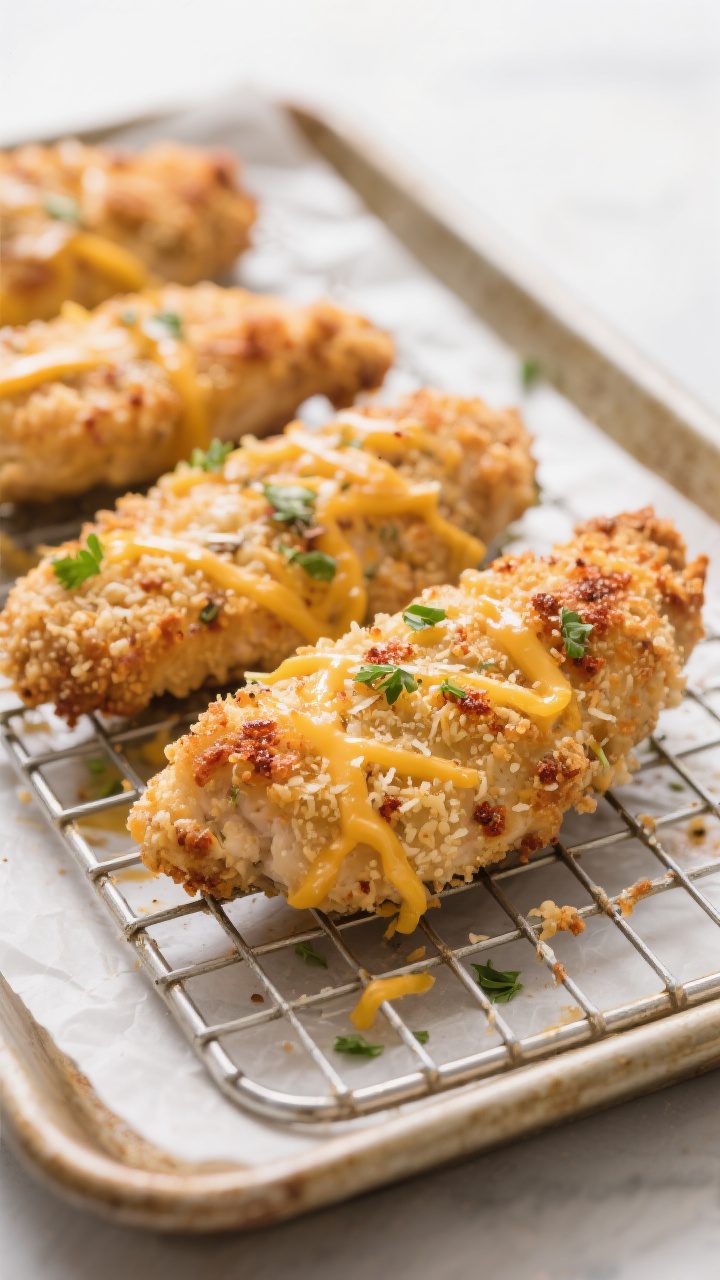
Cheesy Baked Chicken Tenders – Crispy, Juicy, and Easy
These cheesy baked chicken tenders are the kind of meal you’ll want on repeat. They’re golden and crispy on the outside, juicy on the inside, and packed with real cheddar flavor. No frying, no fuss—just simple ingredients and a hot oven.
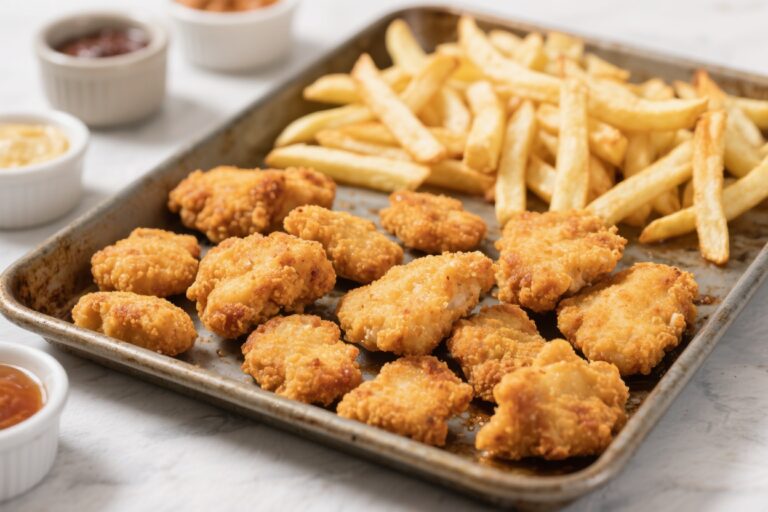
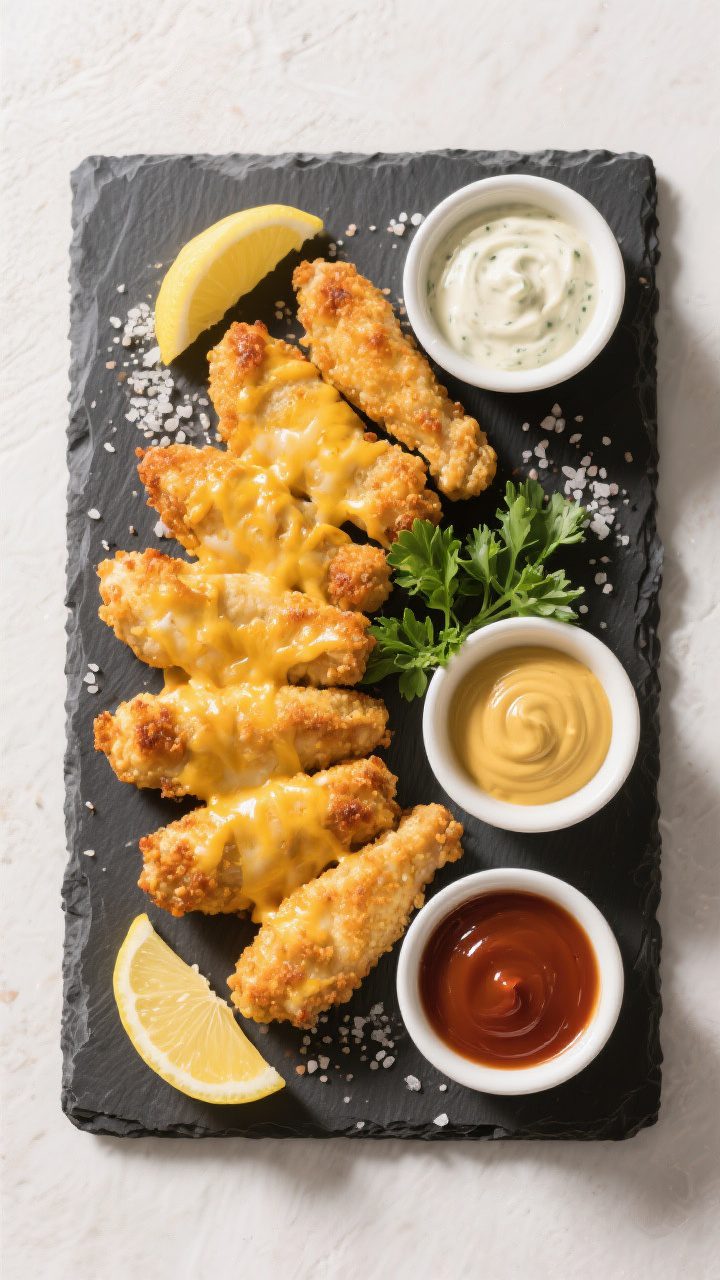
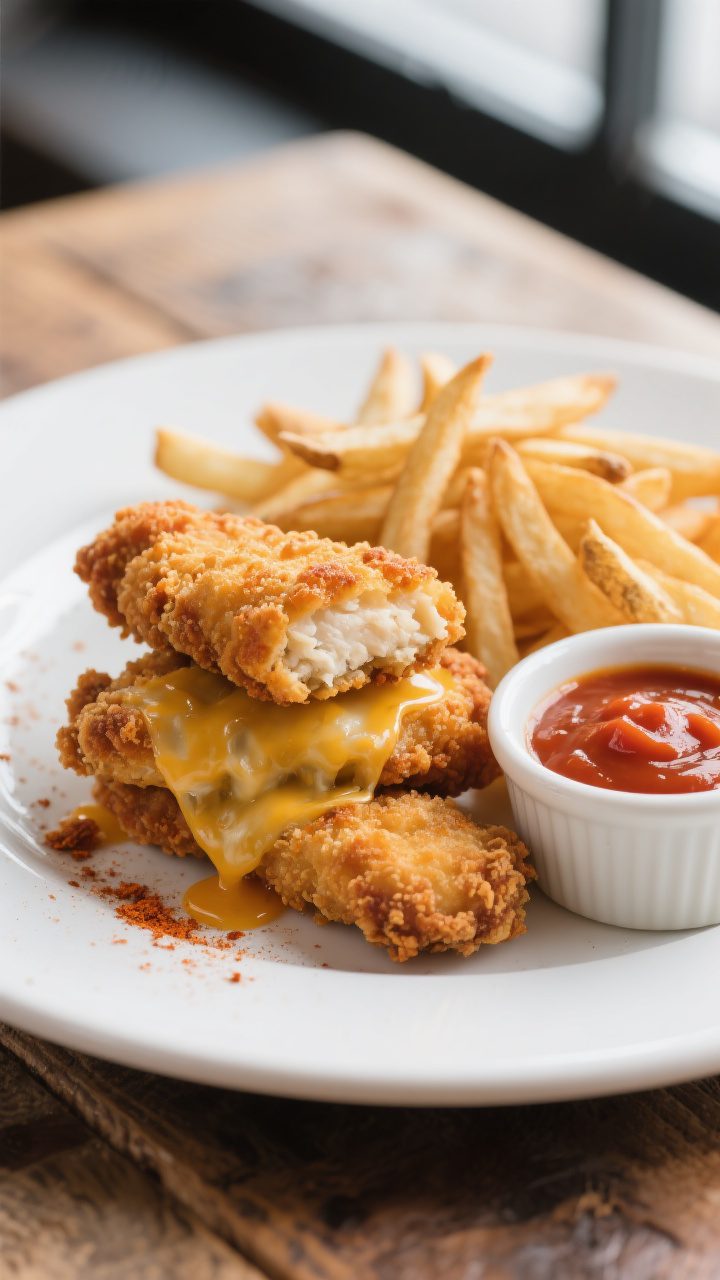
They’re kid-friendly, game-night ready, and perfect for busy weeknights. Serve them with your favorite dipping sauce and a side salad or fries, and you’re set.
Ingredients
Method
- Preheat and prep: Heat your oven to 425°F (220°C). Line a large baking sheet with parchment paper or lightly grease it. For extra crispiness, set a wire rack on top of the sheet and grease the rack.
- Pat chicken dry: Use paper towels to dry the chicken tenders. This helps the coating stick and prevents steaming.
- Mix the coating: In a shallow bowl, combine panko, Parmesan, cheddar, garlic powder, onion powder, smoked paprika, oregano, salt, and pepper. Drizzle in the olive oil and toss to coat. The oil helps the crumbs brown.
- Make the egg wash: In another bowl, whisk the eggs with milk (and Dijon if using). The Dijon adds tang and helps the coating adhere.
- Coat the chicken: Dip each tender into the egg wash, letting excess drip off. Press into the cheesy breadcrumb mixture, turning to coat well. Press firmly so the crumbs stick.
- Arrange on the pan: Place tenders on the prepared sheet or rack, spacing them out so air can circulate.
- Bake: Bake for 15–18 minutes, flipping halfway through. Cook until the internal temperature reaches 165°F (74°C) and the coating is golden and crisp.
- Optional broil: For extra color, broil on high for 1–2 minutes at the end. Watch closely so the cheese doesn’t burn.
- Rest and serve: Let the tenders rest for 3–5 minutes. Garnish with parsley if you like. Serve hot with your favorite dipping sauce.
What Makes This Recipe So Good
- Big flavor with simple ingredients: Parmesan and cheddar mix into the coating for extra savoriness and a lovely crust.
- Oven-baked, not fried: You still get crispy edges without standing over hot oil.
- Fast and flexible: Ready in under 40 minutes, and easy to tweak with your favorite spices or cheeses.
- Kid and crowd approved: Mild, cheesy, and perfect for dipping. Great for parties, lunches, or meal prep.
- Juicy every time: A quick marinade keeps the chicken tender while the coating adds crunch.
Ingredients
- 1.5 pounds chicken tenders (or boneless, skinless chicken breasts cut into strips)
- 1 cup panko breadcrumbs
- 1/2 cup grated Parmesan cheese
- 1 cup shredded sharp cheddar cheese
- 1 teaspoon garlic powder
- 1 teaspoon onion powder
- 1 teaspoon smoked paprika (or sweet paprika)
- 1/2 teaspoon dried oregano
- 1/2 teaspoon salt, plus more to taste
- 1/4 teaspoon black pepper
- 2 large eggs
- 2 tablespoons milk or water
- 2 tablespoons olive oil (plus more for greasing the pan)
- Optional: 1 tablespoon Dijon mustard (for the egg mixture)
- Optional garnish: chopped parsley
- Serve with: ranch, honey mustard, BBQ sauce, or marinara
Step-by-Step Instructions
- Preheat and prep: Heat your oven to 425°F (220°C).
Line a large baking sheet with parchment paper or lightly grease it. For extra crispiness, set a wire rack on top of the sheet and grease the rack.
- Pat chicken dry: Use paper towels to dry the chicken tenders. This helps the coating stick and prevents steaming.
- Mix the coating: In a shallow bowl, combine panko, Parmesan, cheddar, garlic powder, onion powder, smoked paprika, oregano, salt, and pepper.
Drizzle in the olive oil and toss to coat. The oil helps the crumbs brown.
- Make the egg wash: In another bowl, whisk the eggs with milk (and Dijon if using). The Dijon adds tang and helps the coating adhere.
- Coat the chicken: Dip each tender into the egg wash, letting excess drip off.
Press into the cheesy breadcrumb mixture, turning to coat well. Press firmly so the crumbs stick.
- Arrange on the pan: Place tenders on the prepared sheet or rack, spacing them out so air can circulate.
- Bake: Bake for 15–18 minutes, flipping halfway through. Cook until the internal temperature reaches 165°F (74°C) and the coating is golden and crisp.
- Optional broil: For extra color, broil on high for 1–2 minutes at the end.
Watch closely so the cheese doesn’t burn.
- Rest and serve: Let the tenders rest for 3–5 minutes. Garnish with parsley if you like. Serve hot with your favorite dipping sauce.
Storage Instructions
- Fridge: Store leftovers in an airtight container for up to 4 days.
- Reheat: Re-crisp in a 375°F (190°C) oven or toaster oven for 8–10 minutes.
An air fryer at 360°F (182°C) for 4–6 minutes also works well.
- Freezer: Freeze on a baking sheet until solid, then transfer to a freezer bag. Keep up to 2 months. Reheat from frozen at 400°F (205°C) for 15–20 minutes.
- Do not microwave if you want crispiness: It softens the coating.
Benefits of This Recipe
- Lighter than fried: You get a crispy, cheesy crust without deep frying.
- High in protein: Chicken tenders make a satisfying, balanced meal.
- Great for meal prep: Reheat well and pair with salads, wraps, or grain bowls.
- Family-friendly: Gentle seasoning and cheesy flavor appeal to picky eaters.
- Budget-conscious: Uses pantry staples and stretches easily for larger groups.
Common Mistakes to Avoid
- Skipping the oil in the crumbs: A little oil helps the crust toast in the oven.
Without it, the coating can look pale and taste dry.
- Overcrowding the pan: Space the tenders apart. If they’re too close, they’ll steam instead of crisp.
- Underseasoning: Cheese adds salt, but you still need seasoning in the crumb mix. Taste a pinch of the dry mixture and adjust.
- Not pressing the coating: Press firmly so the crumbs and cheese adhere and don’t fall off during baking.
- Overbaking: Chicken dries out fast.
Use an instant-read thermometer and pull at 165°F.
Variations You Can Try
- Italian style: Add 1 teaspoon Italian seasoning and swap cheddar for mozzarella. Serve with warm marinara.
- Spicy kick: Add 1/2 teaspoon cayenne or chili powder to the crumbs. Drizzle with hot honey before serving.
- Gluten-free: Use gluten-free panko or crushed gluten-free cornflakes.
- Ranch-inspired: Mix 1 tablespoon dry ranch seasoning into the crumb mixture.
- Herb and lemon: Add lemon zest to the crumbs and finish with a squeeze of fresh lemon.
- Air fryer method: Cook at 375°F (190°C) for 10–12 minutes, flipping halfway.
Work in batches.
FAQ
Can I use chicken breasts instead of tenders?
Yes. Slice boneless, skinless chicken breasts into even strips about 1 inch wide. Keep the thickness consistent so they cook at the same rate.
What’s the best cheese for the coating?
Sharp cheddar adds big flavor, while Parmesan brings saltiness and a crispy edge.
You can also use a blend like cheddar and Monterey Jack for extra melt.
How do I keep the coating from falling off?
Dry the chicken well, dip in egg wash, and press firmly into the crumb mixture. Let the coated tenders rest on the pan for 5 minutes before baking so the coating sets.
Can I make these ahead?
Yes. Bread the tenders up to 8 hours in advance and refrigerate, uncovered, on a rack set over a sheet pan.
Bake just before serving.
What sauces go well with these?
Ranch, honey mustard, BBQ sauce, garlic aioli, buffalo sauce, or marinara all work. For a quick dip, mix Greek yogurt, lemon juice, garlic powder, and a pinch of salt.
Do I need to flip the tenders while baking?
Flipping helps both sides brown evenly, especially if you’re not using a rack. If the bottom is getting too dark, move the pan to a higher oven rack.
Can I make them without eggs?
Yes.
Use buttermilk, plain yogurt thinned with a splash of milk, or a dairy-free milk mixed with 1 tablespoon cornstarch as the binder.
How do I know when they’re done?
Use a thermometer. The center should reach 165°F (74°C). The juices should run clear, and the coating should look golden and crisp.
Wrapping Up
Cheesy baked chicken tenders are simple, satisfying, and versatile.
With a crunchy, cheesy crust and juicy center, they’re an easy win for dinner or meal prep. Keep the pantry staples on hand, and you can throw this together any night of the week. Add your favorite dip, a quick side, and enjoy a crowd-pleasing meal without the mess of frying.
Printable Recipe Card
Want just the essential recipe details without scrolling through the article? Get our printable recipe card with just the ingredients and instructions.