Crispy Oven-Baked Chicken Wings – Simple, Flavorful, and Foolproof
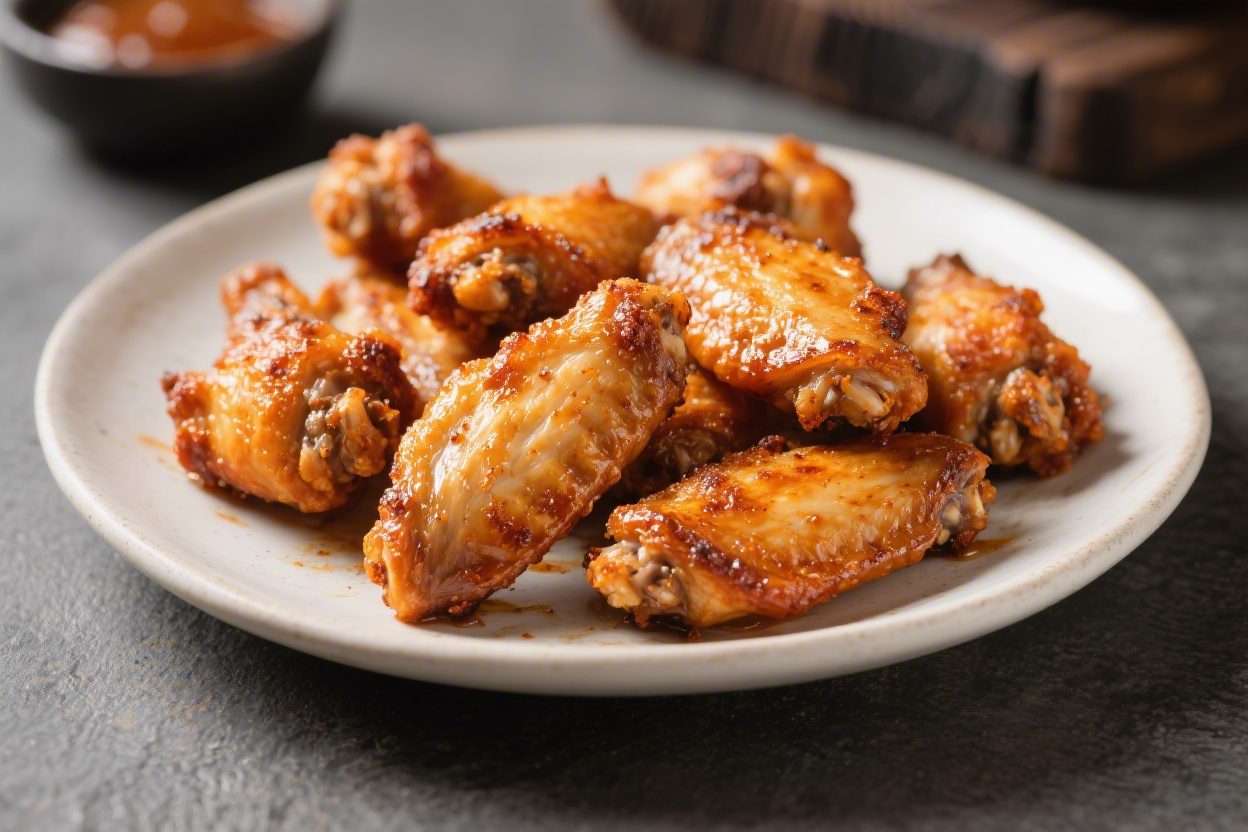
There’s nothing like a batch of crispy chicken wings hot out of the oven. No deep fryer, no splatter, just golden, crunchy skin and juicy meat. These wings deliver that shatter-crisp bite you crave, and they’re easy enough for a weeknight.
You’ll get big flavor with pantry staples and a method that actually works. Whether you serve them plain with a squeeze of lemon or tossed in your favorite sauce, they’ll disappear fast.
Ingredients
Method
- Preheat the oven to 425°F (220°C). Place a rack in the upper-middle position. Line a baking sheet with foil for easy cleanup and set a wire rack on top. This helps the heat circulate and keeps the wings crisp on all sides.
- Dry the wings really well. Pat them thoroughly with paper towels. The drier the skin, the crispier the result. If you have time, leave them uncovered in the fridge for 30 to 60 minutes to air-dry even more.
- Mix the dry coating. In a large bowl, combine baking powder, salt, black pepper, garlic powder, onion powder, and paprika. Stir to blend evenly. The baking powder raises the pH and helps the skin bubble and crisp.
- Coat the wings. Add the wings to the bowl and toss until every piece is lightly and evenly coated. You’re not breading them—just a thin, invisible dusting. If using, drizzle in a tablespoon of oil and toss again.
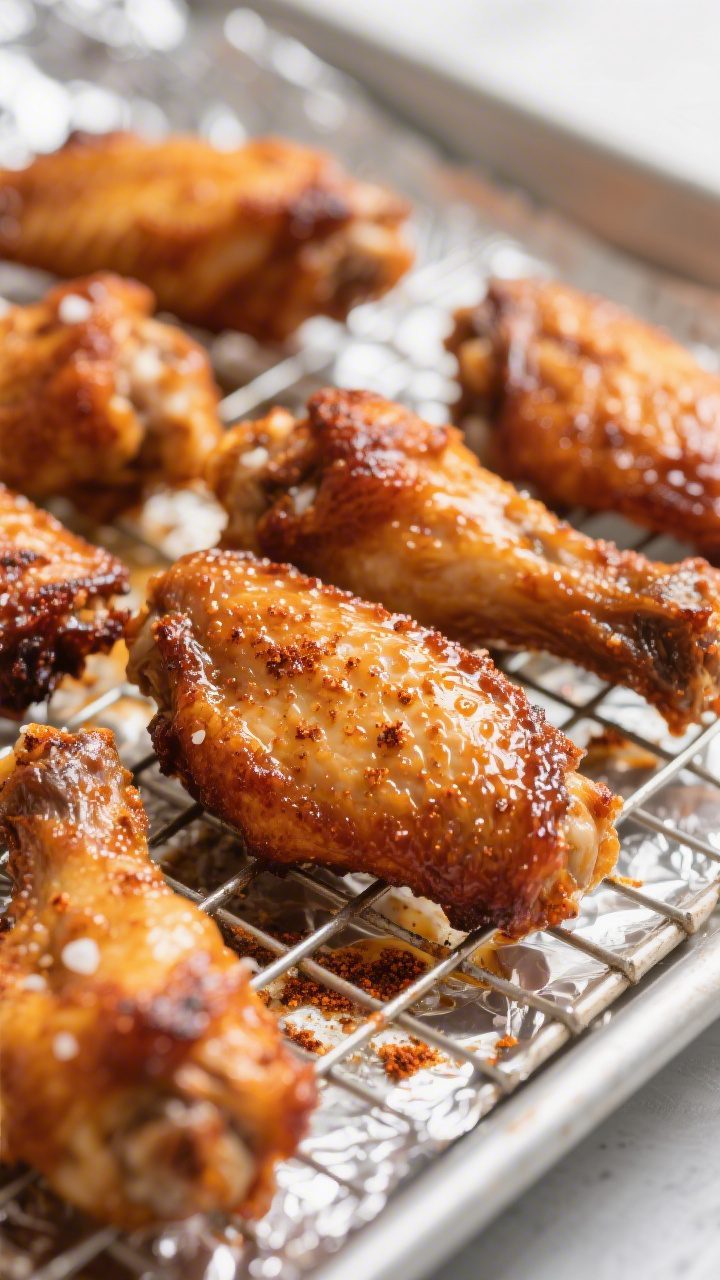
- Arrange on the rack. Place the wings in a single layer, leaving a little space between each. Crowding traps steam and softens the skin.
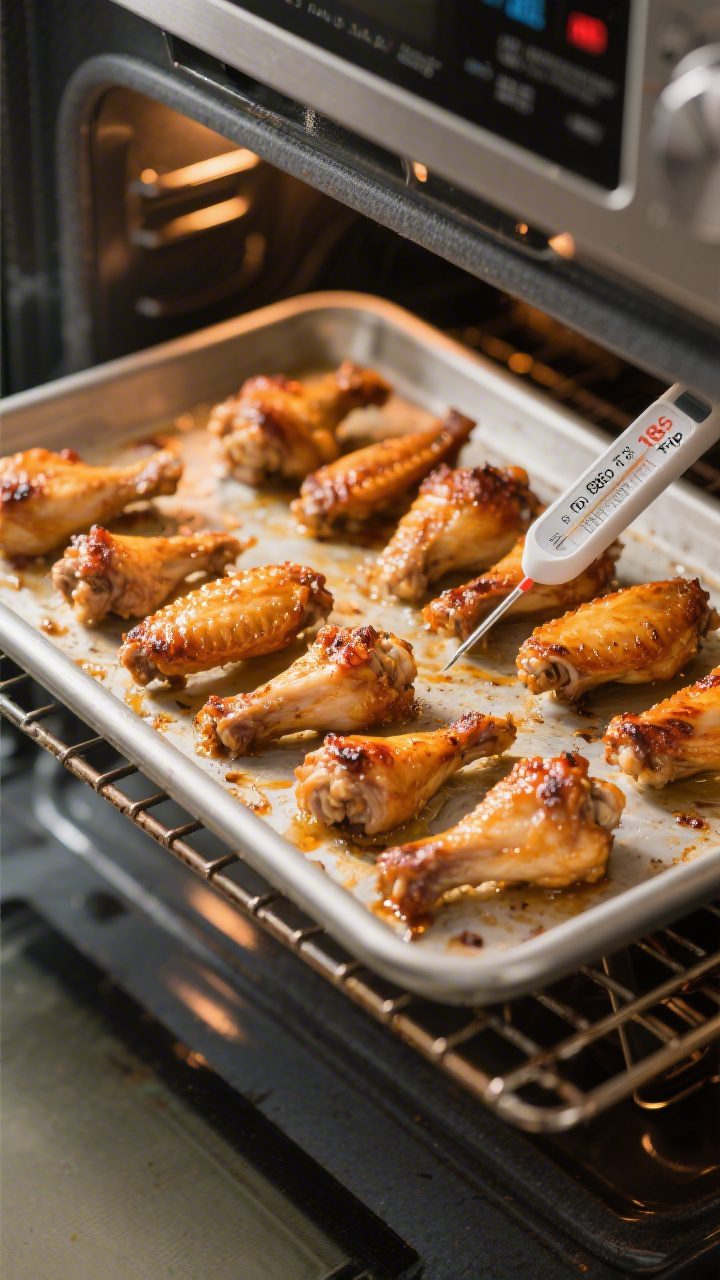
- Bake for 35 to 45 minutes. Flip halfway through. You’re looking for deep golden brown edges and rendered, crisp skin. If they need more color, leave them in a few extra minutes. Internal temperature should reach at least 165°F (74°C); 185–190°F is common for wings and still juicy.
- Rest briefly. Let the wings sit for 5 minutes so the crust sets. This short rest keeps them crisp when tossed with sauce.
- Serve or sauce. Enjoy as-is with a squeeze of lemon and a pinch of salt, or toss with warmed buffalo sauce, BBQ sauce, honey-garlic glaze, or lemon-pepper butter. Garnish if you like.
What Makes This Special
This recipe locks in crispiness without frying. The trick is a light dusting of baking powder and a patient bake at high heat.
The wings dry out on the surface, the fat renders, and the skin turns beautifully crisp. You also get flexibility. Keep them lightly seasoned and serve with sauces on the side, or toss them in buffalo, honey-garlic, or BBQ.
The base is simple, the results are restaurant-worthy, and cleanup is painless.
What You’ll Need
- 2 to 3 pounds chicken wings, flats and drumettes separated
- 1 tablespoon baking powder (aluminum-free preferred)
- 1 to 1½ teaspoons kosher salt
- 1 teaspoon black pepper
- 1 teaspoon garlic powder
- 1 teaspoon onion powder
- ½ teaspoon smoked paprika (or regular paprika)
- 1 to 2 tablespoons neutral oil (optional, for extra browning)
- Optional sauces for tossing: buffalo, BBQ, honey-garlic, lemon-pepper butter
- Optional garnishes: chopped parsley, sliced scallions, sesame seeds, lemon wedges
Equipment:
- Rimmed baking sheet
- Wire rack that fits inside the baking sheet (highly recommended)
- Paper towels
- Large bowl or zip-top bag
- Tongs
Instructions
- Preheat the oven to 425°F (220°C). Place a rack in the upper-middle position. Line a baking sheet with foil for easy cleanup and set a wire rack on top. This helps the heat circulate and keeps the wings crisp on all sides.
- Dry the wings really well. Pat them thoroughly with paper towels.
The drier the skin, the crispier the result. If you have time, leave them uncovered in the fridge for 30 to 60 minutes to air-dry even more.
- Mix the dry coating. In a large bowl, combine baking powder, salt, black pepper, garlic powder, onion powder, and paprika. Stir to blend evenly.
The baking powder raises the pH and helps the skin bubble and crisp.
- Coat the wings. Add the wings to the bowl and toss until every piece is lightly and evenly coated. You’re not breading them—just a thin, invisible dusting. If using, drizzle in a tablespoon of oil and toss again.
- Arrange on the rack. Place the wings in a single layer, leaving a little space between each.
Crowding traps steam and softens the skin.
- Bake for 35 to 45 minutes. Flip halfway through. You’re looking for deep golden brown edges and rendered, crisp skin. If they need more color, leave them in a few extra minutes.
Internal temperature should reach at least 165°F (74°C); 185–190°F is common for wings and still juicy.
- Rest briefly. Let the wings sit for 5 minutes so the crust sets. This short rest keeps them crisp when tossed with sauce.
- Serve or sauce. Enjoy as-is with a squeeze of lemon and a pinch of salt, or toss with warmed buffalo sauce, BBQ sauce, honey-garlic glaze, or lemon-pepper butter. Garnish if you like.
Pro Tip: For ultra-crispy wings, finish with a 2- to 3-minute broil at the end.
Watch closely to avoid burning.
How to Store
- Refrigerate: Cool completely, then store in an airtight container for up to 4 days.
- Freeze: Place on a sheet in a single layer to freeze, then transfer to a freezer bag for up to 3 months. Reheat from frozen at 400°F until hot and crisp.
- Reheat: For best texture, use a 375–400°F oven or air fryer for 8–12 minutes. Avoid microwaving, which softens the skin.

Benefits of This Recipe
- Less mess, more crunch: Skip the fryer and still get that satisfying crisp.
- Reliable method: Baking powder and a wire rack make the texture consistent every time.
- Flexible flavors: The neutral seasoning plays well with any sauce or dry rub.
- Great for a crowd: Easy to scale up and bake on multiple trays.
- Better reheating: Baked wings stay crisp longer and reheat well.
What Not to Do
- Don’t skip drying. Moisture is the enemy of crisp skin.
- Don’t use baking soda. It’s not the same as baking powder and will affect taste.
- Don’t crowd the pan. Overlapping wings steam instead of crisp.
- Don’t drown in sauce too early. Toss in sauce right before serving to keep the crust intact.
- Don’t bake directly on the pan if you can help it. A rack makes a big difference in airflow and texture.
Alternatives
- Air fryer method: Cook at 380°F for 18–22 minutes, shaking or flipping halfway.
Finish at 400°F for 3–5 minutes for extra crisp.
- Dry rub variation: Swap the garlic/onion/paprika mix for lemon-pepper, Cajun seasoning, or a blend of chili powder, cumin, and brown sugar. Keep the baking powder and salt.
- Sauce options:
- Classic buffalo: Melt 3 tablespoons butter with 1/3 cup hot sauce; toss warm wings to coat.
- Honey-garlic: Simmer 1/3 cup honey, 2 tablespoons soy sauce, 2 minced garlic cloves, and a splash of rice vinegar.
- Lemon-pepper: Toss with melted butter, lemon zest, lemon juice, and cracked pepper.
- Gluten-free: This recipe is naturally gluten-free as written. Check your sauces to be sure.
- Spice level: Add cayenne or chili flakes to the dry mix for extra heat.
FAQ
Why use baking powder for chicken wings?
Baking powder raises the pH and helps draw moisture to the surface, where it evaporates during baking.
That creates tiny bubbles in the skin and a crisp, crackly finish. Make sure you use baking powder, not baking soda.
Can I make these without a wire rack?
Yes, but the bottoms won’t get quite as crisp. If you skip the rack, use parchment paper, leave extra space between the wings, and flip them two or three times while baking.
How do I know when the wings are done?
Look for deep golden brown skin and rendered fat.
An instant-read thermometer should read at least 165°F in the thickest part. Many people prefer wings around 185–190°F because the collagen breaks down and the meat stays tender.
Should I rinse chicken before cooking?
No. Rinsing poultry can spread bacteria around your sink.
Pat dry with paper towels instead, then wash your hands and sanitize surfaces.
Can I marinate the wings first?
You can, but skip wet marinades if you want maximum crispiness. If marinating, pat the wings very dry before adding the baking powder mix. Another option is to bake them plain and toss with sauce afterward.
What if I only have table salt?
Use less.
Table salt is finer and saltier than kosher salt. Start with about half the amount, then adjust to taste after baking.
How do I keep them crispy after saucing?
Warm the sauce slightly so it coats thinly, toss quickly, and serve right away. If you’re making a big batch, sauce in small portions as you go.
Can I make them ahead?
Yes.
Season and coat the wings, then refrigerate uncovered on a rack for up to 12 hours. This air-drying step boosts crispiness. Bake right before serving.
In Conclusion
Crispy oven-baked chicken wings are simple, reliable, and wildly satisfying.
With a handful of pantry staples and a smart method, you get crunchy skin, juicy meat, and loads of flavor—no fryer needed. Keep the seasoning basic, toss with your favorite sauce, and watch them vanish. This is the kind of go-to recipe you’ll use for weeknights, game days, and every casual gathering in between.
Printable Recipe Card
Want just the essential recipe details without scrolling through the article? Get our printable recipe card with just the ingredients and instructions.