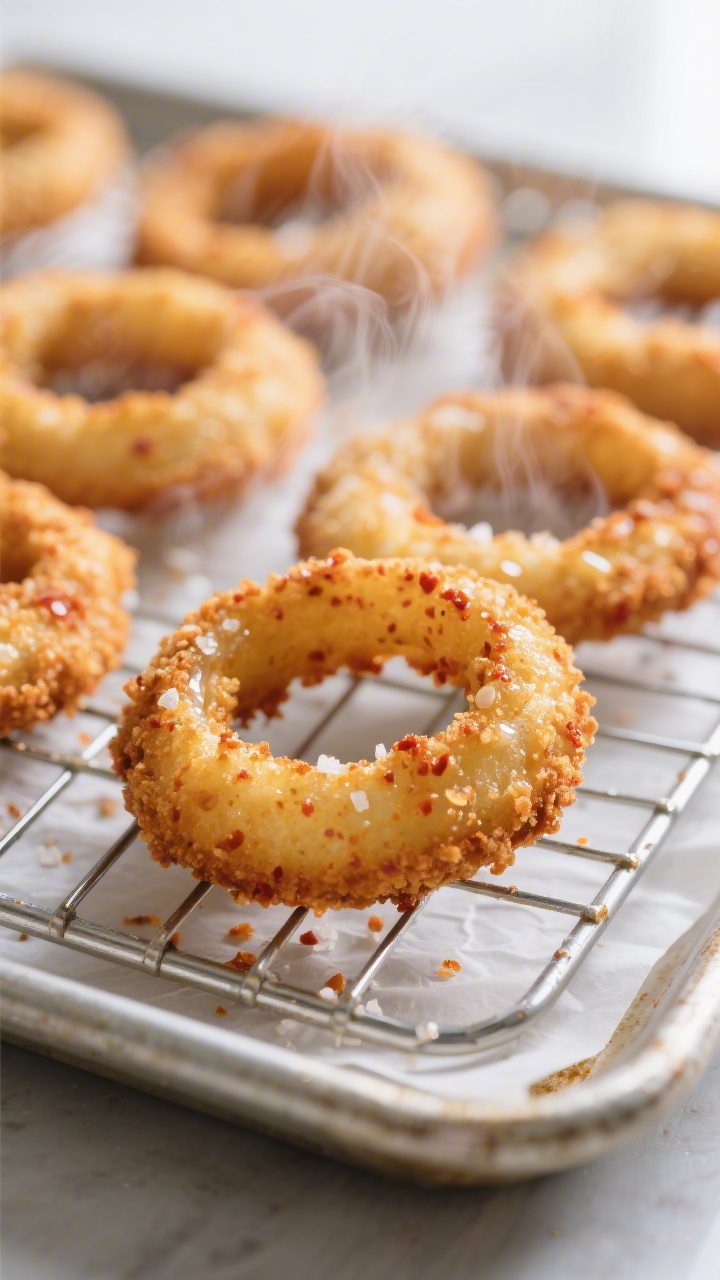
Crispy Onion Rings (Oven-Baked) – Golden, Crunchy, and Easy
Skip the deep fryer and still get that satisfying crunch. These oven-baked onion rings turn out light, crisp, and golden without the heavy oil. They’re perfect for game day, burger night, or whenever you’re craving something salty and snackable.
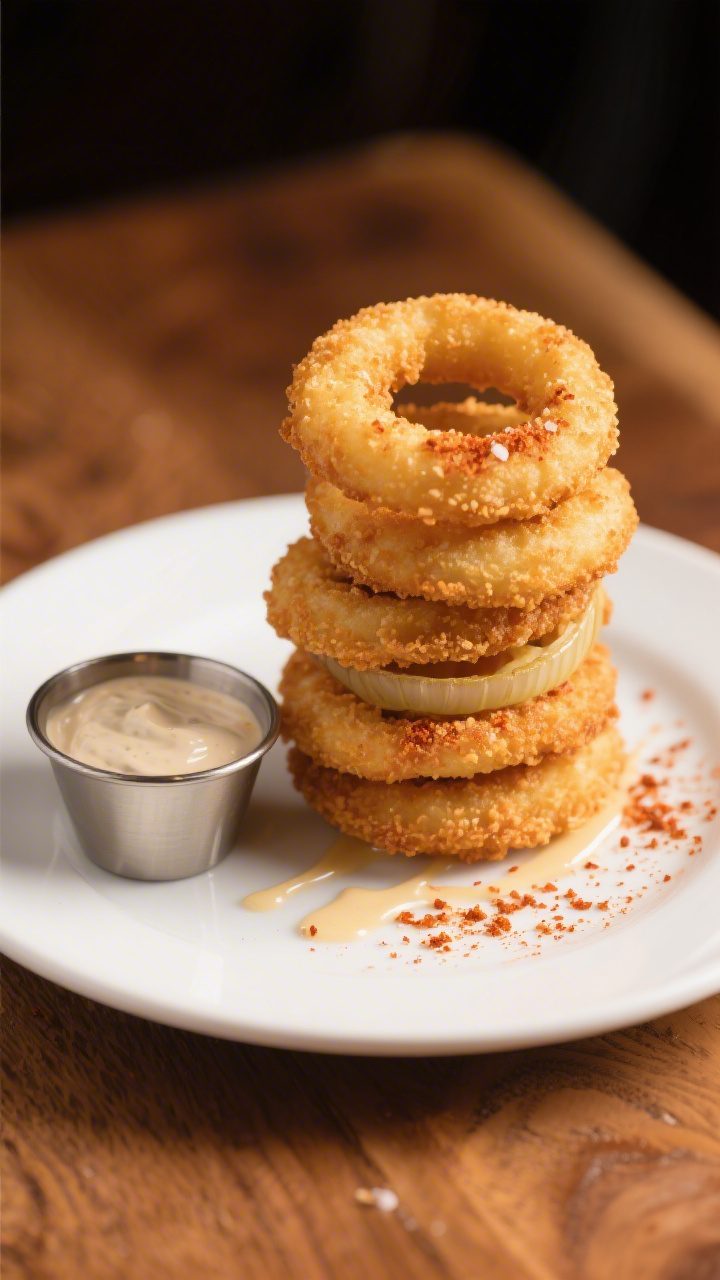
With a few smart tricks and a hot oven, you’ll get shatter-crisp rings that taste just as good as fried—maybe better. Keep a dipping sauce nearby, because these disappear fast.

Ingredients
Method
- Preheat and prep: Heat your oven to 425°F (220°C). Line two baking sheets with parchment or foil, then set wire racks on top if you have them. Lightly brush or spray the racks with oil. Hot pans and airflow equal crisp rings.
- Slice the onions: Peel onions and cut into 1/2-inch-thick rounds. Separate into rings. Choose medium-to-large rings for easier coating and even baking.
- Set up three bowls: Bowl 1: Flour, baking powder, salt, pepper, garlic powder, smoked paprika.
- Bowl 2: Eggs whisked with buttermilk.
- Bowl 3: Panko mixed with fine breadcrumbs. Drizzle in 1 tablespoon oil and toss to lightly coat the crumbs. This helps browning.
- Dry, then dip: Pat onion rings dry with paper towels. Dust a handful in the flour mixture, shaking off excess. Dip into the egg mixture, letting extra drip off.
- Crumb coat: Press each ring into the breadcrumb mix, turning to coat and pressing gently so the crumbs adhere. Place on the prepared racks. Leave a bit of space between rings for airflow.
- Oil for color: Lightly mist the tops with cooking spray or brush with a tiny bit of oil. This step boosts crunch and color.
- Bake: Bake for 12–15 minutes, rotating the pans halfway. The rings should turn golden and crisp. If needed, give them 2–4 extra minutes. Thinner rings may finish sooner than thicker ones.
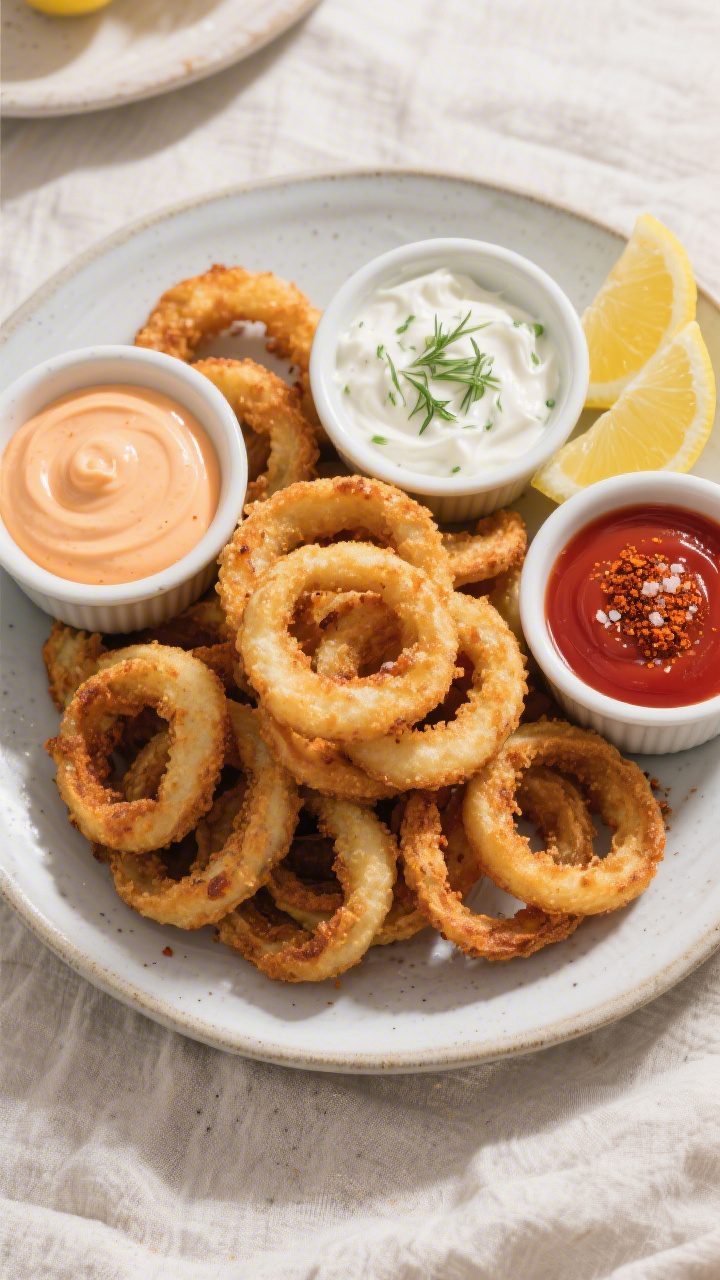
- Season and serve: Sprinkle with a pinch of salt right out of the oven. Serve hot with ketchup, ranch, spicy mayo, or a tangy yogurt dip.
What Makes This Recipe So Good
- Crunch without the grease: A smart coating and a hot oven deliver real crispiness, no frying needed.
- Simple pantry ingredients: You likely have everything on hand—flour, eggs, breadcrumbs, spices.
- Balanced flavor: A touch of spice and tang brings out the sweet, mellow onion.
- Versatile: Serve as a side, snack, or appetizer with your favorite dips.
- Lighter option: Less oil means a lighter bite that still feels indulgent.
What You’ll Need
- 2 large sweet onions (Vidalia, Walla Walla, or yellow onions work too)
- 1 cup all-purpose flour
- 1 teaspoon baking powder (helps the coating puff slightly)
- 1 teaspoon kosher salt, plus more to finish
- 1/2 teaspoon black pepper
- 1 teaspoon garlic powder
- 1 teaspoon smoked paprika (or regular paprika)
- 2 large eggs
- 3/4 cup buttermilk (or milk + 1 teaspoon lemon juice)
- 1 1/2 cups panko breadcrumbs (for maximum crunch)
- 1/2 cup fine breadcrumbs (helps even coverage)
- 2–3 tablespoons neutral oil (canola, avocado, or grapeseed)
- Cooking spray (optional, boosts browning)
Step-by-Step Instructions
- Preheat and prep: Heat your oven to 425°F (220°C). Line two baking sheets with parchment or foil, then set wire racks on top if you have them.
Lightly brush or spray the racks with oil. Hot pans and airflow equal crisp rings.
- Slice the onions: Peel onions and cut into 1/2-inch-thick rounds. Separate into rings. Choose medium-to-large rings for easier coating and even baking.
- Set up three bowls:
- Bowl 1: Flour, baking powder, salt, pepper, garlic powder, smoked paprika.
- Bowl 2: Eggs whisked with buttermilk.
- Bowl 3: Panko mixed with fine breadcrumbs.
Drizzle in 1 tablespoon oil and toss to lightly coat the crumbs. This helps browning.
- Dry, then dip: Pat onion rings dry with paper towels. Dust a handful in the flour mixture, shaking off excess.
Dip into the egg mixture, letting extra drip off.
- Crumb coat: Press each ring into the breadcrumb mix, turning to coat and pressing gently so the crumbs adhere. Place on the prepared racks. Leave a bit of space between rings for airflow.
- Oil for color: Lightly mist the tops with cooking spray or brush with a tiny bit of oil.
This step boosts crunch and color.
- Bake: Bake for 12–15 minutes, rotating the pans halfway. The rings should turn golden and crisp. If needed, give them 2–4 extra minutes.
Thinner rings may finish sooner than thicker ones.
- Season and serve: Sprinkle with a pinch of salt right out of the oven. Serve hot with ketchup, ranch, spicy mayo, or a tangy yogurt dip.
Storage Instructions
- Fridge: Cool completely, then store in an airtight container for up to 3 days. Line the container with paper towels to absorb moisture.
- Reheat: Bake at 400°F (205°C) on a rack for 8–10 minutes, or air-fry at 375°F (190°C) for 4–6 minutes until crisp again.
- Freezer: Freeze in a single layer on a tray until solid, then transfer to a freezer bag for up to 2 months.
Reheat from frozen at 425°F (220°C) for 12–15 minutes.
Health Benefits
- Lighter than fried: Baking uses a fraction of the oil, reducing total fat and calories while keeping that satisfying crunch.
- Onion goodness: Onions contain antioxidants like quercetin and sulfur compounds that support heart health and may help reduce inflammation.
- Customizable ingredients: Use whole-wheat breadcrumbs, reduce salt, or opt for avocado oil to tweak the nutrition to your goals.
- Better control: Homemade means fewer additives and a cleaner ingredient list than most frozen options.
What Not to Do
- Don’t skip drying the onions: Wet rings make the coating slide off and steam in the oven.
- Don’t overcrowd the pan: Crowding traps steam and softens the crust. Use two pans if needed.
- Don’t skip oiling the crumbs: A little oil in the breadcrumb mix is key to crisp, golden coating.
- Don’t bake at a low temperature: Anything under 400°F (205°C) risks soggy results.
- Don’t forget seasoning: Taste the coating and finish with a pinch of salt after baking.
Alternatives
- Gluten-free: Use a 1:1 gluten-free flour blend and gluten-free panko. Check labels on spices and baking powder.
- Dairy-free: Swap buttermilk with unsweetened almond or oat milk plus 1 teaspoon lemon juice or vinegar.
- Spice variations: Try cayenne, chili powder, or curry powder for a kick.
Add grated Parmesan to the crumbs for a savory twist.
- Whole-grain upgrade: Use whole-wheat panko or mix in ground oats for extra fiber.
- Air fryer method: Cook at 375°F (190°C) for 8–10 minutes, shaking gently halfway. Work in batches to avoid crowding.
FAQ
How do I keep the coating from falling off?
Pat the onions dry, dust them in seasoned flour first, and shake off excess. Dip in egg, then press firmly into the breadcrumb mixture.
Let the coated rings rest on the rack for 5 minutes before baking to help the coating set.
Which onions are best for onion rings?
Sweet onions like Vidalia or Walla Walla are great for mild, caramel-like flavor. Yellow onions also work well and offer a stronger onion taste. Avoid very sharp white onions unless you want extra bite.
Can I make these ahead?
Yes.
Coat the rings up to 4 hours ahead and refrigerate on a rack, uncovered, to keep them dry. Bake right before serving for the best crunch.
Why aren’t my onion rings browning?
Check oven temperature with an oven thermometer, and make sure you lightly oiled the crumbs and tops. Use a rack for airflow and avoid overcrowding.
If needed, broil for 1–2 minutes at the end, watching closely.
What dipping sauces go well with these?
Classic choices include ketchup, ranch, spicy mayo (mayo + sriracha + lime), honey mustard, or a smoky barbecue sauce. For something lighter, try Greek yogurt with lemon, garlic, and dill.
Can I use egg substitutes?
Yes. Use a flax “egg” (1 tablespoon ground flax + 3 tablespoons water, rested 10 minutes) or aquafaba (whisked chickpea liquid) to help bind the crumbs.
The texture will be slightly different but still crisp.
Wrapping Up
Oven-baked onion rings can be just as crunchy and satisfying as the fried kind, with far less fuss. A hot oven, a smart crumb mix, and a light hand with oil make all the difference. Keep the steps simple, give them room to crisp, and serve hot with your favorite dip.
Once you try these, you’ll have a go-to side that’s easy, crowd-pleasing, and undeniably crunchy.
Printable Recipe Card
Want just the essential recipe details without scrolling through the article? Get our printable recipe card with just the ingredients and instructions.