Easy Brownie Ice Cream Sundae Cups – A Fun, Make-Ahead Dessert
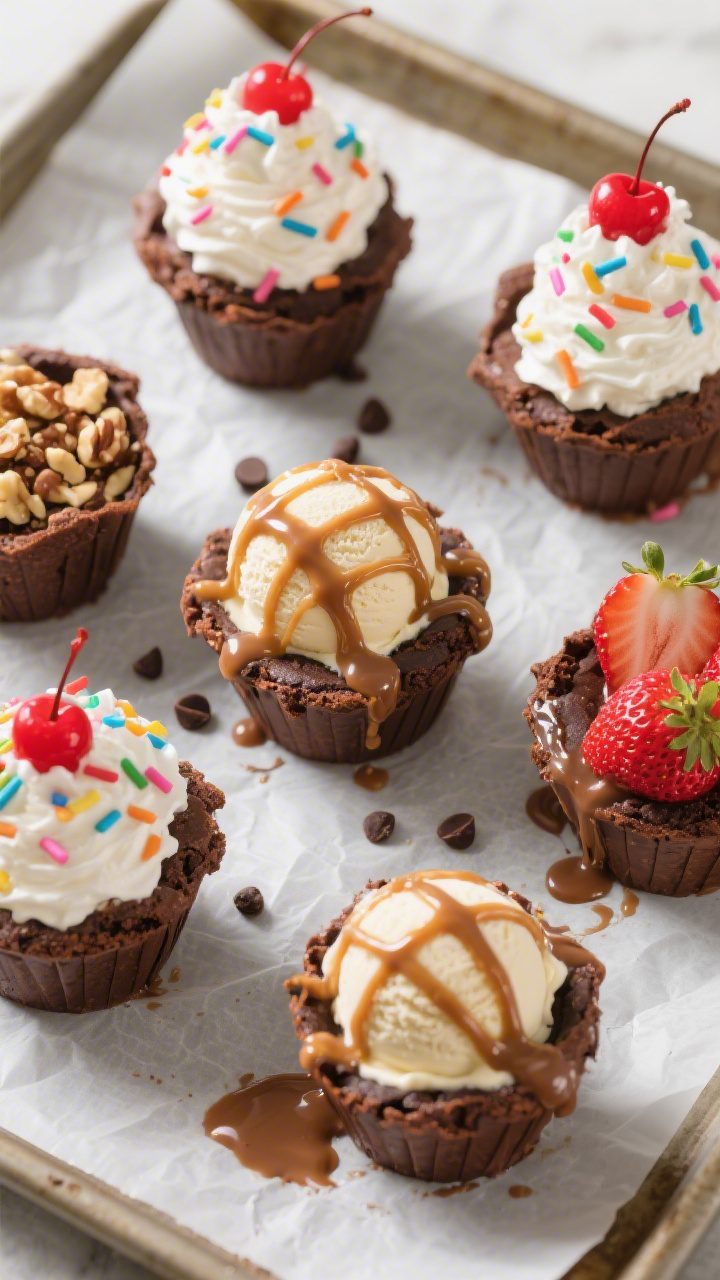
These brownie ice cream sundae cups are the kind of dessert that makes people smile before they even take a bite. You get chewy brownie edges, a little fudgy center, and a scoop of cold, creamy ice cream tucked inside. They look impressive but are shockingly simple to make, and you can prep them ahead.
Keep them in the freezer, then pull them out when the craving hits or guests drop by. It’s the perfect mix of comfort and party-ready fun.
Ingredients
Method
- Preheat and prep: Heat your oven to 350°F (175°C). Lightly spray a standard 12-cup muffin pan with nonstick spray, or line with paper liners.
- Make the batter: Prepare the boxed brownie mix according to the package. If making homemade: melt butter, whisk in sugar, eggs, and vanilla. Sift in cocoa, flour, salt, and baking powder. Stir until just combined.
- Fill the pan: Divide the batter evenly among the muffin cups. Aim for each to be about two-thirds full. Too full and they’ll overflow.
- Bake: Bake 14–18 minutes, until the tops are set and a toothpick comes out with a few moist crumbs. Err on the slightly fudgy side so they don’t dry out.
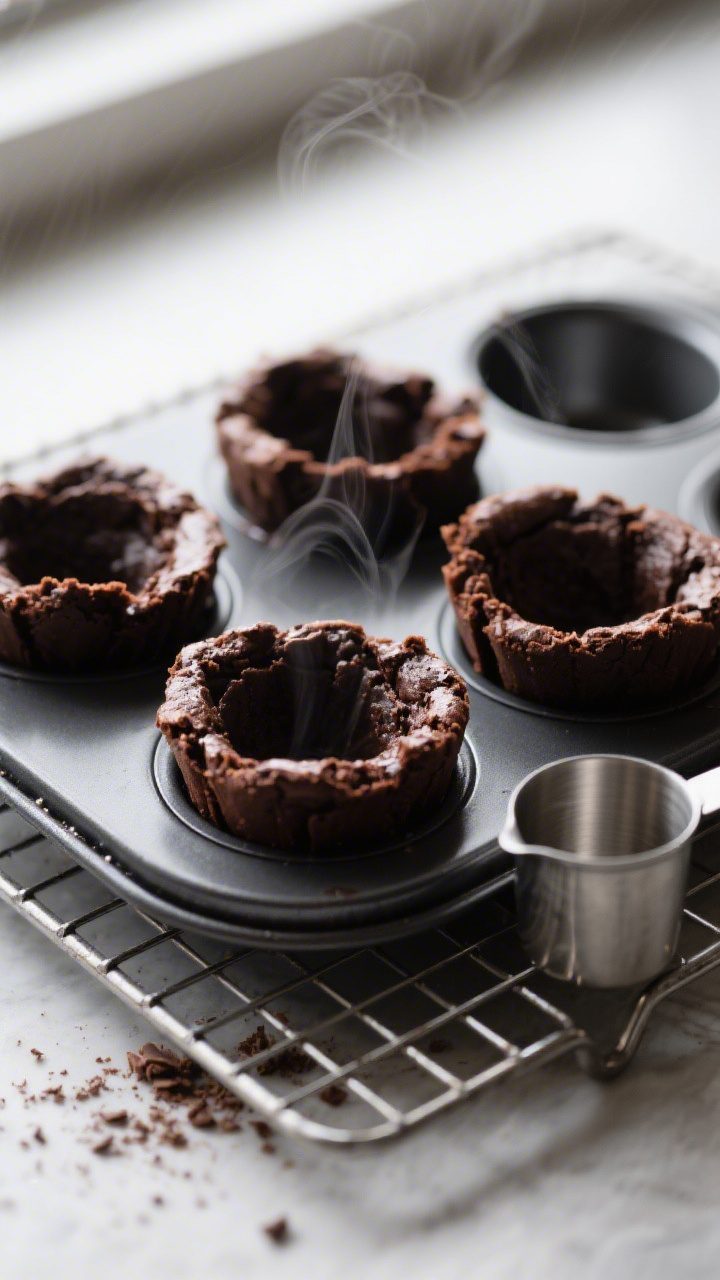
- Create the “cup” shape: As soon as they come out of the oven, press down the center of each brownie with the back of a spoon or a small measuring cup to form a well. Work gently so you don’t crack the sides.
- Cool completely: Let the brownie cups cool in the pan for 10 minutes, then transfer them to a wire rack to cool fully. Warm brownie cups will melt your ice cream too fast.
- Freeze for best structure: For sturdier cups, place the cooled brownie cups on a tray and freeze for 20–30 minutes. This step helps them hold the ice cream longer.
- Soften the ice cream: Let the ice cream sit at room temperature for 5–8 minutes until scoopable but not soupy.
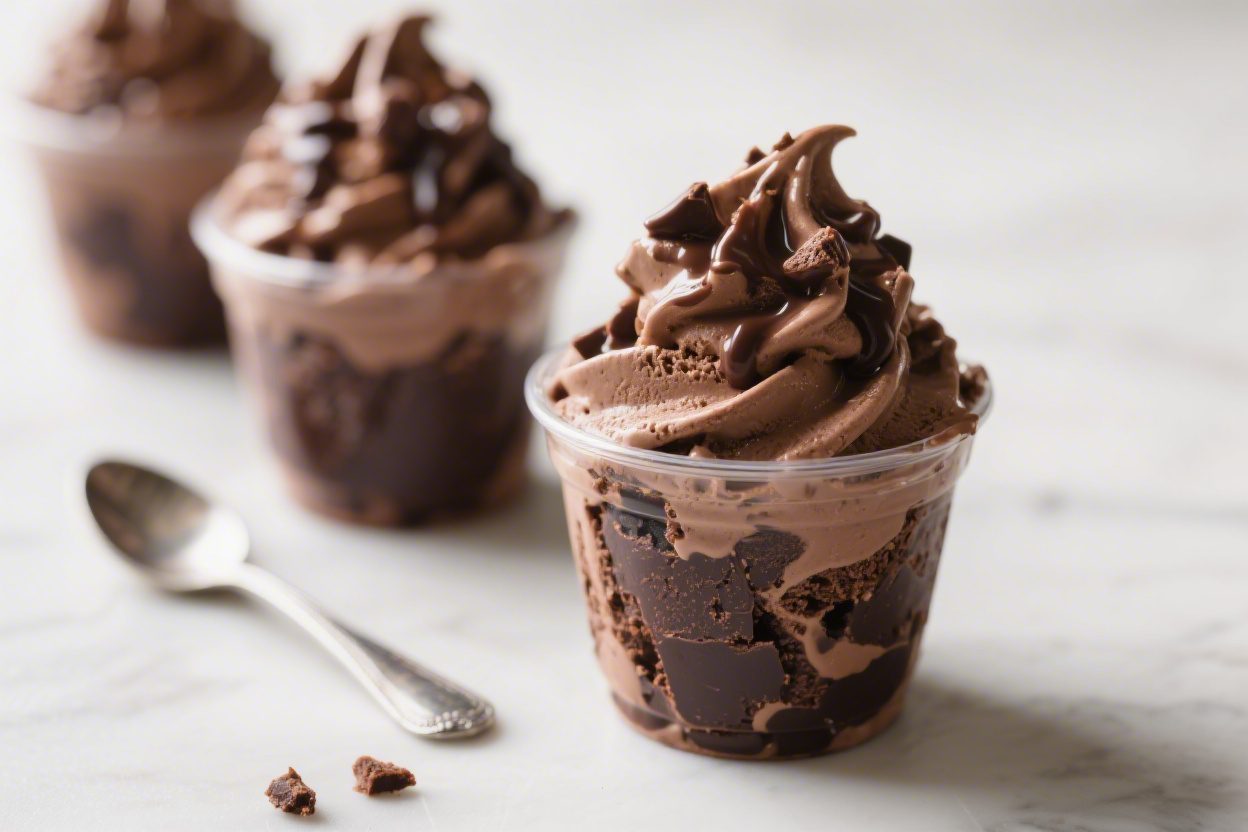
- Assemble: Add a small scoop of ice cream to each brownie cup. Press gently to nestle it into the well.
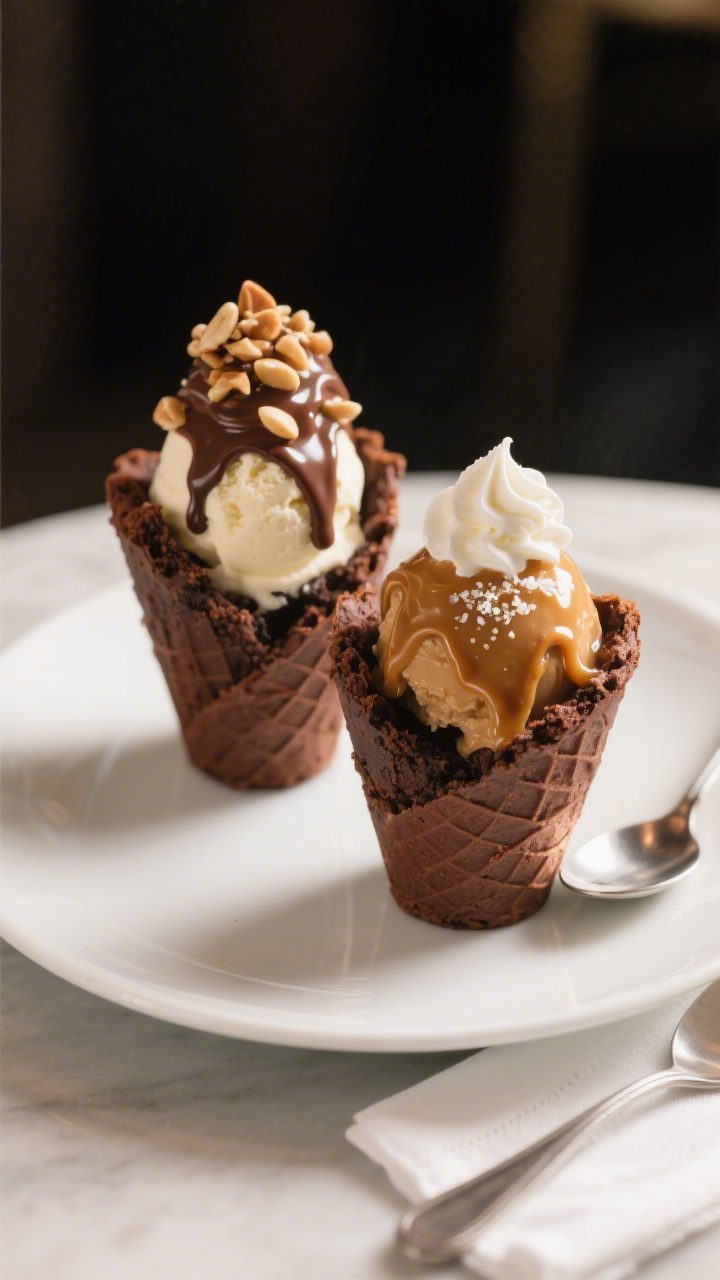
- Top it off: Drizzle with hot fudge or caramel, add whipped cream, and finish with sprinkles, nuts, or berries. Serve immediately for the hot-cold contrast.
- Make-ahead option: If you want to prep completely, fill the cups with ice cream and freeze on a tray until solid. Add sauces and whipped cream right before serving.
What Makes This Recipe So Good
- Simple ingredients, big payoff: You’re basically making brownies in a muffin pan and adding ice cream. That’s it.
- Make-ahead friendly: Bake the cups, freeze them, and fill when you’re ready to serve.
No scrambling at the last minute.
- Customizable: Vanilla ice cream and hot fudge are great, but you can swap flavors and toppings for any mood or event.
- Kid- and crowd-approved: Individual portions are easy to serve and decorate. Great for parties, birthdays, and BBQs.
- Texture heaven: Chewy edges, soft centers, cold ice cream, and warm sauce. Every bite hits all the notes.
Ingredients
- 1 box brownie mix (18–20 oz), plus eggs, oil, and water as directed on the package
- Nonstick cooking spray or paper liners
- 1 to 1.5 quarts ice cream (vanilla, chocolate, or your favorite)
- Hot fudge, caramel sauce, or strawberry sauce
- Whipped cream
- Sprinkles, chopped nuts, or mini chocolate chips (optional)
- Fresh berries or cherries (optional)
- Optional homemade brownie batter:
- 1/2 cup (1 stick) unsalted butter
- 1 cup granulated sugar
- 2 large eggs
- 1 teaspoon vanilla extract
- 1/3 cup unsweetened cocoa powder
- 1/2 cup all-purpose flour
- 1/4 teaspoon salt
- 1/4 teaspoon baking powder
Step-by-Step Instructions
- Preheat and prep: Heat your oven to 350°F (175°C).
Lightly spray a standard 12-cup muffin pan with nonstick spray, or line with paper liners.
- Make the batter: Prepare the boxed brownie mix according to the package. If making homemade: melt butter, whisk in sugar, eggs, and vanilla. Sift in cocoa, flour, salt, and baking powder.
Stir until just combined.
- Fill the pan: Divide the batter evenly among the muffin cups. Aim for each to be about two-thirds full. Too full and they’ll overflow.
- Bake: Bake 14–18 minutes, until the tops are set and a toothpick comes out with a few moist crumbs.
Err on the slightly fudgy side so they don’t dry out.
- Create the “cup” shape: As soon as they come out of the oven, press down the center of each brownie with the back of a spoon or a small measuring cup to form a well. Work gently so you don’t crack the sides.
- Cool completely: Let the brownie cups cool in the pan for 10 minutes, then transfer them to a wire rack to cool fully. Warm brownie cups will melt your ice cream too fast.
- Freeze for best structure: For sturdier cups, place the cooled brownie cups on a tray and freeze for 20–30 minutes.
This step helps them hold the ice cream longer.
- Soften the ice cream: Let the ice cream sit at room temperature for 5–8 minutes until scoopable but not soupy.
- Assemble: Add a small scoop of ice cream to each brownie cup. Press gently to nestle it into the well.
- Top it off: Drizzle with hot fudge or caramel, add whipped cream, and finish with sprinkles, nuts, or berries. Serve immediately for the hot-cold contrast.
- Make-ahead option: If you want to prep completely, fill the cups with ice cream and freeze on a tray until solid.
Add sauces and whipped cream right before serving.
Storage Instructions
- Brownie cups (unfilled): Store in an airtight container at room temperature for up to 3 days, or freeze for up to 2 months. Separate layers with parchment to prevent sticking.
- Filled cups: Freeze on a baking sheet until firm, then transfer to a covered container for up to 2 weeks. Add sauces and whipped cream just before serving to keep textures fresh.
- Reheating: If you prefer warm brownie cups under cold ice cream, warm unfilled cups in the oven at 300°F (150°C) for 3–5 minutes before assembling.
Health Benefits
- Built-in portion control: Individual cups make it easier to enjoy a treat without going overboard.
- Flexible ingredients: Choose lighter ice creams, frozen yogurt, or dairy-free options.
You can also pick lower-sugar sauces and skip heavy toppings.
- Nuts and berries add value: Chopped nuts provide healthy fats and a bit of protein. Fresh berries bring fiber and antioxidants without too much added sugar.
- Balanced indulgence: This dessert satisfies a sweet tooth, which can help curb late-night grazing or larger portions of richer sweets later.
Common Mistakes to Avoid
- Overbaking the brownies: Dry brownie cups crack and crumble. Pull them when a toothpick shows a few moist crumbs.
- Skipping the “well” step: You need the indentation while the brownies are hot and soft.
If you wait, they’ll firm up and won’t shape cleanly.
- Filling too soon: Warm cups melt ice cream instantly. Cool completely, then give them a short freeze for stability.
- Overfilling the muffin cups: Too much batter causes overflow and uneven cups. Stick to two-thirds full.
- Adding whipped cream too early: It deflates and can slide off.
Add right before serving.
Recipe Variations
- Peanut Butter Fudge: Swirl 2–3 tablespoons of warmed peanut butter into the brownie batter. Top with chocolate ice cream, hot fudge, and chopped peanuts.
- S’mores Cups: Press a teaspoon of crushed graham crackers into the bottom of each muffin cup before adding batter. Top with vanilla ice cream, warm fudge, and toasted mini marshmallows.
- Mint Chip: Add 1/2 teaspoon peppermint extract to the batter.
Fill with mint chip ice cream and drizzle with dark chocolate sauce.
- Salted Caramel: Stir a handful of caramel bits into the batter. Serve with caramel ice cream and a pinch of flaky sea salt.
- Gluten-Free: Use a gluten-free brownie mix and confirm toppings are GF. Texture stays close to classic.
- Dairy-Free: Use a dairy-free brownie mix (or oil-based recipe) and coconut, almond, or oat-based ice cream.
Finish with dairy-free chocolate sauce.
FAQ
Can I use a mini muffin pan?
Yes. Reduce the bake time to 9–12 minutes and use a small spoon or the end of a wooden spoon to create the wells. These make great bite-sized treats for parties.
How do I keep the cups from sticking to the pan?
Use nonstick spray generously, or line with paper liners.
Let the brownies cool 10 minutes before removing. If they still stick, run a thin knife around the edges to loosen.
What’s the best ice cream flavor for these?
Vanilla is the classic pick, but chocolate, coffee, mint chip, cookie dough, or strawberry all work well. Choose a flavor that complements your sauces and toppings.
Can I warm the brownie cups after they’re baked?
Absolutely.
Warm unfilled cups in a low oven just before serving, then add ice cream. The hot-cold combo is fantastic, but work quickly so the ice cream doesn’t melt too fast.
Do I have to freeze the cups before filling?
It’s optional but helpful. A short freeze makes them sturdier and slows melting, especially if you’re assembling a bunch for guests.
What if my brownie cups collapse or crack?
No problem.
Add ice cream and toppings anyway—nobody will notice. Next time, avoid overbaking and press the wells more gently while the brownies are still hot.
Can I make these with homemade brownie batter instead of a mix?
Yes. The simple homemade batter listed above works beautifully.
Just keep an eye on bake time, since from-scratch batters can set a minute or two faster.
Wrapping Up
Easy brownie ice cream sundae cups check every box: simple, flexible, and always a crowd-pleaser. You can bake the cups ahead, stash them in the freezer, and build sundaes in minutes. Mix and match flavors, let everyone top their own, and watch them disappear.
Keep a batch ready, and dessert is always just a scoop away.
Printable Recipe Card
Want just the essential recipe details without scrolling through the article? Get our printable recipe card with just the ingredients and instructions.