Buttered Corn on the Cob (Stovetop) – Simple, Juicy, and Quick
There’s nothing quite like a buttery ear of corn on the cob, fresh from the pot and steaming. This stovetop version is the easiest way to get crisp-tender kernels with big flavor and minimal fuss. You don’t need fancy tools or a grill—just a pot, water, and a few minutes.
Whether it’s a weeknight dinner or a weekend cookout, this method delivers every time.
Ingredients
Method
- Prep the corn: Husk the corn and remove as much silk as possible. Trim the ends if needed so the ears fit neatly in your pot.
- Bring water to a simmer: Fill a large pot with enough water to fully cover the ears. Add 1 teaspoon kosher salt. Bring to a gentle simmer over medium-high heat. You want small bubbles, not a rolling boil.
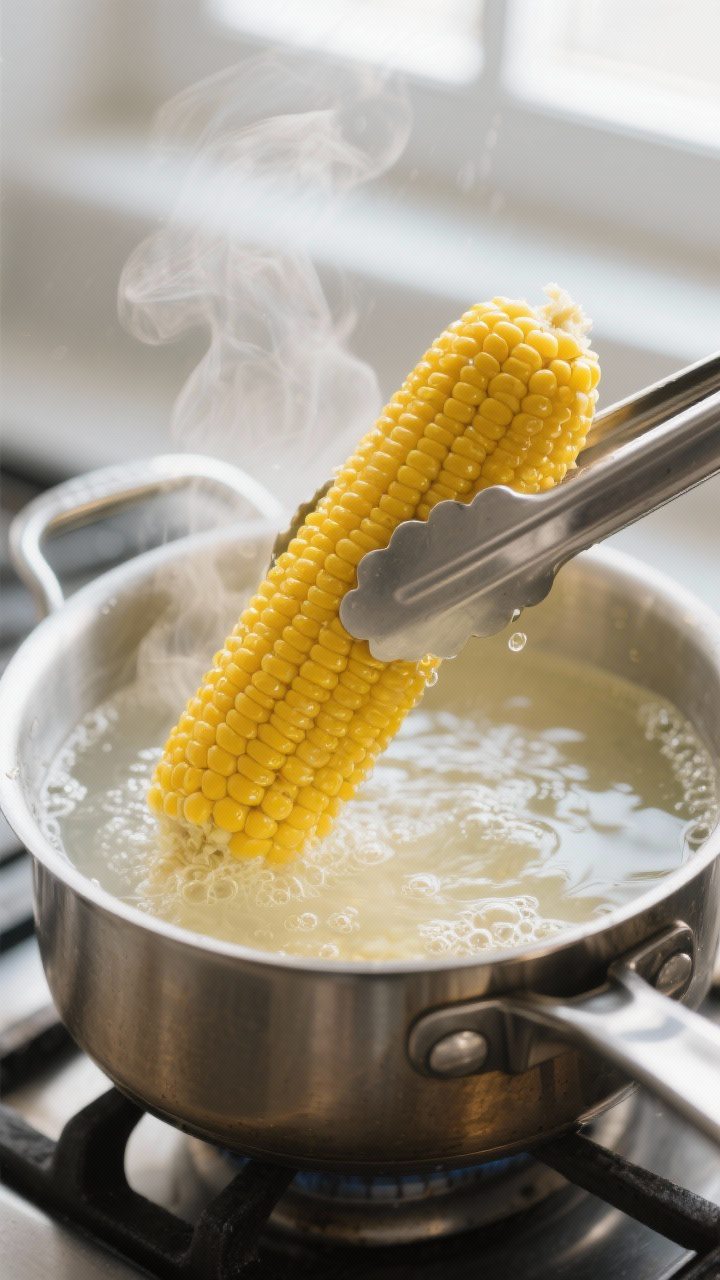
- Cook the corn: Carefully add the corn to the pot. Simmer for 5–7 minutes, rotating once or twice with tongs. The kernels should look brighter and feel tender when pierced.
- Make the butter: While the corn cooks, melt the butter in a small saucepan or microwave-safe bowl. Stir in a pinch of salt and pepper.
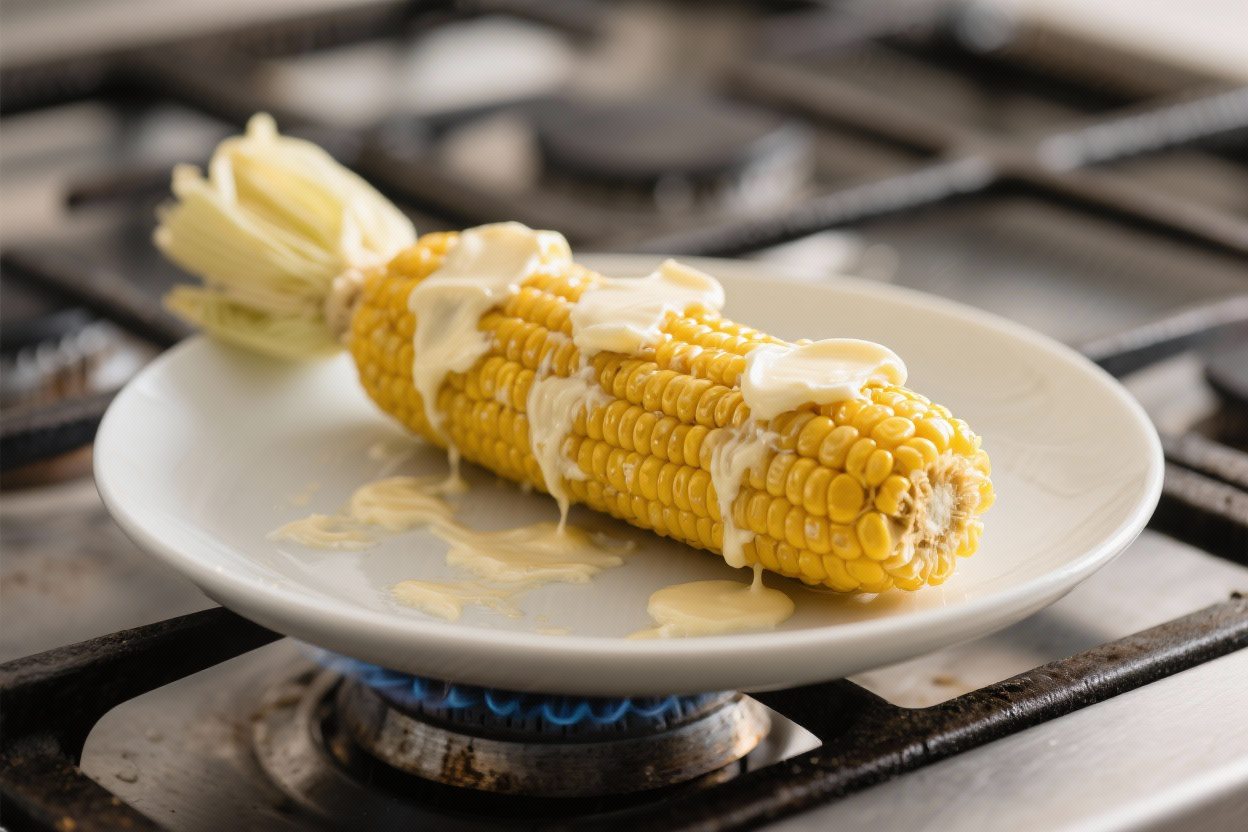
- Drain and butter: Use tongs to lift the corn from the pot and let excess water drip off. Place on a platter and brush generously with melted butter. Sprinkle with more salt and pepper to taste.
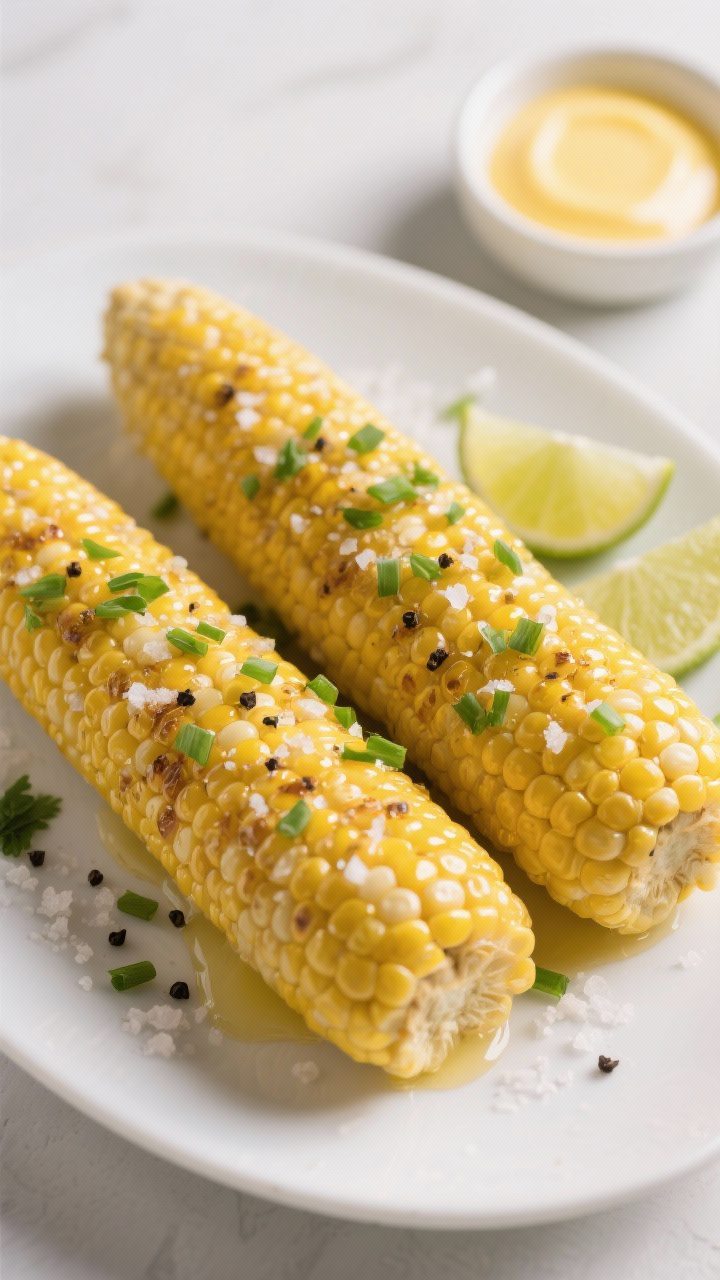
- Serve right away: Add lime or lemon wedges and herbs if you like. Serve hot while the kernels are juicy and the butter is glossy.
Why This Recipe Works
Stovetop cooking keeps the kernels juicy by surrounding them with gentle, simmering heat. You’re not boiling them to death; you’re cooking them just long enough to get tender and sweet. Finishing the corn with melted butter and salt makes the flavor pop without masking the natural sweetness.
Plus, this method is fast, forgiving, and easy to scale for a crowd.
Ingredients
- 4 ears fresh corn, husks and silk removed
- 4 tablespoons unsalted butter (plus more to taste)
- 1–2 teaspoons kosher salt, divided
- Freshly ground black pepper, to taste (optional)
- Lime wedges or lemon wedges, for serving (optional)
- Chopped fresh herbs like parsley, chives, or cilantro (optional)
Instructions
- Prep the corn: Husk the corn and remove as much silk as possible. Trim the ends if needed so the ears fit neatly in your pot.
- Bring water to a simmer: Fill a large pot with enough water to fully cover the ears. Add 1 teaspoon kosher salt.
Bring to a gentle simmer over medium-high heat. You want small bubbles, not a rolling boil.
- Cook the corn: Carefully add the corn to the pot. Simmer for 5–7 minutes, rotating once or twice with tongs.
The kernels should look brighter and feel tender when pierced.
- Make the butter: While the corn cooks, melt the butter in a small saucepan or microwave-safe bowl. Stir in a pinch of salt and pepper.
- Drain and butter: Use tongs to lift the corn from the pot and let excess water drip off. Place on a platter and brush generously with melted butter.
Sprinkle with more salt and pepper to taste.
- Serve right away: Add lime or lemon wedges and herbs if you like. Serve hot while the kernels are juicy and the butter is glossy.
Keeping It Fresh
Buy fresh and cook soon. Corn is sweetest right after it’s picked. If possible, cook it the same day you buy it.
If not, store it in the fridge with the husks on to protect moisture.
Short-term storage: If you have leftovers, let the corn cool, then wrap each ear in foil or store in an airtight container. Keep in the fridge for up to 3 days.
Reheat gently: Rewarm on the stovetop in simmering water for 1–2 minutes, or microwave in a damp paper towel for 30–60 seconds. Add fresh butter and salt to revive the flavor.
Freezing tip: If you want to freeze cooked corn, cut the kernels off the cob and spread them on a baking sheet to freeze.
Transfer to a freezer bag and use within 3 months.
Why This is Good for You
Corn gets a bad rap, but whole corn is a natural source of fiber, vitamins, and antioxidants. It’s more than just a starchy side—it brings B vitamins for energy and carotenoids that support eye health.
Pairing corn with a bit of butter isn’t just about flavor. Fat helps your body absorb fat-soluble nutrients found in corn. You don’t need a lot to make a difference—just enough to coat the kernels.
Compared to many sides, buttered corn is satisfying without being heavy.
With the right portion and light seasoning, it fits easily into a balanced meal.
Common Mistakes to Avoid
- Boiling too aggressively: A hard boil can make kernels tough. Keep it to a gentle simmer for the best texture.
- Overcooking: Leaving corn in the pot too long dulls the flavor and turns it mushy. Check at 5 minutes.
- Under-salting the water: A little salt in the water boosts flavor from the inside out.
Don’t skip it.
- Skipping the butter seasoning: Add salt and a touch of pepper to the melted butter. It spreads seasoning more evenly.
- Letting it sit too long: Corn is best hot from the pot. If you need to hold it, keep it in warm water off the heat for a few minutes—not longer than 10.
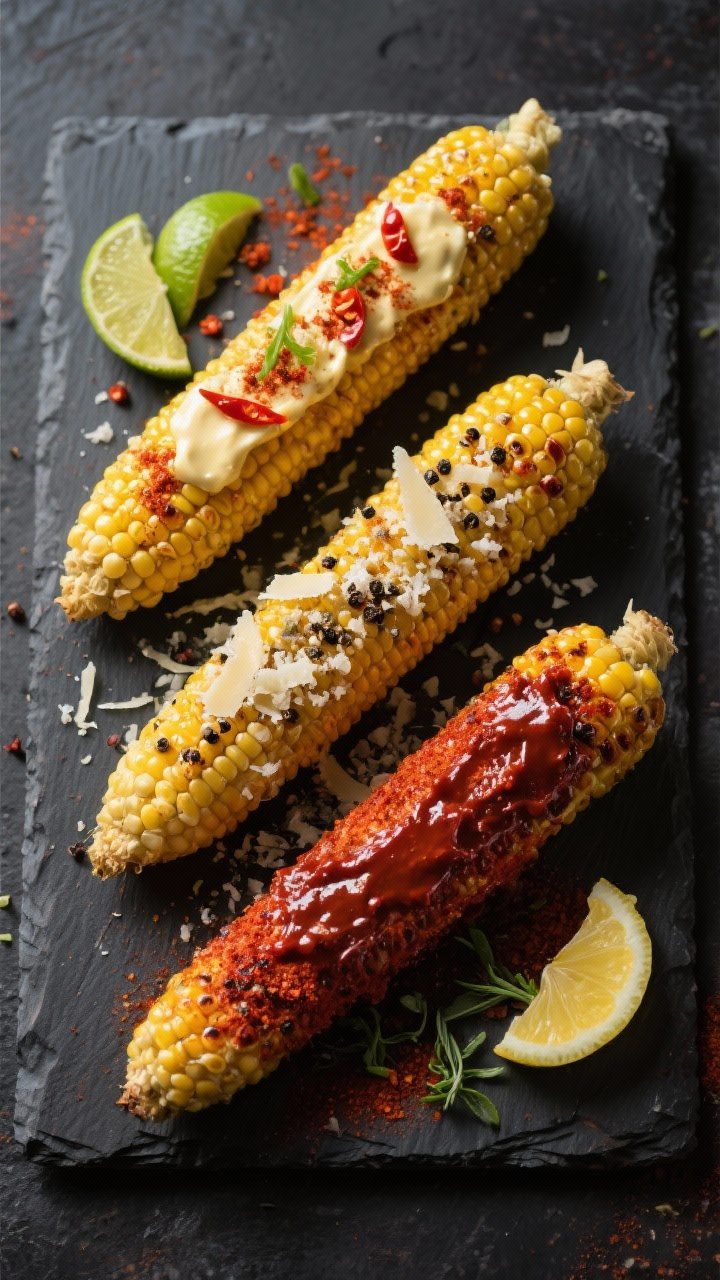
Variations You Can Try
- Garlic-herb butter: Stir minced garlic and chopped parsley or chives into the melted butter.
- Chili-lime: Mix melted butter with chili powder, a pinch of cayenne, and fresh lime juice.
Finish with lime zest.
- Parmesan and black pepper: After buttering, shower the corn with finely grated Parmesan and lots of cracked pepper.
- Smoky paprika butter: Add smoked paprika and a squeeze of lemon to the butter for a barbecue vibe.
- Honey-butter: Stir in a teaspoon of honey or maple syrup for a subtle sweet glaze.
- Mexican-inspired street corn (simplified): Brush with butter, then add a thin layer of mayonnaise, sprinkle with cotija cheese, chili powder, and a squeeze of lime.
FAQ
How long should I cook corn on the cob on the stovetop?
Simmer for 5–7 minutes. The kernels should turn brighter and feel tender when pierced. Thicker ears may need an extra minute.
Should I salt the water?
Yes, add a teaspoon of kosher salt to the water.
It helps season the corn lightly. Don’t go overboard—too much salt isn’t necessary.
Can I cook corn in milk and butter?
You can. Some people simmer corn in a mix of water, milk, and butter for a richer flavor.
Keep the heat low to prevent scorching, and cook for about the same time.
Is frozen corn on the cob okay for this recipe?
Yes. Add frozen ears directly to simmering water and cook 7–9 minutes. They won’t be as sweet as peak-season fresh corn, but they’re still tasty.
How do I keep corn warm for a crowd?
After cooking, transfer the corn to a pot of hot (not boiling) water and cover.
Hold for up to 10–15 minutes. Brush with butter right before serving.
What’s the best way to remove silk?
After husking, rub the cob with a slightly damp paper towel to catch stubborn strands. A soft vegetable brush also works.
Can I make compound butter ahead of time?
Absolutely.
Mix softened butter with salt, pepper, herbs, and spices. Roll it into a log in plastic wrap and refrigerate for up to a week or freeze for a month.
Do I need to add sugar to the water?
No. Fresh corn is sweet enough on its own.
If your corn is out of season and less sweet, finish with a squeeze of lime and a pinch of salt to enhance flavor.
In Conclusion
Buttered corn on the cob doesn’t need to be complicated to be great. With a gentle simmer, a quick brush of seasoned butter, and a sprinkle of salt, you get juicy, flavorful corn every time. It’s fast, foolproof, and endlessly customizable.
Keep this stovetop method in your back pocket, and you’ll always have a reliable, crowd-pleasing side ready to go.
Printable Recipe Card
Want just the essential recipe details without scrolling through the article? Get our printable recipe card with just the ingredients and instructions.