Chocolate Covered Pretzel Treats – Sweet, Salty, and Simple
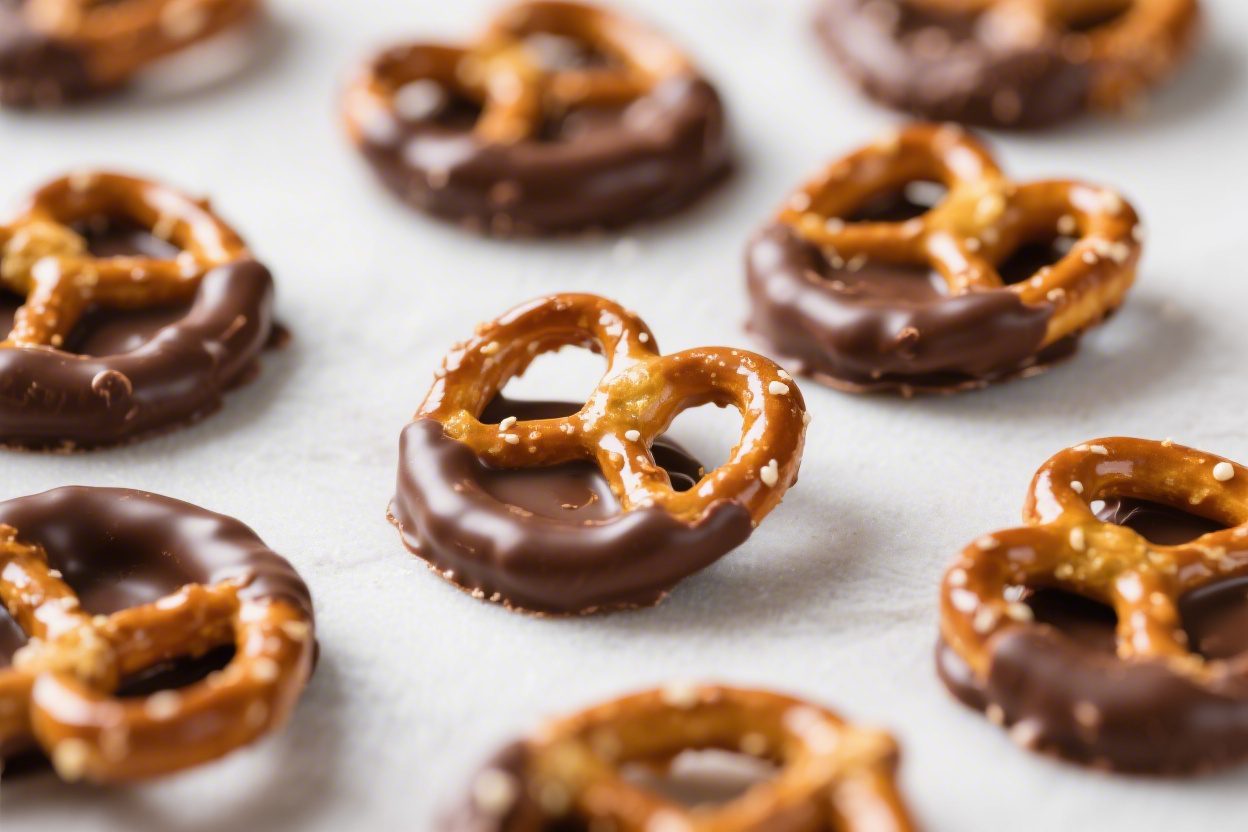
Chocolate covered pretzel treats hit that sweet spot where snack time meets dessert. They’re crunchy, sweet, salty, and endlessly customizable. Best of all, they take just minutes to make and look like you spent way more time on them than you did.
Whether you’re prepping party platters, gifting something homemade, or craving a quick, fun project, this recipe delivers. Keep it simple, or go wild with toppings—either way, they’re a crowd-pleaser.
Ingredients
Method
- Prep your station. Line a baking sheet with parchment or a silicone mat. Set out your pretzels and toppings. This helps you work quickly before the chocolate sets.
- Melt the chocolate. Use a microwave-safe bowl and heat in 20–30 second bursts, stirring between each. Stop when mostly melted, then stir until smooth. Or use a double boiler over low heat. If the chocolate seems too thick, stir in up to 2 teaspoons of oil.
- Test dip one pretzel. Dip a pretzel to check the coating. It should glide on and drip off slowly. Adjust with a touch more oil if needed.
- Dip and shake off excess. Use a fork to submerge a pretzel. Lift it out and tap the fork gently against the bowl to remove extra chocolate. This keeps the coating even and prevents puddles.
- Set on the tray. Place dipped pretzels on the lined sheet with a little space between them. If you see a large chocolate pool forming, lift and reset quickly.
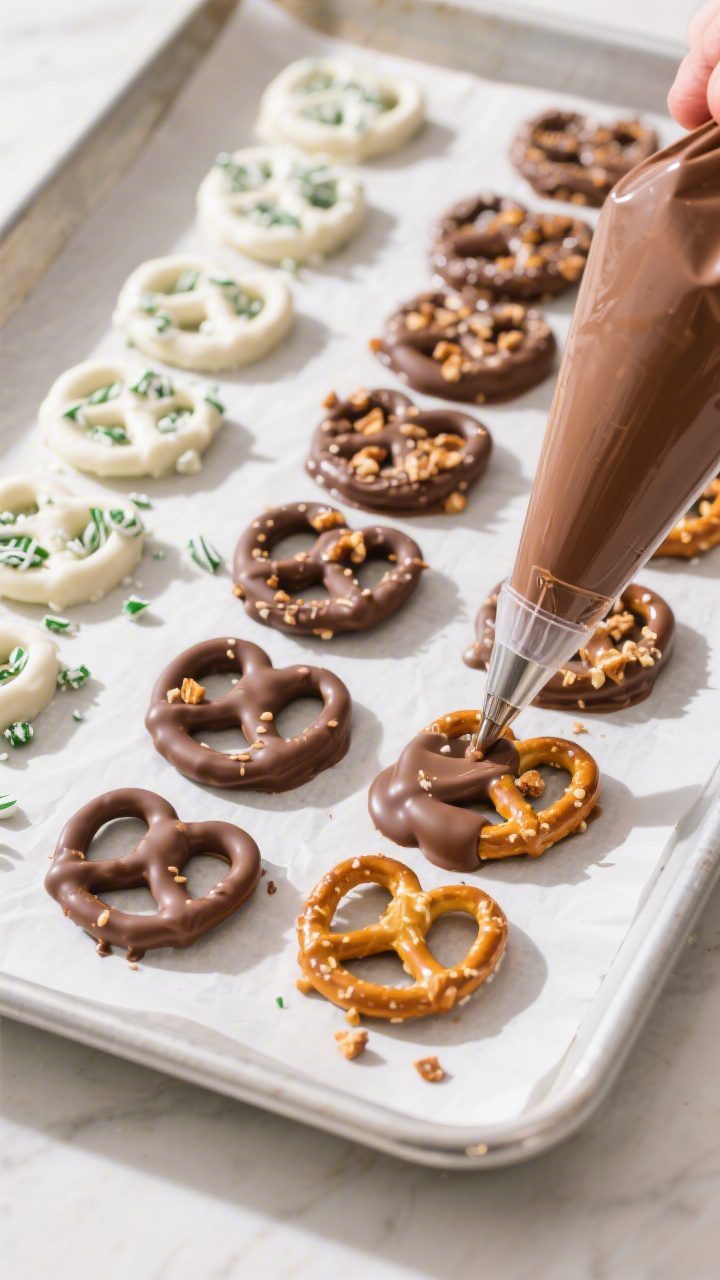
- Add toppings right away. While the chocolate is still wet, sprinkle with nuts, sprinkles, or salt. Work in small batches so the chocolate doesn’t harden before you decorate.
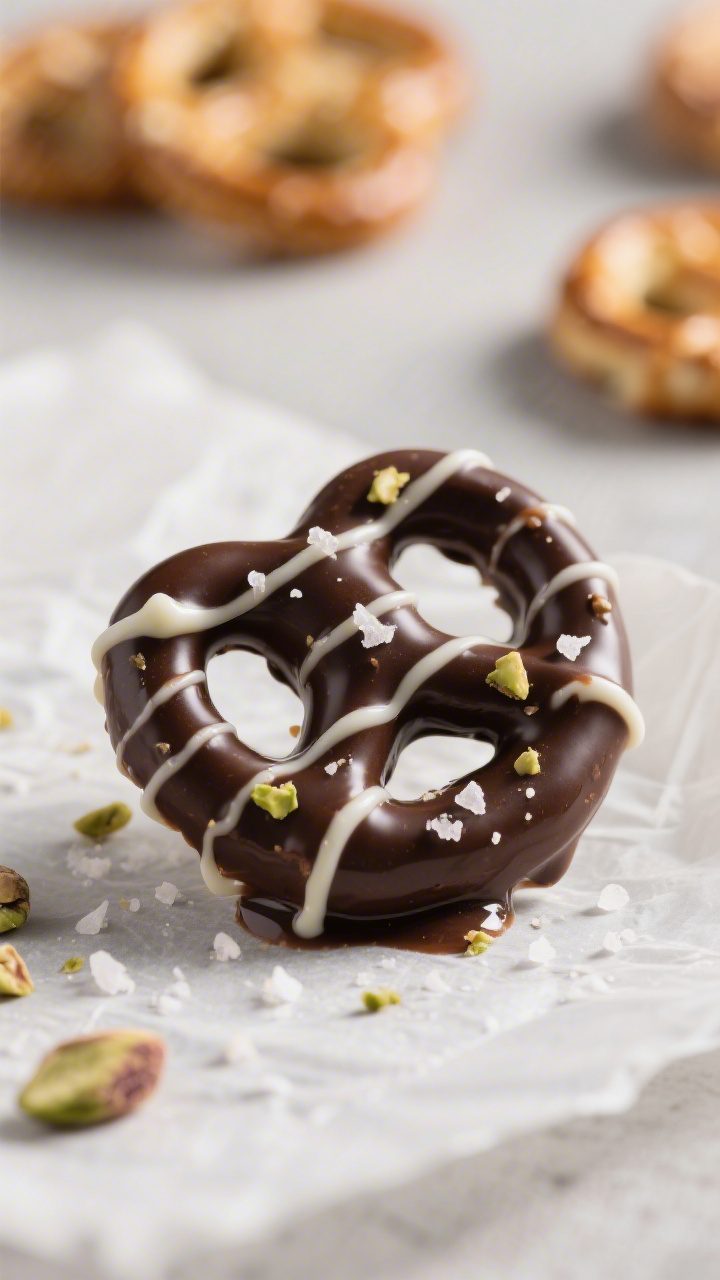
- Drizzle for flair. Melt a contrasting chocolate. Spoon it into a small bag, snip a tiny corner, and zigzag over set pretzels for a bakery look.
- Let them set. Leave at room temperature until firm, about 30–45 minutes. In a warm kitchen, move the tray to the fridge for 10–15 minutes, but avoid leaving them in too long to prevent sugar bloom.
- Clean edges (optional). If you want perfect shapes, snap off any hardened “feet” of chocolate around the base once set.
- Serve or store. Enjoy right away or pack into airtight containers. Separate layers with parchment to avoid sticking.
What Makes This Special
These treats balance flavors and textures in the best way: crisp pretzels, silky chocolate, and a bit of salt. You can use whatever chocolate you like—dark, milk, or white—and finish with colorful sprinkles, nuts, or a drizzle.
They’re also easy to scale up for holidays or gatherings. Plus, they store well, so you can make them ahead and keep a stash for snack attacks.
What You’ll Need
- Pretzels: Twists, rods, or mini pretzel squares all work. Choose a sturdy type that holds its shape.
- Chocolate: About 12 ounces of high-quality chocolate or melting wafers (dark, milk, or white).
You can mix types for variety.
- Neutral oil or coconut oil (optional): 1–2 teaspoons to help thin chocolate for dipping.
- Sea salt flakes (optional): For finishing, especially on dark chocolate.
- Toppings (optional): Sprinkles, crushed peanuts, almonds, pistachios, toffee bits, crushed peppermint, toasted coconut, or mini chocolate chips.
- Decorating chocolate (optional): A contrasting chocolate for drizzling (e.g., white chocolate over dark).
- Tools: Microwave-safe bowl or double boiler, parchment paper, baking sheet, fork or dipping tool, and a small piping bag or zip-top bag for drizzling.
Step-by-Step Instructions
- Prep your station. Line a baking sheet with parchment or a silicone mat. Set out your pretzels and toppings. This helps you work quickly before the chocolate sets.
- Melt the chocolate. Use a microwave-safe bowl and heat in 20–30 second bursts, stirring between each.
Stop when mostly melted, then stir until smooth. Or use a double boiler over low heat. If the chocolate seems too thick, stir in up to 2 teaspoons of oil.
- Test dip one pretzel. Dip a pretzel to check the coating.
It should glide on and drip off slowly. Adjust with a touch more oil if needed.
- Dip and shake off excess. Use a fork to submerge a pretzel. Lift it out and tap the fork gently against the bowl to remove extra chocolate.
This keeps the coating even and prevents puddles.
- Set on the tray. Place dipped pretzels on the lined sheet with a little space between them. If you see a large chocolate pool forming, lift and reset quickly.
- Add toppings right away. While the chocolate is still wet, sprinkle with nuts, sprinkles, or salt. Work in small batches so the chocolate doesn’t harden before you decorate.
- Drizzle for flair. Melt a contrasting chocolate.
Spoon it into a small bag, snip a tiny corner, and zigzag over set pretzels for a bakery look.
- Let them set. Leave at room temperature until firm, about 30–45 minutes. In a warm kitchen, move the tray to the fridge for 10–15 minutes, but avoid leaving them in too long to prevent sugar bloom.
- Clean edges (optional). If you want perfect shapes, snap off any hardened “feet” of chocolate around the base once set.
- Serve or store. Enjoy right away or pack into airtight containers. Separate layers with parchment to avoid sticking.
How to Store
- Room temperature: Keep in an airtight container for up to 2 weeks in a cool, dry place.
Avoid sunlight and heat.
- Refrigerator: Store up to 3 weeks if your home is warm. Use a sealed container to prevent moisture and odors.
- Freezer: Freeze up to 2 months. Place in a container with parchment between layers.
Thaw at room temp before opening the container to avoid condensation on the chocolate.
- Gifting tip: Add a silica gel food-safe packet in gift tins to keep them crisp.
Why This is Good for You
- Built-in portion control: Each pretzel is a snackable bite, so it’s easier to enjoy a few without overdoing it.
- Balanced flavors: The salty crunch helps satisfy cravings faster than overly sweet treats.
- Dark chocolate perks: Dark chocolate with a higher cocoa percentage offers antioxidants and less sugar than milk chocolate.
- Customizable ingredients: Add nuts for healthy fats, or choose gluten-free pretzels if needed.
Pitfalls to Watch Out For
- Overheating chocolate: Burnt chocolate turns grainy and can’t be saved. Heat gently and stir often.
- Water contact: Even a drop of water can seize chocolate. Make sure bowls and tools are completely dry.
- Thick coating: If the chocolate is too thick, your pretzels will clump.
Thin with a little oil and tap off excess.
- Humidity issues: Moisture can cause sugar bloom (a white, gritty look). Cool and store in a dry place.
- Late toppings: Add decorations while the chocolate is wet or they won’t stick.
Recipe Variations
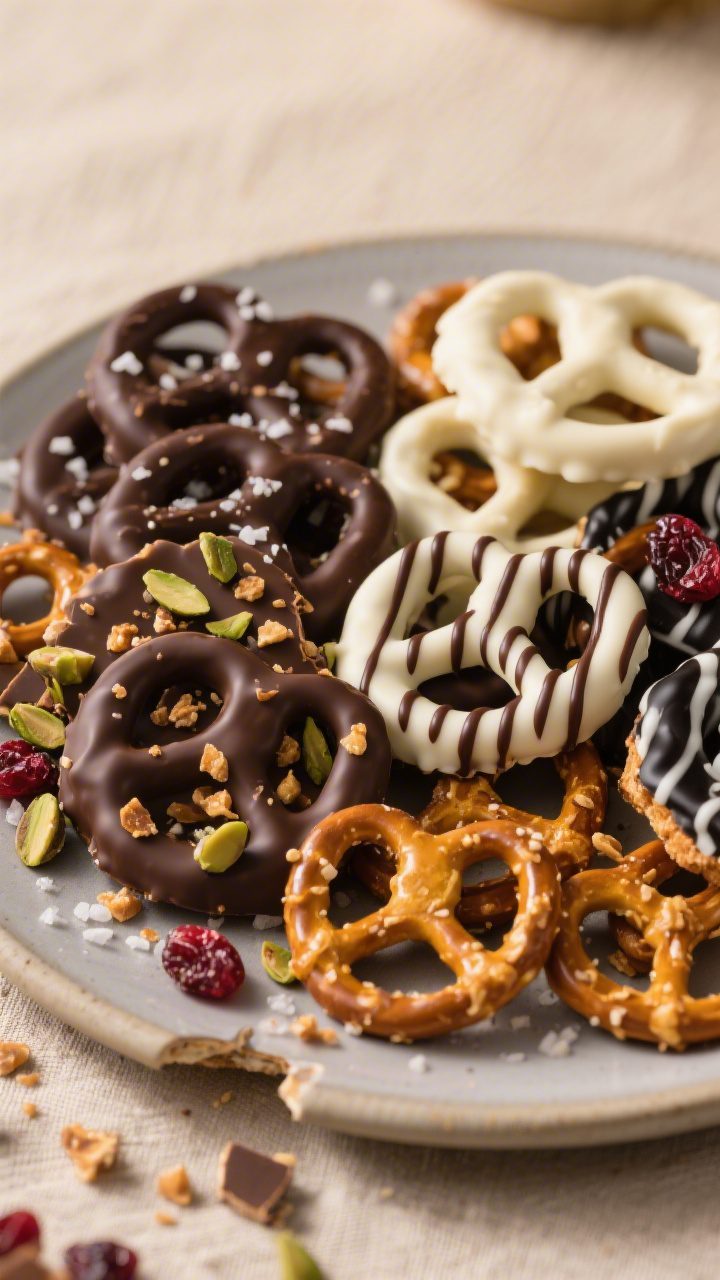
- Black-and-white: Dip in dark chocolate, then drizzle with white chocolate for contrast.
- Peanut butter crunch: Mix 2 tablespoons of peanut butter into melted milk chocolate and top with crushed peanuts.
- Peppermint bark style: Use white chocolate and sprinkle crushed candy canes. Great for winter gifts.
- Trail mix pretzels: Top with chopped almonds, dried cranberries, and a pinch of sea salt.
- Spiced mocha: Stir a pinch of espresso powder and cinnamon into dark chocolate; finish with cocoa nibs.
- Toffee twist: Dip in milk chocolate and coat lightly with toffee bits or crushed honeycomb.
- Coconut bliss: Use semisweet chocolate and finish with toasted shredded coconut and a tiny dash of flaky salt.
- Gluten-free and dairy-free: Use certified gluten-free pretzels and dairy-free chocolate chips or couverture.
FAQ
What kind of chocolate melts best?
Couverture or melting wafers melt most smoothly because they’re designed for coating.
Regular chocolate chips work too but may need 1–2 teaspoons of oil to thin. Choose a brand you enjoy eating, since flavor matters here.
Do I need to temper the chocolate?
Not strictly for casual snacking. For a glossy, snappy finish that won’t bloom at room temperature, tempering helps.
If you don’t want to temper, store the pretzels in a cool place and enjoy them within a couple of weeks.
Why is my chocolate thick and clumpy?
It may have overheated or come into contact with water. Try stirring in a small amount of oil to loosen it. If it seized due to moisture, it won’t coat well but can still be used in baking.
How can I make them look professional?
Keep the coating thin and even, add a neat drizzle, and stick to two or three coordinated toppings.
Finish with a light sprinkle of flaky salt and let them set fully before packaging.
Can I use white chocolate?
Yes. White chocolate can be fussier to melt, so heat gently and stir often. It pairs well with toppings like pistachios, dried berries, or crushed cookies.
What pretzel shape works best?
Mini twists are easy to dip and bite.
Rods offer a dramatic look and are great for gift bags. Squares are perfect if you want to sandwich a caramel or peanut butter layer between two pretzels before dipping.
How do I keep them from sticking together?
Let them set completely on parchment. When storing, separate layers with parchment and avoid warm environments that soften the chocolate.
Can I add a filling?
Absolutely.
Spread a thin layer of caramel, peanut butter, or cookie butter between two pretzels, press gently, then dip. Chill briefly before coating so the filling stays put.
In Conclusion
Chocolate covered pretzel treats are simple, adaptable, and satisfyingly delicious. With a few basic ingredients and a couple of smart tips, you’ll have a tray of glossy, crunchy bites ready in under an hour.
Dress them up for holidays or keep them plain for everyday snacking. Either way, they’re proof that the best treats don’t need to be complicated.
Printable Recipe Card
Want just the essential recipe details without scrolling through the article? Get our printable recipe card with just the ingredients and instructions.