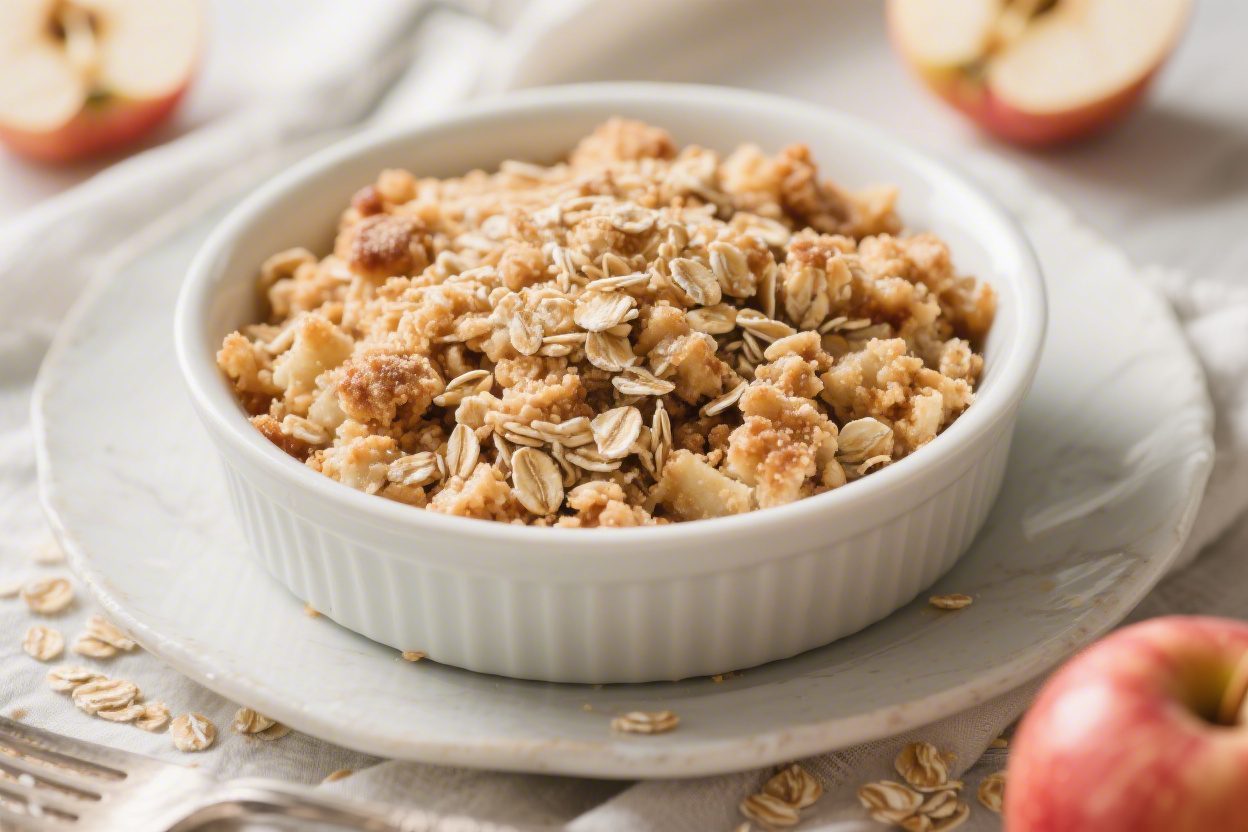
Easy Apple Crisp with Oat Topping – A Cozy, No-Fuss Dessert
Nothing beats a warm apple crisp bubbling in the oven, filling the kitchen with the smell of cinnamon and toasted oats. This version keeps things simple and reliable, with an oat topping that bakes up golden and crunchy. You don’t need special equipment or fancy steps—just a few pantry staples and fresh apples.
It’s the kind of dessert you can make on a weeknight and still serve proudly to guests. Add a scoop of vanilla ice cream, and you’ve got pure comfort in a bowl.
Ingredients
Method
- Preheat and prep the pan: Heat your oven to 350°F (175°C). Lightly butter a 9-inch square baking dish or a similar 2-quart dish.
- Slice the apples: Peel, core, and slice the apples about 1/4 inch thick. Even slices cook evenly and keep a bit of bite.
- Toss the filling: In a large bowl, combine apples, sugar, flour, lemon juice, cinnamon, nutmeg, salt, and vanilla. Toss until the apples are evenly coated and look glossy.
- Make the topping: In another bowl, stir together oats, flour, brown sugar, granulated sugar, cinnamon, and salt. Add the cold butter cubes. Use your fingers or a pastry cutter to work the butter into the dry ingredients until you get pea-sized crumbles. Stir in nuts if using.
- Assemble: Spread the apple mixture in the baking dish. Scatter the oat topping evenly over the apples. Don’t pack it down—loose crumbs crisp better.
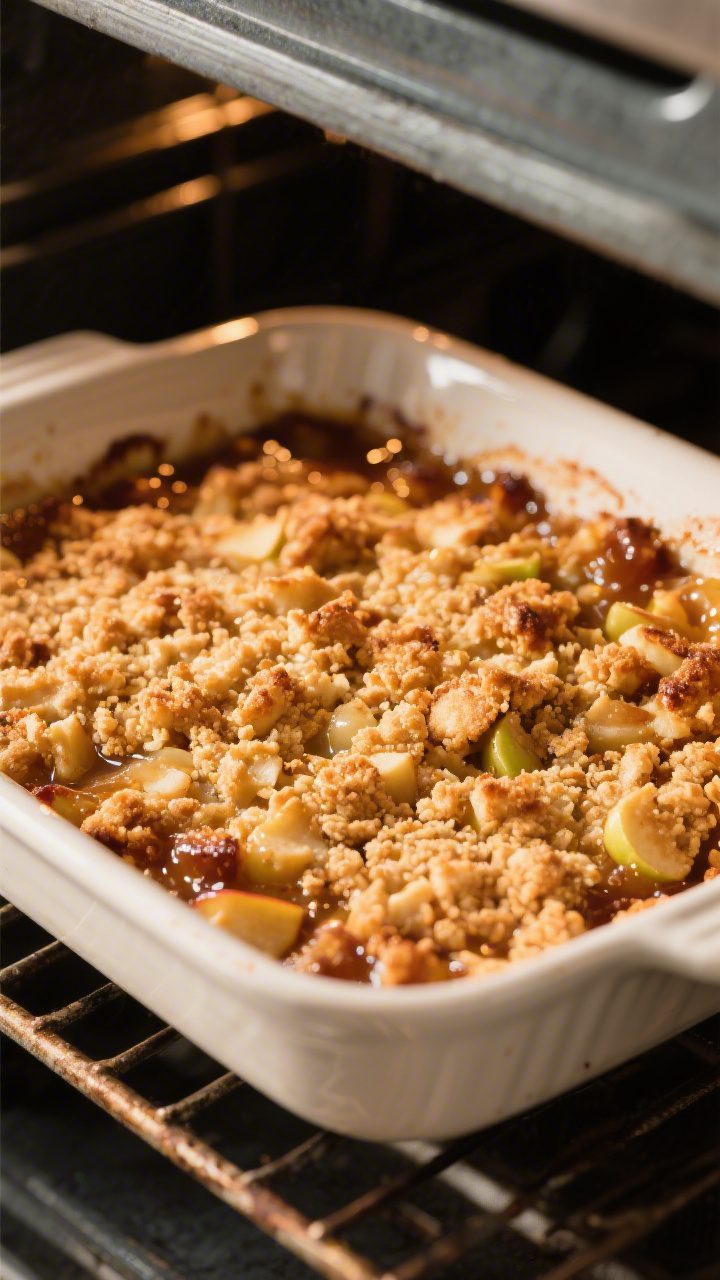
- Bake: Bake for 40–50 minutes, until the topping is golden brown and the filling is bubbling around the edges. If the top browns too fast, tent loosely with foil for the last 10 minutes.
- Rest: Let the crisp sit for 10–15 minutes before serving. This helps the juices thicken slightly so each scoop holds together.
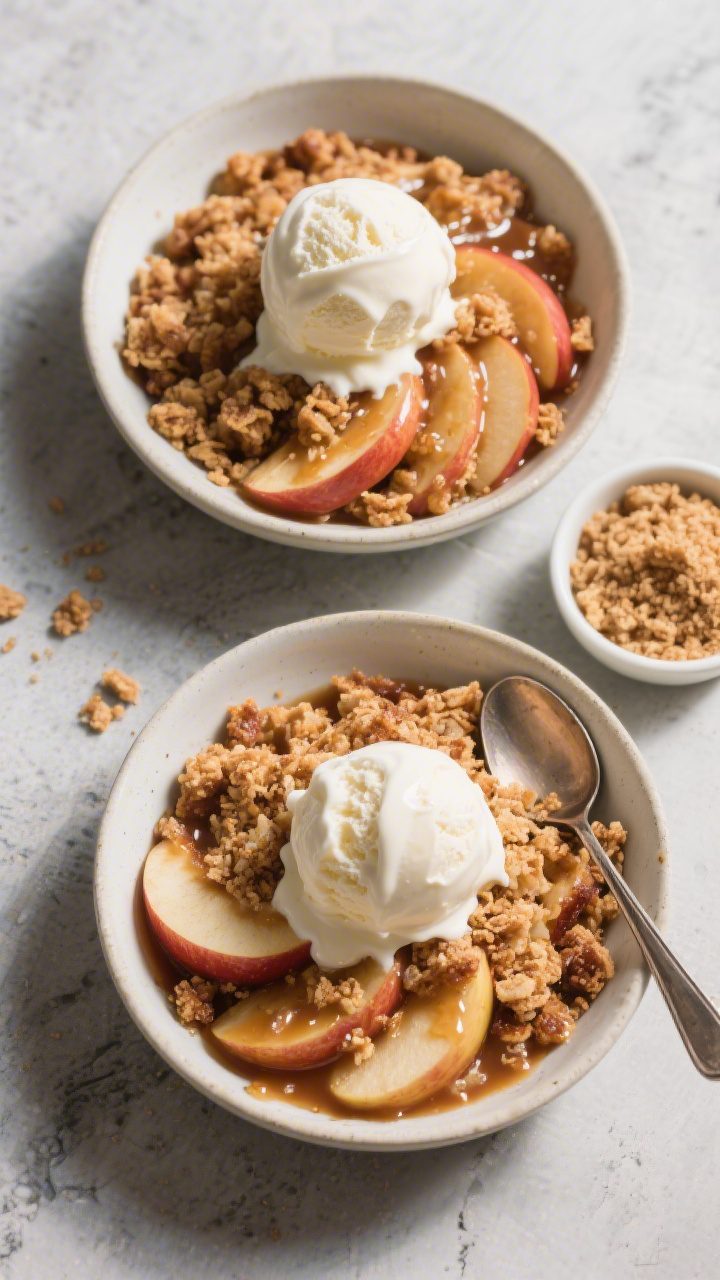
- Serve: Spoon warm crisp into bowls and top with vanilla ice cream or whipped cream. A drizzle of heavy cream is also lovely.
What Makes This Recipe So Good
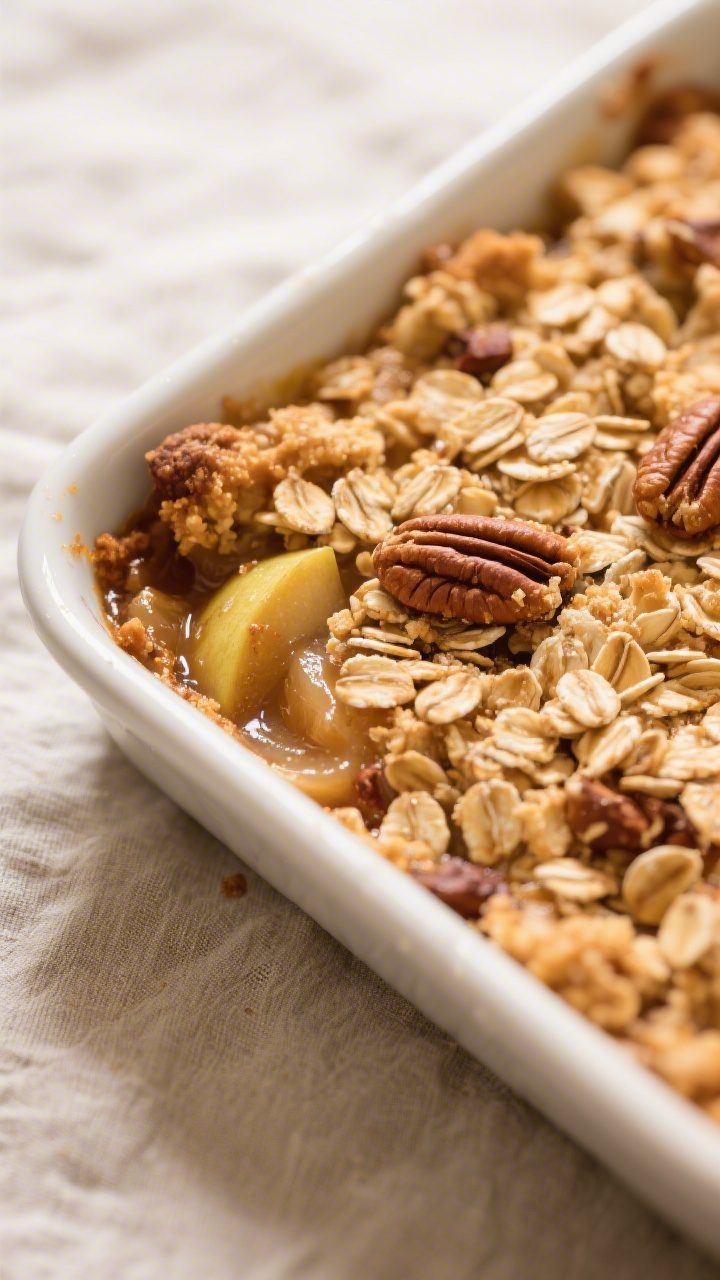
- Crispy, buttery topping: The oat crumble bakes into crunchy, caramelized clusters that contrast beautifully with the soft apples.
- Balanced sweetness: Just enough sugar to highlight the fruit without making it cloying.
- Reliable texture: A touch of flour and lemon juice keeps the filling saucy but not soupy.
- Flexible ingredients: Works with a mix of apple varieties and pantry swaps, like almond flour or coconut sugar.
- Quick to assemble: No pie crust, no rolling—just mix, layer, and bake.
Ingredients
- For the apple filling:
- 6–7 medium apples (about 2 to 2.5 pounds), peeled, cored, and sliced 1/4-inch thick
- 1/3 cup granulated sugar or light brown sugar
- 2 tablespoons all-purpose flour (or cornstarch)
- 1 tablespoon lemon juice
- 1 teaspoon ground cinnamon
- 1/4 teaspoon ground nutmeg (optional)
- 1/4 teaspoon fine sea salt
- 1 teaspoon vanilla extract (optional but nice)
- For the oat topping:
- 3/4 cup old-fashioned rolled oats
- 3/4 cup all-purpose flour
- 1/2 cup light brown sugar, packed
- 1/3 cup granulated sugar
- 1 teaspoon ground cinnamon
- 1/4 teaspoon fine sea salt
- 1/2 cup unsalted butter (1 stick), cold and cut into small cubes
- 1/2 cup chopped pecans or walnuts (optional)
- To serve: Vanilla ice cream, whipped cream, or a drizzle of heavy cream
How to Make It
- Preheat and prep the pan: Heat your oven to 350°F (175°C). Lightly butter a 9-inch square baking dish or a similar 2-quart dish.
- Slice the apples: Peel, core, and slice the apples about 1/4 inch thick.
Even slices cook evenly and keep a bit of bite.
- Toss the filling: In a large bowl, combine apples, sugar, flour, lemon juice, cinnamon, nutmeg, salt, and vanilla. Toss until the apples are evenly coated and look glossy.
- Make the topping: In another bowl, stir together oats, flour, brown sugar, granulated sugar, cinnamon, and salt. Add the cold butter cubes.
Use your fingers or a pastry cutter to work the butter into the dry ingredients until you get pea-sized crumbles. Stir in nuts if using.
- Assemble: Spread the apple mixture in the baking dish. Scatter the oat topping evenly over the apples.
Don’t pack it down—loose crumbs crisp better.
- Bake: Bake for 40–50 minutes, until the topping is golden brown and the filling is bubbling around the edges. If the top browns too fast, tent loosely with foil for the last 10 minutes.
- Rest: Let the crisp sit for 10–15 minutes before serving. This helps the juices thicken slightly so each scoop holds together.
- Serve: Spoon warm crisp into bowls and top with vanilla ice cream or whipped cream.
A drizzle of heavy cream is also lovely.
How to Store
- Room temperature: Keep covered for up to 1 day if your kitchen is cool.
- Refrigerator: Store tightly covered for 4–5 days. The topping softens over time but can be re-crisped.
- Reheat: Warm individual portions in the microwave for 30–45 seconds, or reheat the whole dish in a 325°F (165°C) oven for 10–15 minutes to refresh the topping.
- Freezer: Freeze baked crisp, well wrapped, for up to 2 months. Thaw in the fridge overnight, then reheat at 325°F until hot and bubbly.
You can also freeze the unbaked, assembled crisp; bake from frozen, adding 10–15 minutes and tenting if needed.
Why This is Good for You
- Fruit-forward dessert: Apples bring fiber, vitamin C, and natural sweetness, so you can use less added sugar.
- Whole grains: Rolled oats add texture and provide soluble fiber, which supports heart health.
- Customizable sweetness: You control the sugar. Tart apples need a bit more; sweeter apples need less.
- Portion-friendly: It’s easy to scoop a modest serving and pair it with yogurt for a more balanced treat.
Common Mistakes to Avoid
- Using only super-sweet apples: The crisp can turn bland. Mix tart and sweet varieties for depth.
- Skipping the thickener: Without flour or cornstarch, the filling may turn watery.
A small amount keeps it jammy.
- Warm butter in the topping: This leads to greasy, flat crumbs. Keep butter cold so the topping bakes into crisp clusters.
- Overbaking or underbaking: Pull it when the edges bubble and the top is deeply golden. Pale topping means soft, not crisp.
- Cutting huge apple chunks: Thick pieces can stay firm while the topping over-browns.
Aim for even, thin slices.
Variations You Can Try
- Maple-pecan: Swap half the granulated sugar for maple syrup in the filling and add chopped pecans to the topping.
- Gluten-free: Use certified gluten-free oats and a 1:1 gluten-free flour blend or almond flour in both filling and topping.
- Lower-sugar: Reduce the sugars by a third, especially if using sweeter apples like Honeycrisp.
- Spice blend: Add a pinch of cloves, cardamom, or ginger for extra warmth.
- Cran-apple: Stir 1 cup fresh or frozen cranberries into the apples for a tart pop of color and flavor.
- Dairy-free: Use cold coconut oil or a plant-based butter in the topping.
- Brown butter twist: Brown the butter first, chill until firm, then cube and use for a deeper, nutty flavor.
FAQ
What are the best apples for apple crisp?
Granny Smith, Honeycrisp, Fuji, Braeburn, and Pink Lady hold their shape and balance sweetness with acidity. A mix of two varieties gives the best flavor and texture.
Do I have to peel the apples?
No, you can leave the peel on for more fiber and color. The texture will be slightly chewier.
If you want a softer, classic feel, peel them.
Can I make this ahead?
Yes. Assemble the filling and topping separately, store in the fridge for up to 24 hours, then combine and bake. Or assemble fully and refrigerate, but wait to add the topping until just before baking for better crunch.
How do I keep the topping crisp?
Use cold butter, don’t overmix, and avoid packing the crumbs.
When reheating, use the oven instead of the microwave to restore crunch.
Why is my filling runny?
You may need a bit more thickener, or the apples released extra juice. Let the crisp rest 10–15 minutes after baking so the juices set.
Can I halve or double the recipe?
Yes. Halve it in an 8-inch square dish and check early.
Double it in a 9×13-inch pan and add 5–10 minutes to the bake time as needed.
What can I use instead of oats?
Try finely chopped nuts, crushed graham crackers, or a simple streusel of flour, sugar, and butter. The texture will be different but still delicious.
Is it okay to use quick oats?
You can, but the topping will be softer. Old-fashioned rolled oats create a heartier, crisper crumble.
Can I reduce the sugar?
Yes.
Cut the sugar in both the filling and topping by up to one-third, especially if using sweet apples. Taste the filling and adjust before baking.
What should I serve with apple crisp?
Vanilla ice cream is classic, but cinnamon ice cream, whipped cream, or lightly sweetened Greek yogurt also pair well.
Final Thoughts
This Easy Apple Crisp with Oat Topping brings all the cozy flavors you want with none of the fuss. The tender apples, warm spices, and crunchy crumble make it a crowd-pleaser any time of year.
Keep a few apples on hand, and you’ll always have a quick dessert ready to go. It’s simple, dependable, and endlessly adaptable—exactly what a weeknight treat should be. Enjoy it warm with something creamy on top and call it a good day.
Printable Recipe Card
Want just the essential recipe details without scrolling through the article? Get our printable recipe card with just the ingredients and instructions.