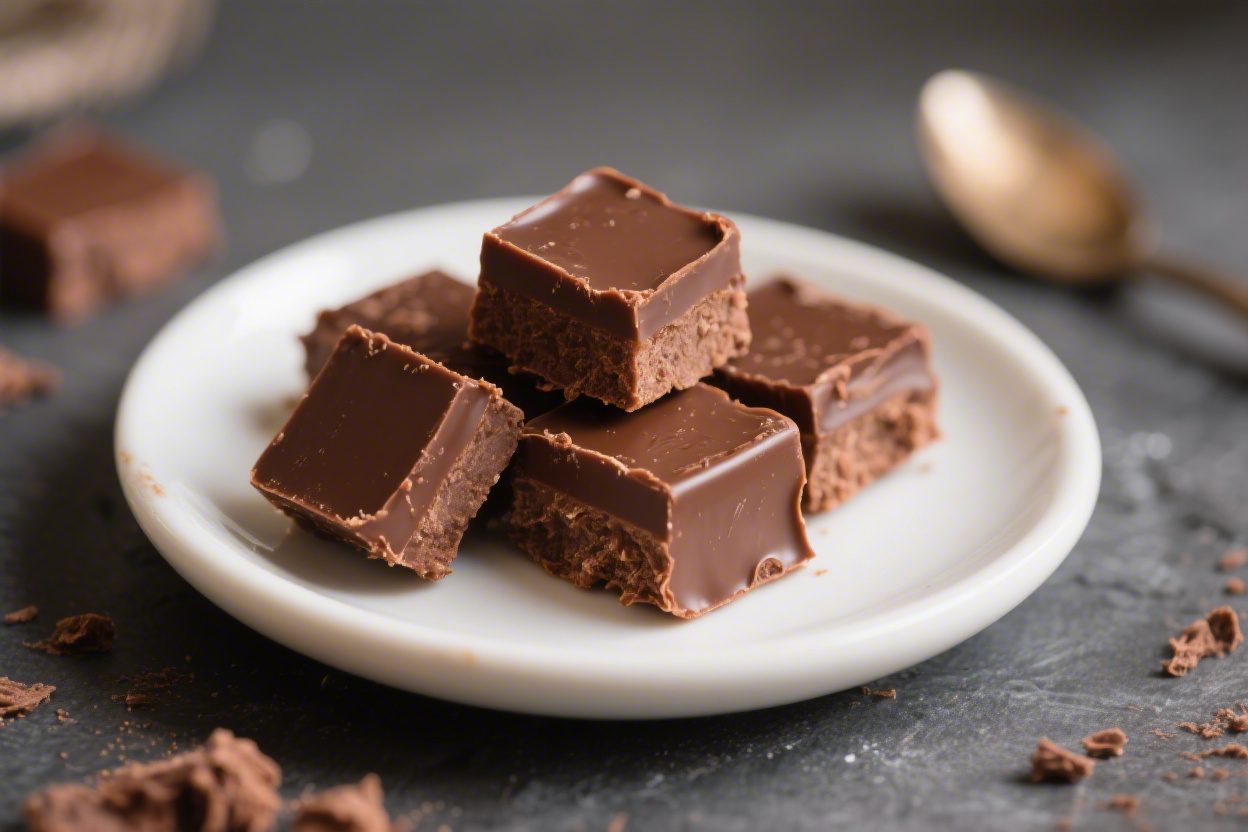
Easy Chocolate Fudge (2 Ingredients) – Quick, Creamy, and Foolproof
This is the kind of recipe you keep in your back pocket for last-minute treats and sweet cravings. With just two ingredients and a few minutes of hands-on time, you’ll get rich, smooth, chocolatey fudge that sets beautifully every time. No candy thermometer, no tricky steps, and no stress.
It’s perfect for holidays, potlucks, or an everyday pick-me-up. If you can melt chocolate, you can make this fudge—and it tastes like you spent way more effort than you did.
Ingredients
Method
- Prepare the pan. Line an 8-inch (20 cm) square baking pan with parchment, leaving overhang on two sides to lift the fudge out later. Lightly grease the parchment if you like.
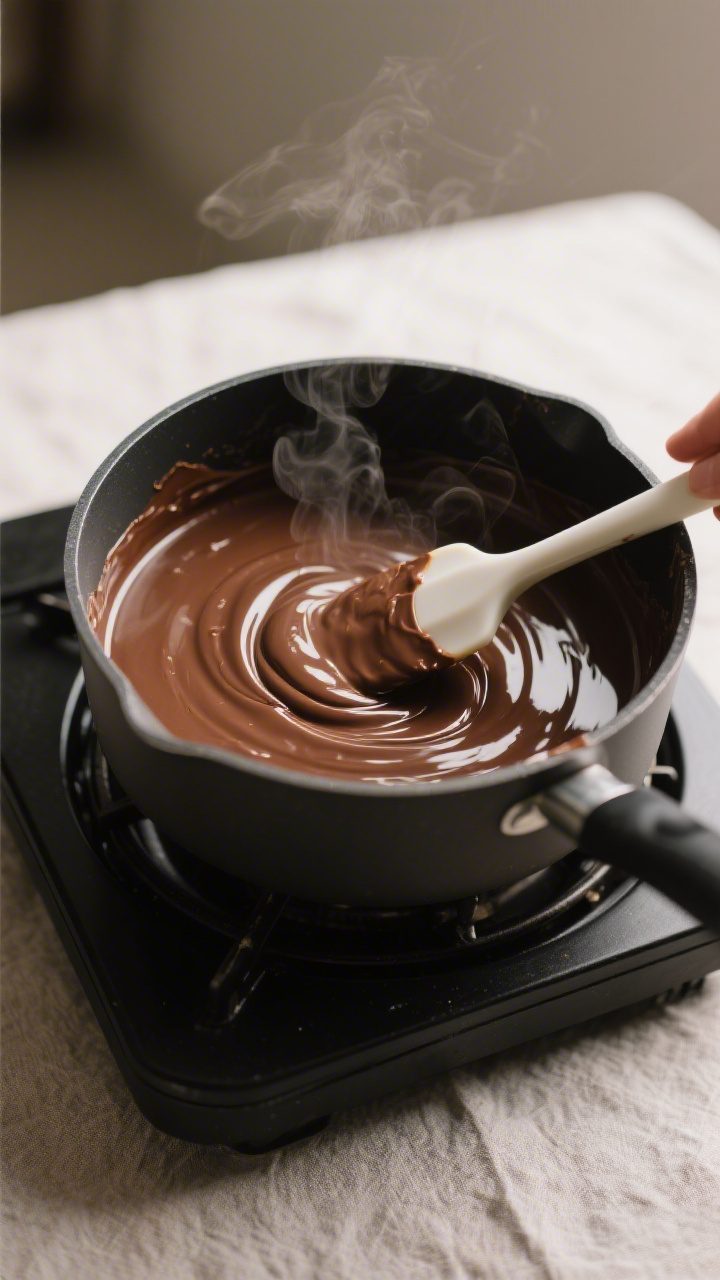
- Melt the chocolate with the condensed milk. Add both to a medium saucepan. Warm over low heat, stirring constantly, until smooth and glossy. Do not let it simmer or scorch.
- Stir in extras. If using, mix in vanilla and a pinch of salt. Stir until fully combined.
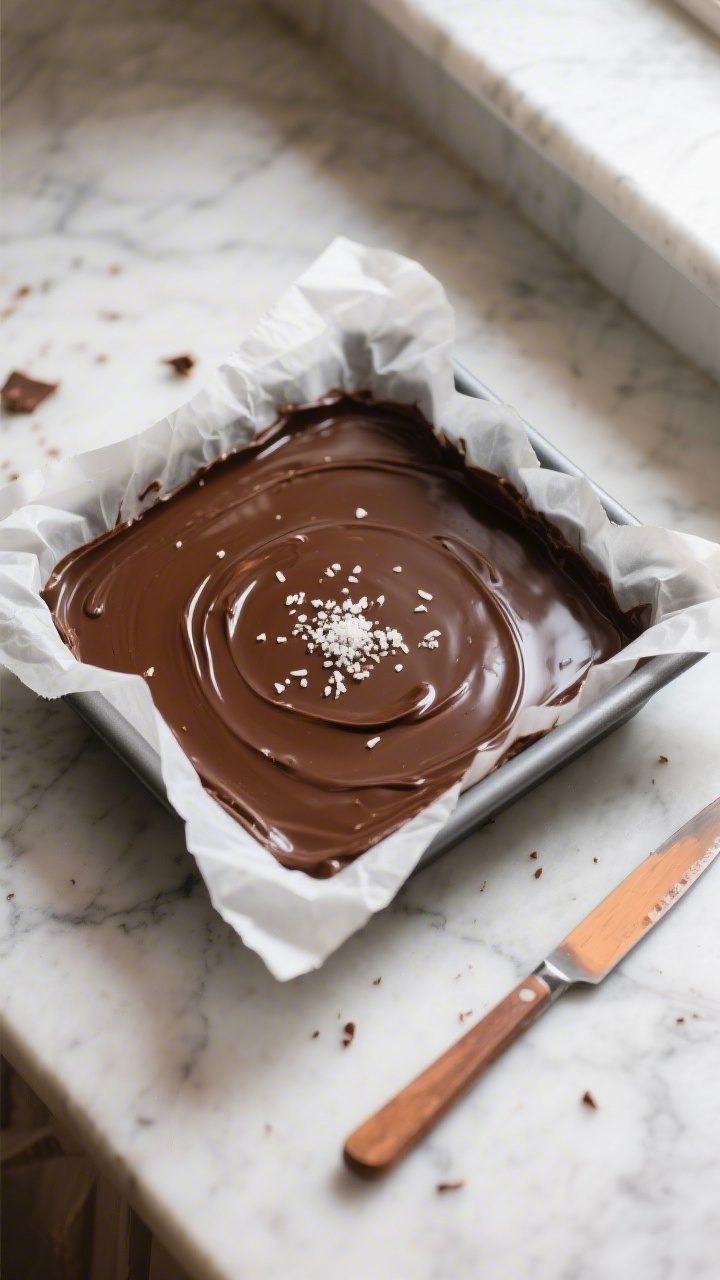
- Pour and level. Scrape the mixture into the prepared pan. Smooth the top with a spatula. Tap the pan gently on the counter to release air bubbles.
- Chill. Refrigerate uncovered for 2–3 hours, or until firm enough to slice. For faster setting, place in the fridge’s coldest spot.
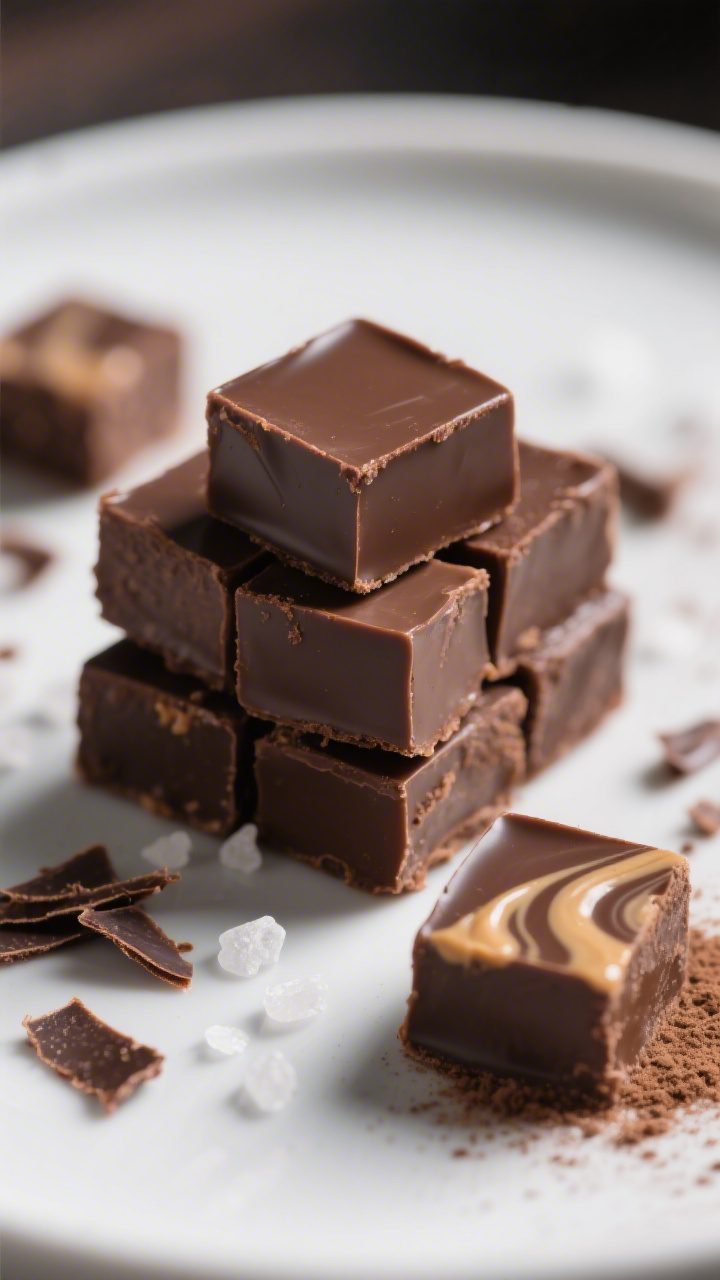
- Slice and serve. Lift the fudge out using the parchment overhang. Use a warm knife (run under hot water and dry) to cut into 1-inch squares.
Why This Recipe Works
- Sweetened condensed milk does the heavy lifting. It brings sweetness, creaminess, and structure, giving the fudge that classic dense, silky texture without extra sugar or butter.
- Chocolate sets the structure. As the melted chocolate cools, it firms up and locks in the shape, creating clean slices that hold at room temperature.
- Minimal ingredients, maximum flavor. Using good-quality chocolate means the fudge tastes premium without add-ins or complicated steps.
- Practically fail-proof. No need to monitor temperatures or worry about crystallization. Melt, mix, pour, and chill.
Ingredients
- 3 cups (about 18 oz/510 g) semi-sweet chocolate chips or chopped bar chocolate
- 1 can (14 oz/397 g) sweetened condensed milk
- Optional but recommended: 1 teaspoon vanilla extract and a pinch of fine sea salt for flavor balance
Instructions
- Prepare the pan. Line an 8-inch (20 cm) square baking pan with parchment, leaving overhang on two sides to lift the fudge out later.
Lightly grease the parchment if you like.
- Melt the chocolate with the condensed milk. Add both to a medium saucepan. Warm over low heat, stirring constantly, until smooth and glossy. Do not let it simmer or scorch.
- Stir in extras. If using, mix in vanilla and a pinch of salt.
Stir until fully combined.
- Pour and level. Scrape the mixture into the prepared pan. Smooth the top with a spatula. Tap the pan gently on the counter to release air bubbles.
- Chill. Refrigerate uncovered for 2–3 hours, or until firm enough to slice.
For faster setting, place in the fridge’s coldest spot.
- Slice and serve. Lift the fudge out using the parchment overhang. Use a warm knife (run under hot water and dry) to cut into 1-inch squares.
Storage Instructions
- Room temperature: Store in an airtight container at cool room temp for up to 1 week if your kitchen isn’t warm. Keep out of direct sunlight.
- Refrigerator: Keeps well for 2–3 weeks.
Let pieces sit at room temperature for 10–15 minutes before serving for the best texture.
- Freezer: Freeze for up to 3 months. Wrap the slab or individual squares tightly in plastic, then place in a freezer bag or container. Thaw overnight in the fridge.
- Layering tip: Place parchment between layers to prevent sticking and smudging.
Health Benefits
- Portion control is simple. Fudge is rich, so small pieces satisfy a sweet tooth without needing a big serving.
- Dark chocolate options. Using higher-cocoa chocolate can add antioxidants like flavanols, which support heart health.
- Fewer additives. With only two ingredients, you know exactly what’s in your treat—and you can choose quality chocolate.
- Customizable. You can reduce sugar by using extra-dark chocolate.
While still a dessert, small tweaks can make it fit your preferences.
Common Mistakes to Avoid
- Overheating the mixture. High heat can burn chocolate or make it grainy. Keep heat low and stir constantly.
- Using evaporated milk by mistake. You need sweetened condensed milk. Evaporated milk will not set the fudge.
- Skipping the parchment. Without a liner, the fudge can stick and be hard to remove cleanly.
- Cutting before it’s set. Warm fudge will smudge and crumble.
Chill until firm, then slice with a warm, sharp knife.
- Choosing low-quality chocolate. The flavor depends almost entirely on the chocolate. Use a brand you enjoy eating on its own.
Alternatives
- Chocolate type: Swap semi-sweet for dark (60–70% cocoa) for a less sweet fudge, or milk chocolate for a sweeter, softer finish. If using milk chocolate, add 1–2 oz more chocolate to help it set.
- Flavor boosts: Stir in 1 teaspoon vanilla, 1/2 teaspoon peppermint extract, 1 teaspoon instant espresso powder, or 1/2 teaspoon almond extract.
- Texture add-ins: Fold in 1 cup chopped nuts (walnuts, pecans, almonds), crushed peppermint, mini marshmallows, toasted coconut, or toffee bits after melting.
- Swirls and toppings: Marble in 1/4 cup warmed peanut butter, cookie butter, or caramel.
Sprinkle flaky sea salt on top before chilling.
- Dairy-free version: Use dairy-free sweetened condensed coconut milk and dairy-free chocolate. Texture stays creamy, with a hint of coconut.
- Microwave method: Heat the chocolate and condensed milk together in a microwave-safe bowl in 20–30 second bursts, stirring between each, until smooth.
FAQ
Can I make this without sweetened condensed milk?
Yes, but it becomes a different recipe. Sweetened condensed milk provides sweetness and structure.
Alternatives like heavy cream and chocolate work for ganache-style fudge, but the set and taste will be different.
Why is my fudge greasy or separated?
This usually means the mixture got too hot. Remove from heat immediately and whisk gently until it comes back together. A splash of room-temperature milk can help emulsify if needed.
How do I get clean, neat slices?
Chill the fudge thoroughly.
Use a long, sharp knife warmed under hot water and wiped dry. Press straight down rather than sawing, and clean the blade between cuts.
Can I double the recipe?
Absolutely. Use a 9×13-inch pan, and melt the mixture in a larger saucepan or microwave-safe bowl.
Cooling time may be slightly longer.
What if I only have chocolate bars?
Chop them finely so they melt quickly and evenly. Measure by weight if possible. If using very dark chocolate (70%+), you may want to add a tablespoon of butter to soften the set.
Do I need to refrigerate the fudge?
Not strictly, if your kitchen is cool.
However, refrigeration keeps the texture firm and extends shelf life. Bring to room temperature a bit before serving for the creamiest bite.
Why is my fudge too soft?
It can happen with milk chocolate or if the room is warm. Chill longer to firm up.
Next time, add a little more chocolate or use darker chocolate for a sturdier set.
Final Thoughts
Two ingredients, one pan, and a guaranteed crowd-pleaser—this fudge checks every box. It’s reliable, rich, and flexible enough to dress up with nuts, swirls, or spices. Keep condensed milk and chocolate on hand, and you’ve always got dessert in your back pocket.
When you need a quick win, this simple fudge delivers creamy squares of chocolate comfort every time.
Printable Recipe Card
Want just the essential recipe details without scrolling through the article? Get our printable recipe card with just the ingredients and instructions.