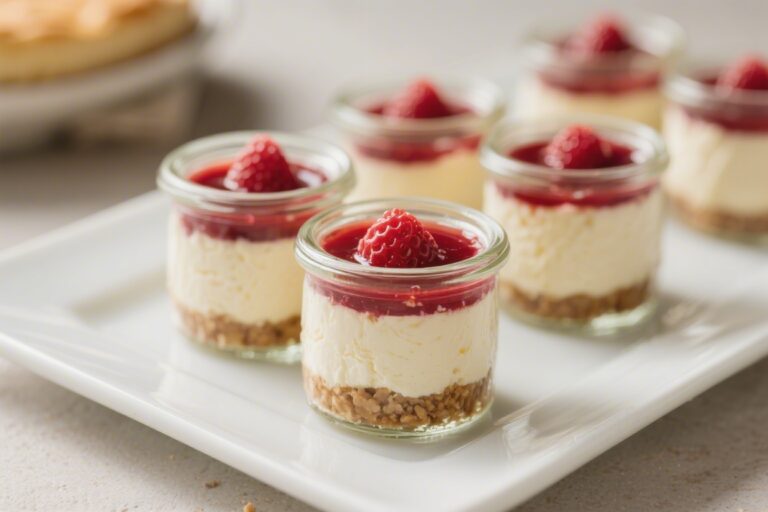
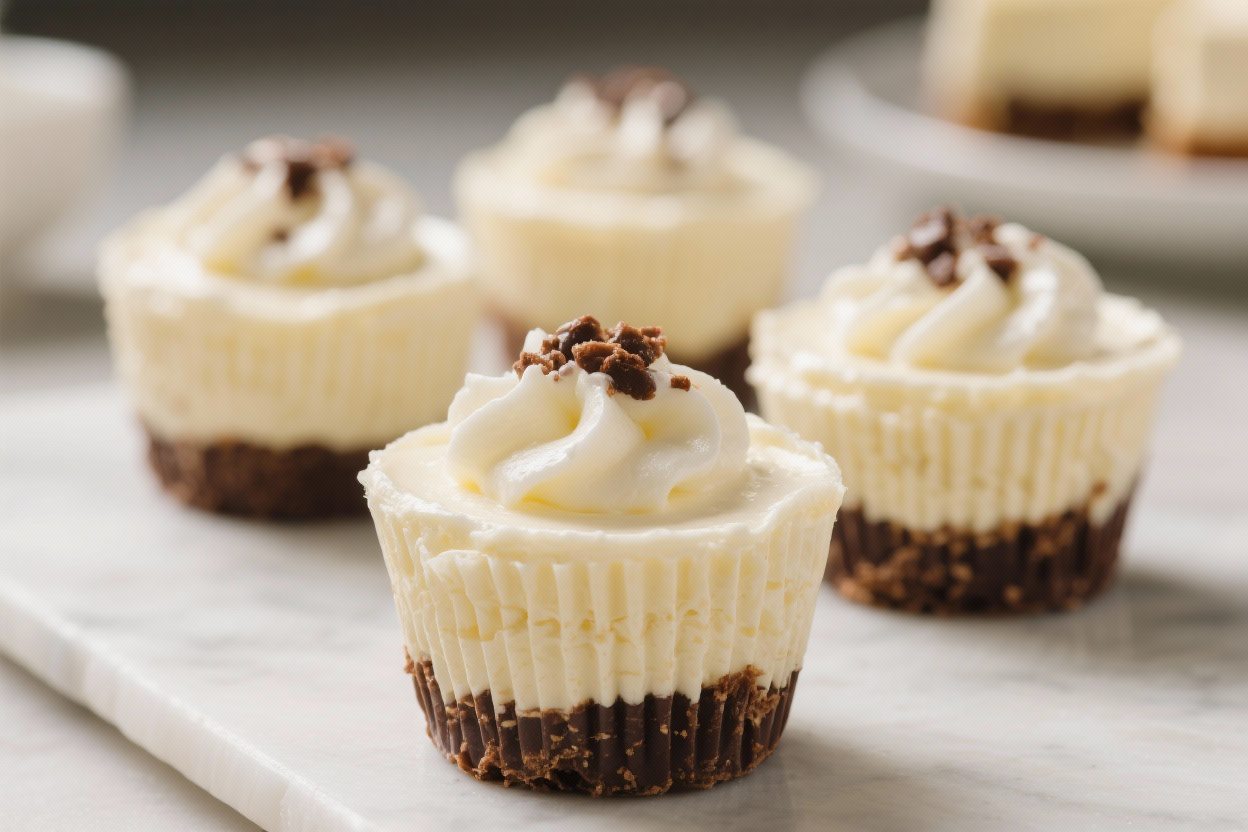
Creamy No-Bake Cheesecake Cups – Simple, Sweet, and Perfect for Any Day
No-bake cheesecake cups are the kind of dessert you make when you want something special without turning on the oven. They’re silky, lightly tangy, and perfectly sweet with a crumbly cookie base. Best of all, they come together in minutes and chill while you do anything else.
Dress them up with berries, chocolate, or a swirl of jam, and suddenly you’ve got a dessert that looks fancy and tastes like a treat from a bakery. Keep this recipe handy for weeknights, holidays, or when you just want a little creamy comfort.
Ingredients
Method
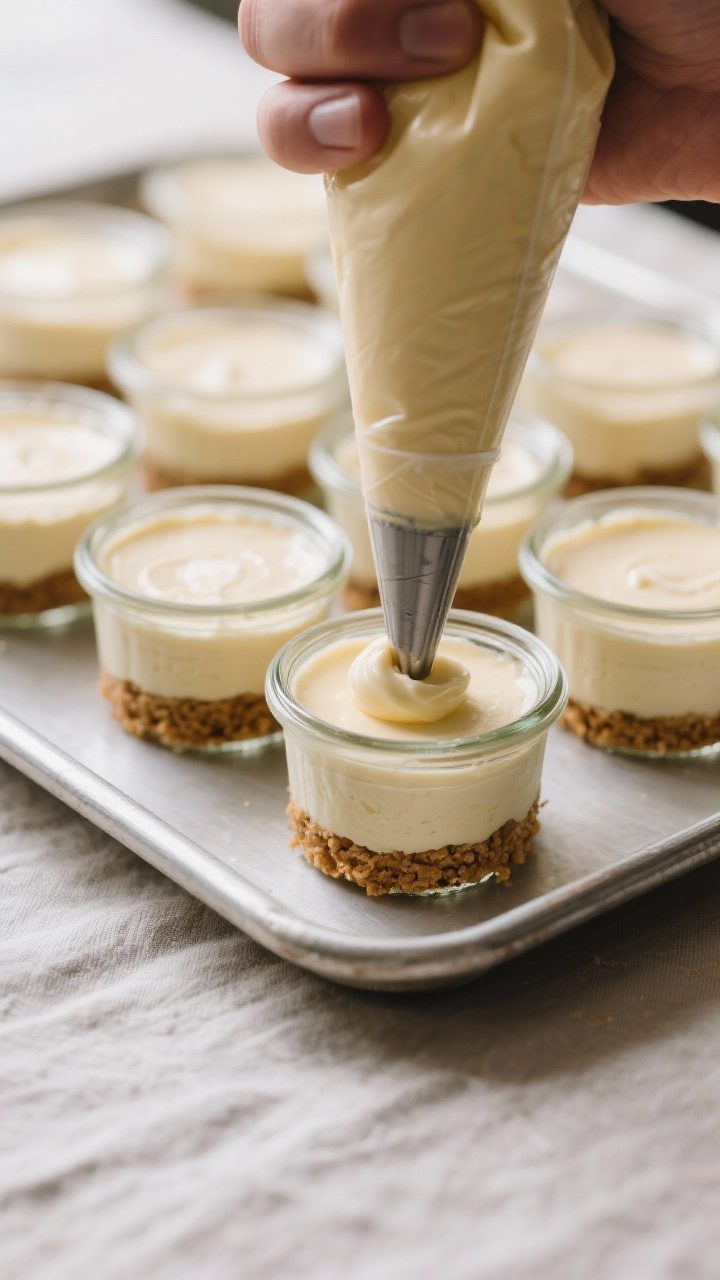
- Prep your cups. Line up 8–10 small jars or ramekins. If using a muffin tin, set paper liners inside. This makes serving clean and easy.
- Make the crust. Crush the graham crackers into fine crumbs. Stir in melted butter and a pinch of salt until the mixture looks like wet sand and holds together when pressed.
- Press the base. Spoon a couple of tablespoons of crumbs into each cup and press down firmly with the back of a spoon. Aim for an even, compact layer. Chill while you make the filling.
- Whip the cream. In a cold bowl, whip the heavy cream to stiff peaks. Set aside. This adds lift and a mousse-like texture.
- Beat the cream cheese. In a separate bowl, beat the cream cheese until very smooth and fluffy, about 2–3 minutes. Scrape the bowl well so there are no lumps.
- Sweeten and flavor. Add powdered sugar, vanilla extract, lemon juice, and lemon zest (if using) to the cream cheese. Beat until silky and fully combined.
- Fold in the whipped cream. Gently fold the whipped cream into the cream cheese mixture in two additions. Keep the mixture light; don’t overmix.
- Fill the cups. Spoon or pipe the cheesecake filling over the chilled crusts, smoothing the tops. Leave a little space for toppings if you like.
- Chill to set. Cover and refrigerate for at least 3 hours, ideally 4–6 hours. The texture firms up and becomes irresistibly creamy.
- Add toppings and serve. Right before serving, finish with berries, compote, chocolate, or your favorite garnish. Enjoy straight from the cup.
What Makes This Special
These cheesecake cups skip the fuss of a traditional baked cheesecake, but they keep all the rich flavor and creamy texture you crave. The individual cups are easy to portion and serve, so they’re great for gatherings or meal prep.
The crust has a buttery crunch, the filling is light and fluffy, and the toppings are completely customizable. They’re quick to make ahead, and they set beautifully in the fridge without cracking or drying out.
Shopping List
- Cream cheese (16 oz, full-fat, brick style)
- Heavy cream (1 cup), or substitute with whipping cream
- Powdered sugar (3/4 cup)
- Vanilla extract (1 1/2 teaspoons)
- Lemon juice (1 tablespoon), freshly squeezed
- Fine lemon zest (optional, 1/2 teaspoon) for brightness
- Graham crackers or digestive biscuits (about 1 1/2 cups crumbs)
- Unsalted butter (5 tablespoons), melted
- Pinch of salt for the crust
- Toppings of your choice: fresh berries, fruit compote, chocolate shavings, caramel sauce, crushed cookies, or lemon curd
- Garnish (optional): fresh mint leaves
- Serving cups: small glass jars, ramekins, or sturdy cupcake liners in a muffin tin
Instructions
- Prep your cups. Line up 8–10 small jars or ramekins. If using a muffin tin, set paper liners inside.
This makes serving clean and easy.
- Make the crust. Crush the graham crackers into fine crumbs. Stir in melted butter and a pinch of salt until the mixture looks like wet sand and holds together when pressed.
- Press the base. Spoon a couple of tablespoons of crumbs into each cup and press down firmly with the back of a spoon. Aim for an even, compact layer.
Chill while you make the filling.
- Whip the cream. In a cold bowl, whip the heavy cream to stiff peaks. Set aside. This adds lift and a mousse-like texture.
- Beat the cream cheese. In a separate bowl, beat the cream cheese until very smooth and fluffy, about 2–3 minutes.
Scrape the bowl well so there are no lumps.
- Sweeten and flavor. Add powdered sugar, vanilla extract, lemon juice, and lemon zest (if using) to the cream cheese. Beat until silky and fully combined.
- Fold in the whipped cream. Gently fold the whipped cream into the cream cheese mixture in two additions. Keep the mixture light; don’t overmix.
- Fill the cups. Spoon or pipe the cheesecake filling over the chilled crusts, smoothing the tops.
Leave a little space for toppings if you like.
- Chill to set. Cover and refrigerate for at least 3 hours, ideally 4–6 hours. The texture firms up and becomes irresistibly creamy.
- Add toppings and serve. Right before serving, finish with berries, compote, chocolate, or your favorite garnish. Enjoy straight from the cup.
Storage Instructions
Cover the cheesecake cups tightly and store them in the refrigerator for up to 4 days.
Add fresh fruit or delicate toppings just before serving so they don’t weep or soften the surface. For longer storage, you can freeze the cups (without fresh fruit) for up to 1 month. Thaw in the fridge overnight for the best texture.

Health Benefits
- Protein and calcium: Cream cheese and cream provide protein and calcium, which support muscles and bone health.
- Portion control: Individual cups help with mindful servings, making it easier to enjoy a treat without overdoing it.
- Customizable toppings: Fresh berries add fiber and antioxidants.
Lemon zest offers brightness without extra sugar.
- Reduced added sugar: Using powdered sugar allows sweetening to taste, so you can keep it moderate compared to store-bought desserts.
While this is still a dessert, small tweaks—like lighter crusts, reduced sugar, or fruit-forward toppings—can make it a more balanced treat.
Common Mistakes to Avoid
- Using cold cream cheese: Cold cream cheese won’t beat smoothly and leaves lumps. Let it sit at room temperature for 30–45 minutes first.
- Skipping the whip: Whipping the cream separately and folding it in is what creates a light, fluffy texture. Don’t rush this step.
- Overmixing: Once the whipped cream is added, fold gently.
Overmixing deflates the filling and makes it dense.
- Not chilling long enough: The filling needs time to set. Aim for at least 3 hours, longer if you want a firmer set.
- Wet toppings too early: Juicy fruits or sauces can bleed into the filling if added too soon. Add them right before serving.
Recipe Variations
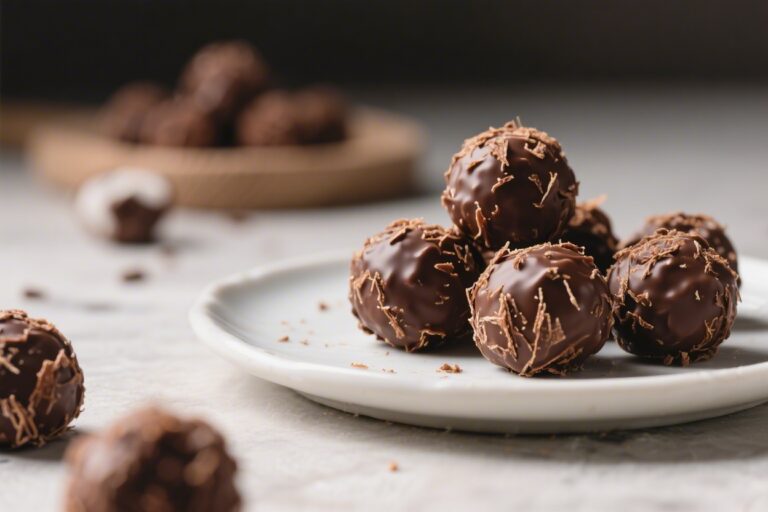
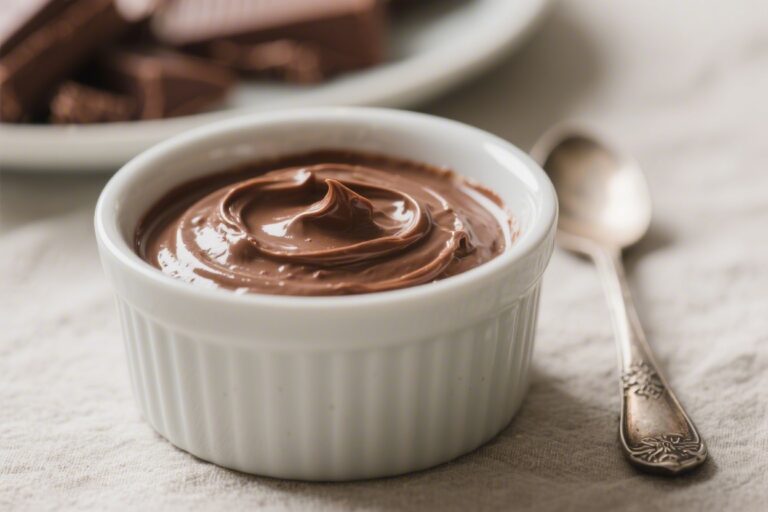
- Chocolate Swirl: Fold in 1/3 cup melted, cooled dark chocolate or ripple chocolate sauce through the filling for a marbled effect.
- Strawberry Shortcake: Layer sliced strawberries and a spoonful of strawberry compote between the crust and filling.
Top with more berries.
- Salted Caramel Pecan: Drizzle salted caramel over the filling and sprinkle with toasted chopped pecans.
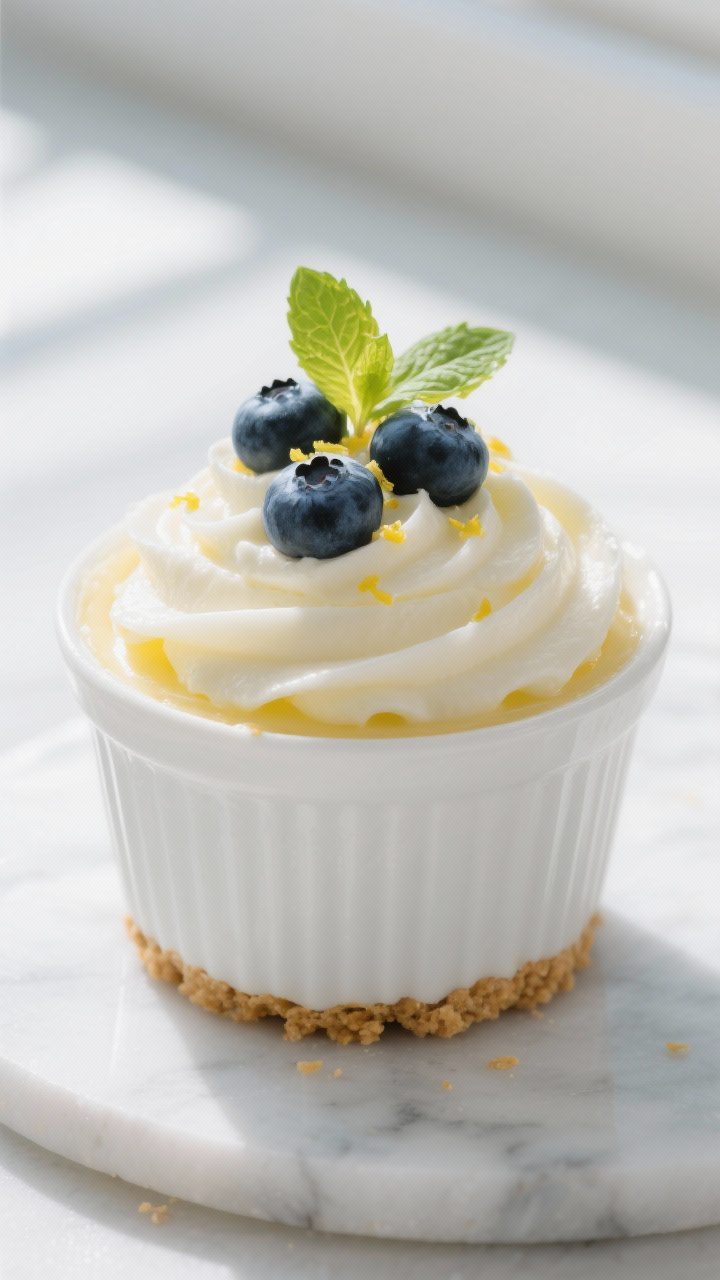
- Lemon Blueberry: Add extra lemon zest to the filling and finish with fresh blueberries and a quick lemon glaze.
- Cookie Crunch: Swap graham crackers for chocolate wafer cookies or Biscoff. Add crushed cookies on top for texture.
- Lightened Up: Use Neufchâtel (1/3 less fat) and reduce powdered sugar to 1/2 cup. The texture stays creamy with a little less richness.
- Gluten-Free: Choose gluten-free cookies for the crust.
Everything else stays the same.
FAQ
Can I make these ahead of time?
Yes. They’re perfect for making a day in advance. Prepare the cups, chill them, and add toppings right before serving for the best look and texture.
What if I don’t have a mixer?
You can use a sturdy whisk, but it takes effort.
Soften the cream cheese well and whisk until smooth. For the cream, shake it in a sealed jar or whisk until stiff peaks form.
How do I prevent a soggy crust?
Press the crust firmly so it holds together, and chill it while making the filling. Avoid adding very wet toppings in advance.
If you like a sturdier crust, add an extra tablespoon of melted butter.
Can I use granulated sugar instead of powdered sugar?
Powdered sugar dissolves more easily and keeps the filling smooth. If using granulated sugar, beat it with the cream cheese for a few extra minutes until fully dissolved, or use superfine sugar.
How many servings does this make?
Plan on 8–10 cups, depending on the size of your jars or ramekins. Smaller cups make great party portions; larger cups feel more indulgent.
Do these set without gelatin?
Yes.
The combination of whipped cream and chilled cream cheese firms up nicely. If you prefer a firmer set, you can fold in 1 teaspoon of bloomed gelatin, but it’s not necessary.
Can I make them dairy-free?
Use dairy-free cream cheese and coconut whipping cream. Choose a dairy-free cookie for the crust and proceed as usual.
The flavor will be slightly different but still delicious.
What toppings work best for a crowd?
Set up a topping bar with berries, chocolate chips, caramel, crushed cookies, and lemon curd. Let guests build their own cups for a fun, low-stress dessert.
In Conclusion
Creamy No-Bake Cheesecake Cups are a simple pleasure with big payoff. They’re easy to assemble, chill beautifully, and welcome any topping you love.
Keep a batch ready for weeknight cravings, dinner parties, or a sweet finish to a lazy weekend. With a few pantry ingredients and a little chill time, you’ll have a dessert that feels special every single time.
Printable Recipe Card
Want just the essential recipe details without scrolling through the article? Get our printable recipe card with just the ingredients and instructions.