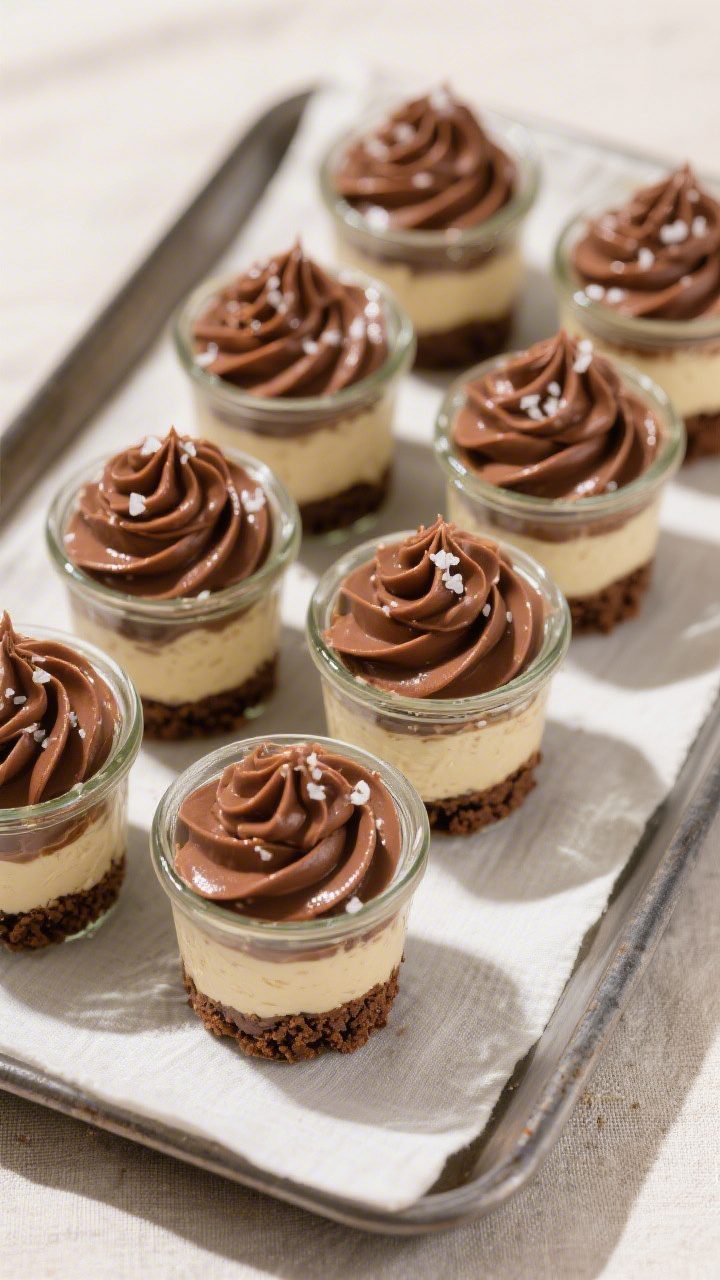
No-Bake Chocolate Cheesecake Cups – Creamy, Quick, and Crowd-Pleasing
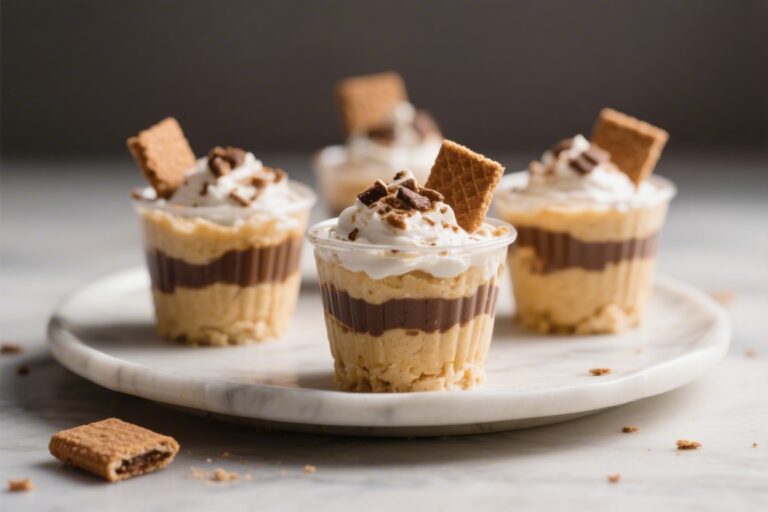
No-bake chocolate cheesecake cups are a sweet fix when you want dessert without turning on the oven. They’re rich, silky, and surprisingly simple to make. You’ll get that deep chocolate flavor with a creamy cheesecake texture, all in tidy individual cups.
Great for parties, date night, or a weeknight treat, these cups feel special without much effort. If you love make-ahead desserts that look polished and taste indulgent, this recipe checks every box.
Ingredients
Method
- Prep your cups: Set out 8–10 small jars, ramekins, or sturdy cupcake liners in a muffin tin. This recipe fills about 8 generous portions or up to 10 smaller ones.
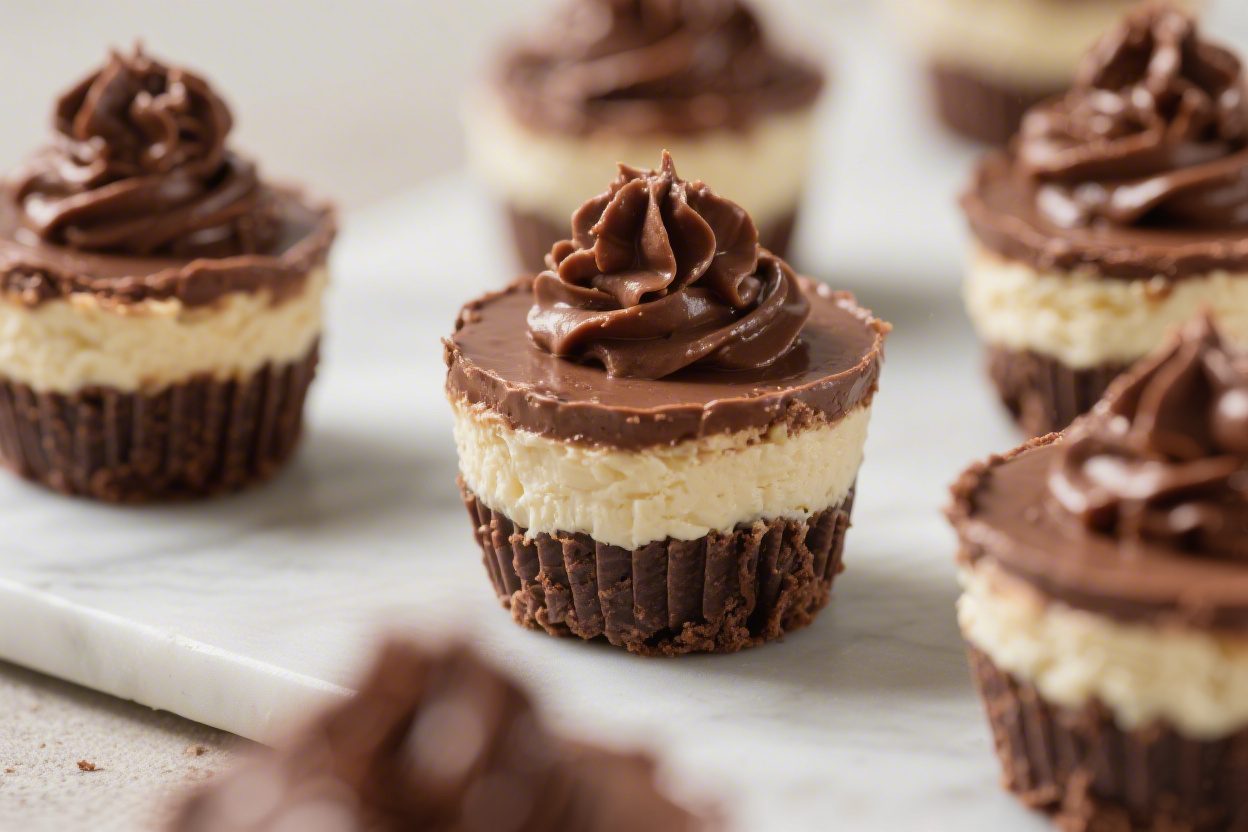
- Make the crust: Stir cookie or graham cracker crumbs with melted butter until they look like damp sand. If you pinch the mixture, it should hold together. Spoon 2–3 tablespoons into each cup and press down firmly with the back of a spoon. Chill while you make the filling.
- Melt the chocolate: Add chopped chocolate to a microwave-safe bowl. Microwave in 20–30 second bursts, stirring between each until smooth. Set aside to cool until just warm to the touch. You want it fluid, not hot.
- Whip the cream: In a cold bowl, beat heavy cream to medium-stiff peaks. It should hold shape but still look silky. Set aside in the fridge.
- Beat the cream cheese: In a separate bowl, beat softened cream cheese with powdered sugar, vanilla, and a pinch of salt until completely smooth and fluffy, about 2–3 minutes. Scrape the bowl so there are no lumps.
- Add sour cream: Mix in sour cream until the filling looks glossy and unified. Taste and adjust sweetness if needed.
- Incorporate the chocolate: Stream the cooled, melted chocolate into the cream cheese mixture while mixing on low. Blend just until evenly combined and chocolatey.
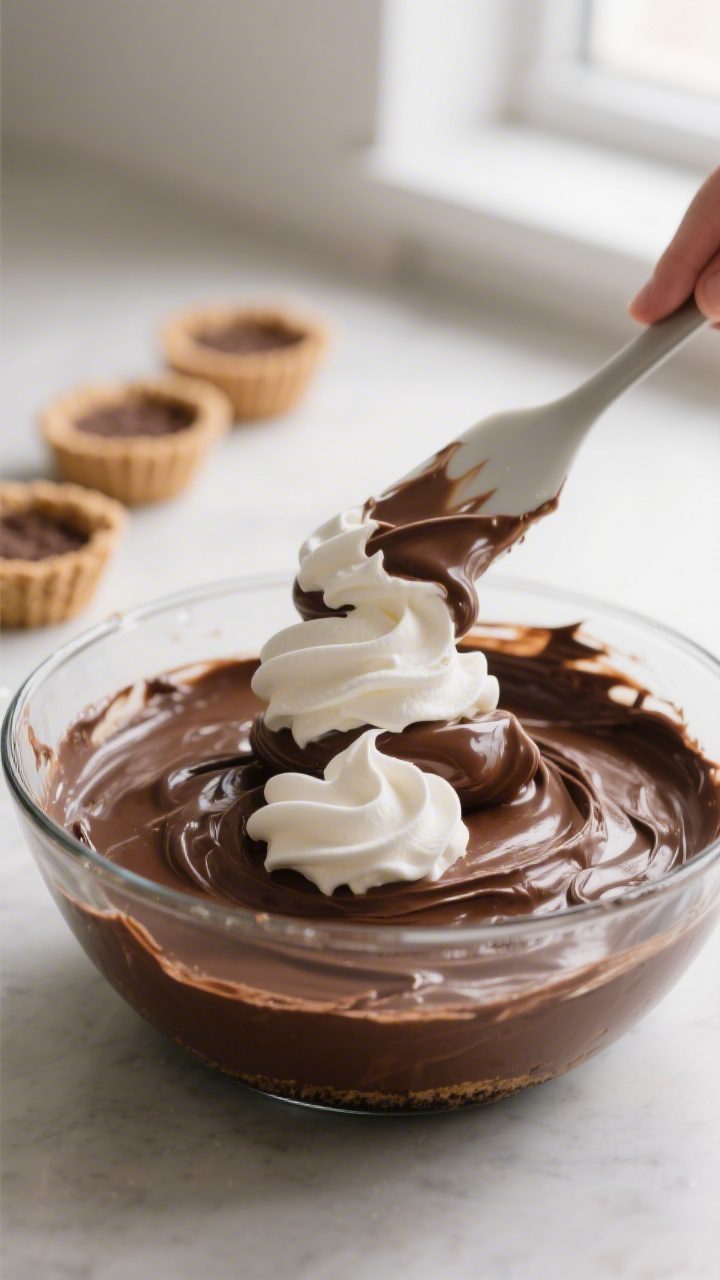
- Fold in whipped cream: Use a spatula to gently fold the whipped cream into the chocolate cheesecake base. Work in three additions, folding until no streaks remain. Don’t overmix.
- Fill the cups: Spoon or pipe the filling over the chilled crusts. Smooth the tops or make soft swoops with the back of a spoon.
- Chill to set: Cover and refrigerate at least 3 hours, or up to overnight, until the cups are firm enough to scoop and hold shape.
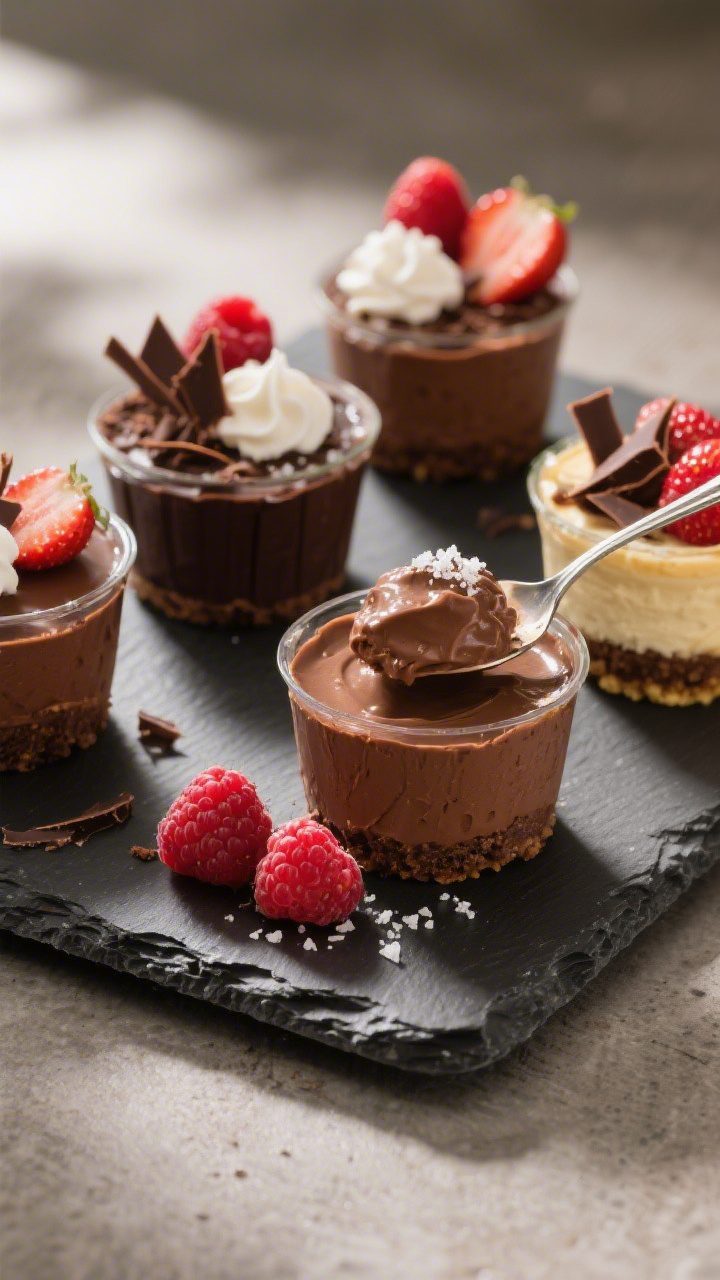
- Finish and serve: Top with berries, whipped cream, chocolate shavings, or a pinch of flaky salt. Serve cold.
What Makes This Recipe So Good
- Zero baking required: The fridge does all the work, so there’s no fussing with temperatures or doneness tests.
- Portion-friendly: Individual cups make serving easy and help with portion control.
- Ultra-creamy texture: Beating the filling properly gives you a smooth, mousse-like cheesecake that sets up beautifully.
- Balanced flavor: Dark chocolate adds depth, cream cheese brings tang, and a pinch of salt ties everything together.
- Customizable: Swap the crust, adjust sweetness, or change toppings to suit your mood and pantry.
Shopping List
- Cream cheese: Two 8-ounce blocks, full-fat, softened
- Sour cream: 1/2 cup, full-fat (or Greek yogurt)
- Heavy cream: 1 cup, cold
- Dark or semisweet chocolate: 8 ounces, chopped (or quality chocolate chips)
- Powdered sugar: 3/4 to 1 cup, to taste
- Vanilla extract: 1 1/2 teaspoons
- Fine sea salt: A small pinch
- Graham crackers or chocolate cookies: About 1 1/2 cups of crumbs
- Unsalted butter: 5 tablespoons, melted
- Optional toppings: Fresh berries, shaved chocolate, whipped cream, flaky salt, or crushed nuts
- Equipment: Mixing bowls, hand mixer or stand mixer, microwave-safe bowl, spatula, 8–10 small jars or cups
Step-by-Step Instructions
- Prep your cups: Set out 8–10 small jars, ramekins, or sturdy cupcake liners in a muffin tin. This recipe fills about 8 generous portions or up to 10 smaller ones.
- Make the crust: Stir cookie or graham cracker crumbs with melted butter until they look like damp sand.
If you pinch the mixture, it should hold together. Spoon 2–3 tablespoons into each cup and press down firmly with the back of a spoon. Chill while you make the filling.
- Melt the chocolate: Add chopped chocolate to a microwave-safe bowl.
Microwave in 20–30 second bursts, stirring between each until smooth. Set aside to cool until just warm to the touch. You want it fluid, not hot.
- Whip the cream: In a cold bowl, beat heavy cream to medium-stiff peaks.
It should hold shape but still look silky. Set aside in the fridge.
- Beat the cream cheese: In a separate bowl, beat softened cream cheese with powdered sugar, vanilla, and a pinch of salt until completely smooth and fluffy, about 2–3 minutes. Scrape the bowl so there are no lumps.
- Add sour cream: Mix in sour cream until the filling looks glossy and unified.
Taste and adjust sweetness if needed.
- Incorporate the chocolate: Stream the cooled, melted chocolate into the cream cheese mixture while mixing on low. Blend just until evenly combined and chocolatey.
- Fold in whipped cream: Use a spatula to gently fold the whipped cream into the chocolate cheesecake base. Work in three additions, folding until no streaks remain.
Don’t overmix.
- Fill the cups: Spoon or pipe the filling over the chilled crusts. Smooth the tops or make soft swoops with the back of a spoon.
- Chill to set: Cover and refrigerate at least 3 hours, or up to overnight, until the cups are firm enough to scoop and hold shape.
- Finish and serve: Top with berries, whipped cream, chocolate shavings, or a pinch of flaky salt. Serve cold.
Storage Instructions
- Refrigerator: Keep covered and chill for up to 4 days.
The texture stays best within the first 48 hours.
- Freezer: Freeze without fresh fruit toppings for up to 1 month. Thaw in the fridge overnight before serving. Note: Freezing can make the texture slightly denser but still delicious.
- Make-ahead tips: You can prepare the crust and filling a day ahead and assemble just before chilling, or assemble fully and relax until serving time.
Benefits of This Recipe
- Fast prep: Active time is minimal, and most of the magic happens in the fridge.
- Beginner-friendly: No water baths, no cracks, no oven timing.
It’s straightforward and forgiving.
- Party-ready: Individual portions are simple to plate and easy to transport.
- Flexible flavors: Works with different chocolates, crusts, and toppings, so you can tailor it to your taste.
- Gluten-free or dairy-light options: Easy to adapt with the right swaps if you have dietary needs.
Pitfalls to Watch Out For
- Warm chocolate + cold base: If the chocolate is too hot, it can seize or create grainy bits. Let it cool slightly before mixing.
- Over-whipping cream: Go for medium-stiff peaks, not butter. Over-whipped cream won’t fold smoothly and can make the texture heavy.
- Skipping the chill: The filling needs time to set.
Rushing this step leads to soft cups that won’t hold their shape.
- Using low-fat cream cheese: It can make the filling thin or chalky. Full-fat gives the best texture.
- Under-sweetening dark chocolate: Dark chocolate varies in bitterness. Taste and add a bit more powdered sugar if needed.
Alternatives
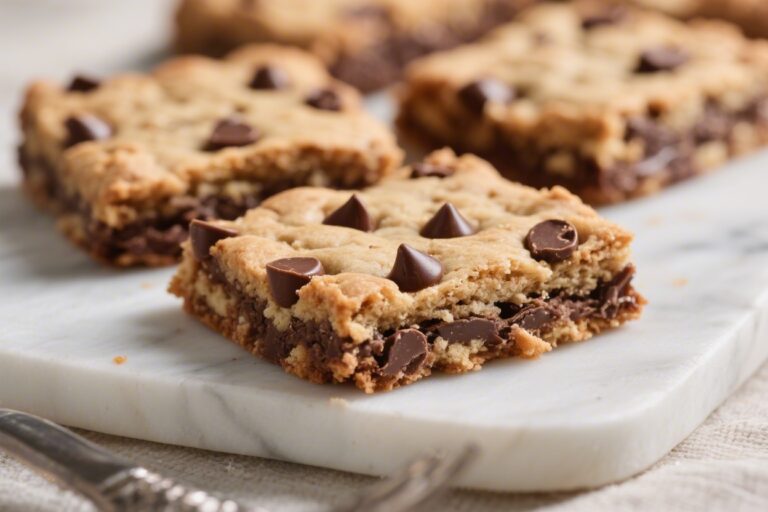
- Crust swaps: Use Oreo crumbs (skip the butter if using the whole cookie), chocolate wafer cookies, Biscoff cookies, or gluten-free graham crackers.
- Chocolate options: Milk chocolate for a sweeter cup, semisweet for balance, or a mix of milk and dark.
Add 1 tablespoon cocoa powder for extra intensity.
- Flavor twists: Stir in 1–2 teaspoons espresso powder, a splash of orange liqueur, or a dash of peppermint extract for seasonal flair.
- Dairy tweaks: Swap sour cream with thick Greek yogurt. For a lighter version, use half the heavy cream and add 2 tablespoons cocoa powder to boost chocolate flavor without extra richness.
- No-crust version: Skip the crumbs and spoon the filling into cups, then top with berries and shaved chocolate.
FAQ
Can I make these without a mixer?
Yes. Use a sturdy whisk and a little patience.
Soften the cream cheese well, whisk until completely smooth, and whip the cream by hand in a cold bowl. It takes longer but works.
How do I prevent lumps in the cheesecake filling?
Start with room-temperature cream cheese and beat it until smooth before adding anything else. Sift the powdered sugar if it’s clumpy, and scrape the bowl often.
Make sure the melted chocolate is smooth and not too hot.
What size cups should I use?
Four to eight-ounce jars or ramekins work best. For party trays, use 4-ounce portions. For a richer dessert, go closer to 6–8 ounces.
Can I reduce the sugar?
Absolutely.
Start with 1/2 cup powdered sugar and taste, then add more if needed. If you’re using very dark chocolate (70%+), you may want the full amount for balance.
What toppings work well?
Fresh raspberries or strawberries, whipped cream, chocolate curls, a drizzle of caramel, or a pinch of flaky salt. Toasted hazelnuts or almonds add great crunch.
How long do they need to chill?
At least 3 hours.
Overnight is ideal for a firm, mousse-like set that holds up when you spoon in.
Can I make this as a full pie instead of cups?
Yes. Press the crust into a 9-inch pie pan, add the filling, and chill overnight. Slice with a warm, clean knife for neat edges.
What if my filling is too runny?
Chill it longer first.
If it’s still loose, it may be from low-fat dairy or under-whipped cream. Next time, ensure full-fat ingredients and medium-stiff peaks.
Final Thoughts
No-bake chocolate cheesecake cups deliver big payoff with minimal effort. They’re creamy, chocolatey, and flexible enough to suit any occasion.
Mix, chill, and finish with simple toppings, and you’ve got a dessert that feels fancy without the stress. Keep a batch in the fridge for guests or a late-night sweet tooth—either way, they never disappoint.
Printable Recipe Card
Want just the essential recipe details without scrolling through the article? Get our printable recipe card with just the ingredients and instructions.