No-Bake Oreo Cheesecake – Creamy, Crunchy, and Effortless
No oven, no stress, just a lush, creamy cheesecake packed with Oreo cookies from top to bottom. This no-bake Oreo cheesecake is the kind of dessert that looks impressive but takes minimal effort. It’s perfect for birthdays, holidays, or whenever you want something sweet without heating up the kitchen.
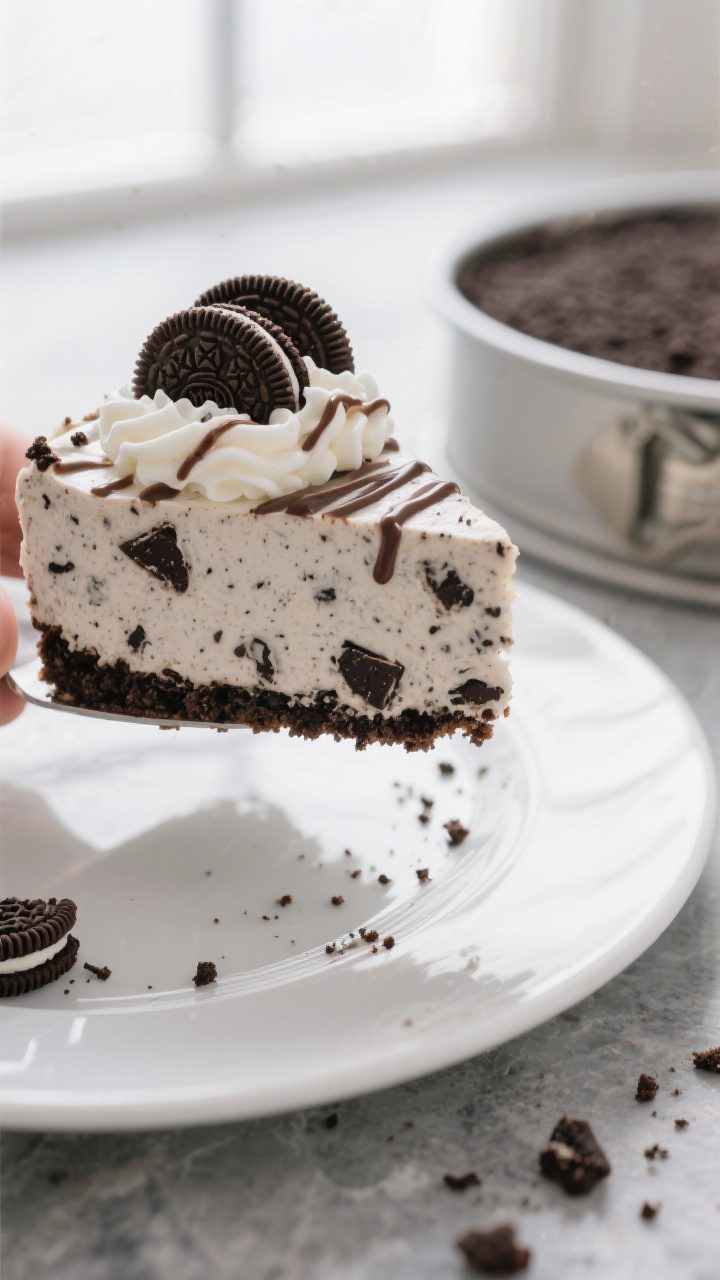
The texture is silky, the flavor is rich, and the Oreo crunch in every bite keeps it fun. If you love cookies-and-cream, this is your new go-to treat.

Ingredients
Method
- Prep the pan. Lightly grease a 9-inch springform pan or line the bottom with parchment for easy removal. Set aside.
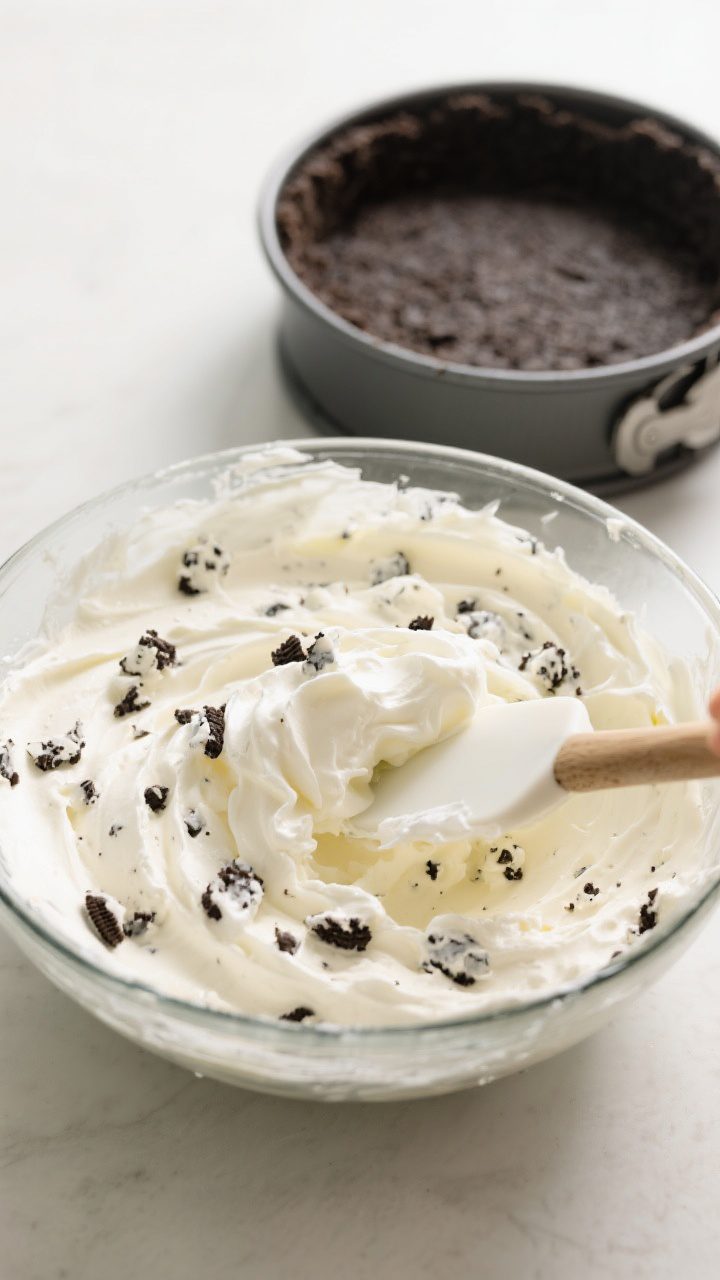
- Make the crust. Crush 24 Oreos into fine crumbs. Stir in the melted butter and a pinch of salt until the texture resembles wet sand. Press firmly into the bottom of the pan, using the bottom of a glass to compact it evenly. Chill in the fridge while you make the filling.
- Whip the cream. In a cold bowl, beat the heavy cream with the powdered sugar until stiff peaks form. Do not overbeat. Place in the fridge.
- Beat the cream cheese. In a separate large bowl, beat the softened cream cheese, granulated sugar, vanilla, and a pinch of salt until completely smooth and fluffy, 2–3 minutes. Scrape the bowl as needed to avoid lumps.
- Fold it together. Gently fold the whipped cream into the cream cheese mixture in two additions, using a spatula and light strokes to keep it airy.
- Add the cookies. Fold in the chopped Oreos until evenly distributed. Don’t crush them too fine—you want bite-sized pieces for texture.
- Fill the pan. Spoon the filling over the chilled crust and smooth the top with a spatula. Tap the pan gently on the counter to release any air bubbles.
- Chill to set. Cover and refrigerate for at least 6 hours, preferably overnight, until firm enough to slice cleanly.
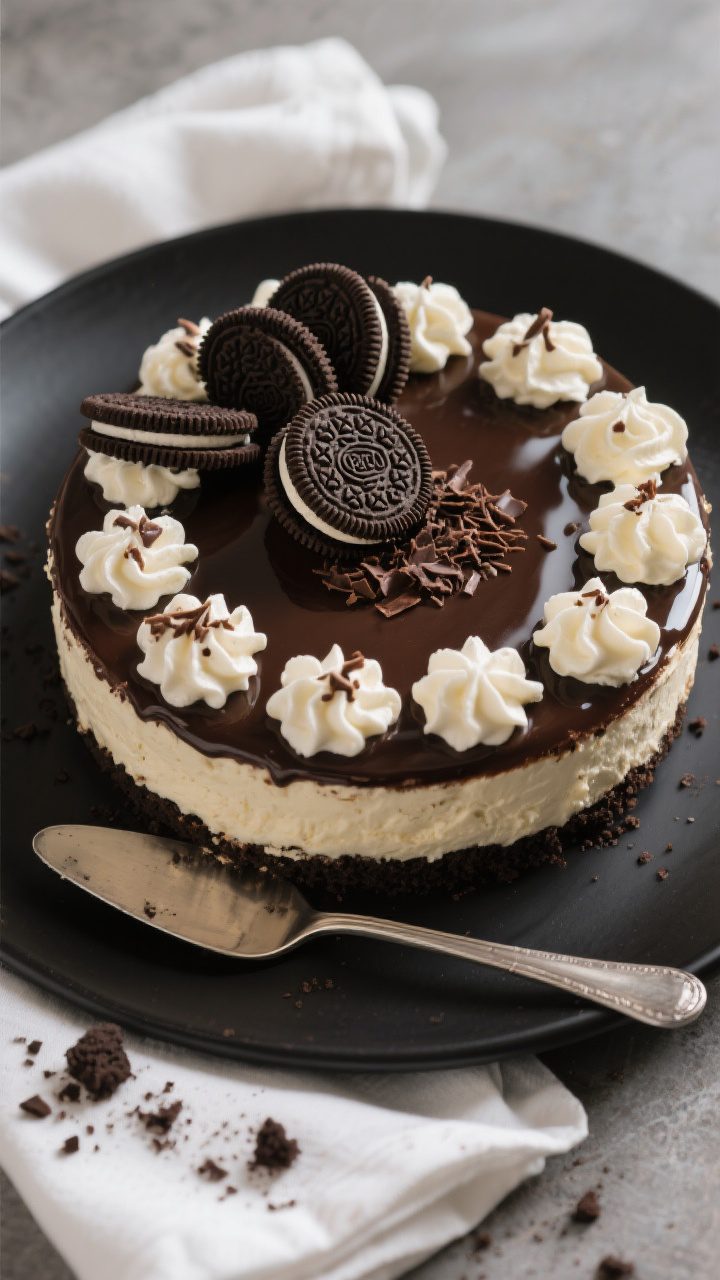
- Garnish. Just before serving, add swirls of whipped cream and extra Oreos on top. A light drizzle of melted chocolate makes it extra special.
- Slice and serve. Run a thin knife around the edge before unclipping the springform. Use a warm knife for clean slices, wiping between cuts.
Why This Recipe Works
This cheesecake relies on a simple combo of cream cheese and whipped cream for structure, which sets beautifully in the fridge. The result is a texture that’s light yet rich, without the risk of cracking or overbaking.
A buttery Oreo crust anchors it with a crisp, chocolatey base. Crushed Oreos in the filling add crunch and flavor, while a final layer of whipped topping or ganache makes it look bakery-level. Best of all, it’s make-ahead friendly, so your dessert is ready when you are.
What You’ll Need
- For the crust:
- 24 Oreo cookies (regular, not Double Stuf), finely crushed
- 6 tablespoons unsalted butter, melted
- Pinch of salt (optional, but enhances flavor)
- For the filling:
- 24 ounces (3 blocks) full-fat cream cheese, softened to room temperature
- 3/4 cup granulated sugar
- 1 teaspoon pure vanilla extract
- 1 cup cold heavy whipping cream
- 1/2 cup powdered sugar
- 12–14 Oreo cookies, roughly chopped or crushed
- Pinch of salt (balances sweetness)
- For topping (optional but recommended):
- Additional whipped cream or whipped topping
- 4–6 Oreo cookies for garnish (crushed or halved)
- Chocolate shavings or a quick chocolate drizzle (optional)
- Tools:
- 9-inch springform pan
- Mixing bowls and hand mixer or stand mixer
- Rubber spatula
- Measuring cups and spoons
- Food processor or zip-top bag and rolling pin
Instructions
- Prep the pan. Lightly grease a 9-inch springform pan or line the bottom with parchment for easy removal.
Set aside.
- Make the crust. Crush 24 Oreos into fine crumbs. Stir in the melted butter and a pinch of salt until the texture resembles wet sand. Press firmly into the bottom of the pan, using the bottom of a glass to compact it evenly.
Chill in the fridge while you make the filling.
- Whip the cream. In a cold bowl, beat the heavy cream with the powdered sugar until stiff peaks form. Do not overbeat. Place in the fridge.
- Beat the cream cheese. In a separate large bowl, beat the softened cream cheese, granulated sugar, vanilla, and a pinch of salt until completely smooth and fluffy, 2–3 minutes.
Scrape the bowl as needed to avoid lumps.
- Fold it together. Gently fold the whipped cream into the cream cheese mixture in two additions, using a spatula and light strokes to keep it airy.
- Add the cookies. Fold in the chopped Oreos until evenly distributed. Don’t crush them too fine—you want bite-sized pieces for texture.
- Fill the pan. Spoon the filling over the chilled crust and smooth the top with a spatula. Tap the pan gently on the counter to release any air bubbles.
- Chill to set. Cover and refrigerate for at least 6 hours, preferably overnight, until firm enough to slice cleanly.
- Garnish. Just before serving, add swirls of whipped cream and extra Oreos on top.
A light drizzle of melted chocolate makes it extra special.
- Slice and serve. Run a thin knife around the edge before unclipping the springform. Use a warm knife for clean slices, wiping between cuts.
Storage Instructions
- Refrigerator: Cover tightly and store for up to 4–5 days. Keep it cold to maintain structure.
- Freezer: Freeze slices on a sheet tray until firm, then wrap and store up to 1 month.
Thaw in the fridge for several hours before serving.
- Make-ahead: Assemble the cheesecake a day in advance for best flavor and texture. Garnish right before serving to keep toppings crisp.
Why This is Good for You
No, it’s not a health food, but there are some wins here. It’s a no-bake dessert, which means less energy use and no oven time, especially helpful in warmer months.
Making it at home lets you control the ingredients—you can adjust sugar, pick high-quality cream cheese, or choose organic cream if you like. It’s also a make-ahead option that reduces last-minute stress, which is good for your sanity when entertaining. And because it’s rich, smaller portions still feel satisfying.
Pitfalls to Watch Out For
- Too-soft cream cheese: If it’s not fully softened, you’ll get lumps.
If it’s melted or overly warm, the cheesecake may not set well.
- Underwhipped or overwhipped cream: Soft peaks won’t hold structure; overwhipped cream can turn grainy. Aim for stiff peaks that still look smooth.
- Not chilling long enough: The center needs time to firm up. Rushing the chill leads to messy slices.
- Watery add-ins: Avoid adding wet ingredients like fruit puree without adjustments.
They can loosen the filling.
- Crust not compacted: If you don’t press it firmly, the crust may crumble when slicing.
Variations You Can Try
- Mint chocolate version: Add 1/2 teaspoon peppermint extract to the filling and use Mint Oreos. Top with chopped dark chocolate.
- Peanut butter twist: Beat 1/2 cup creamy peanut butter into the cream cheese mixture. Use Peanut Butter Oreos for the crust.
- Chocolate lover’s: Mix 1/4 cup cocoa powder into the cream cheese and fold in mini chocolate chips with the Oreos.
- Salted caramel: Swirl 1/3 cup thick caramel into the filling and sprinkle flaky sea salt on top before serving.
- Gluten-free: Use certified gluten-free chocolate sandwich cookies.
Everything else stays the same.
- Lighter touch: Swap one block of cream cheese for Greek yogurt cream cheese, and reduce sugar slightly. Texture will be a bit softer but still delicious.
FAQ
Can I use whipped topping instead of whipping cream?
Yes. Fold in 2 1/2 to 3 cups of thawed whipped topping in place of the whipped cream and powdered sugar.
The cheesecake will be slightly sweeter and a bit lighter in texture.
Do I need gelatin to help it set?
No. With properly whipped cream and a long chill, this cheesecake sets nicely without gelatin. If your kitchen is very warm, you can dissolve 1 teaspoon powdered gelatin in 2 tablespoons hot water and mix it into the cream cheese before folding in the cream for extra insurance.
Can I make this in a pie dish instead of a springform pan?
You can use a deep 9-inch pie dish, but you’ll have a thicker filling and it may be harder to slice neatly.
A springform pan makes unmolding and presentation much easier.
How do I avoid a soggy crust?
Crush the Oreos finely, mix thoroughly with melted butter, and press firmly. Chill the crust before adding the filling. If you live in a humid climate, you can chill the crust for 20 minutes, then give it a quick 5–7 minute bake at 325°F to set it, though that makes it not strictly no-bake.
Can I reduce the sugar?
Yes.
Reduce granulated sugar in the filling to 1/2 cup and keep the powdered sugar at 1/2 cup for whipping the cream. The Oreos add sweetness, so it will still taste balanced.
How long does it need to chill?
Plan on at least 6 hours. Overnight is ideal to ensure clean slices and a fully set center.
What’s the best way to cut clean slices?
Use a long, sharp knife warmed under hot water and dried.
Wipe the blade between each cut. This keeps the edges neat and prevents smearing.
Can I add fruit on top?
Absolutely. Firm berries like strawberries or raspberries work well.
Add them just before serving to keep the moisture from softening the topping.
In Conclusion
No-bake Oreo cheesecake is the kind of dessert that checks all the boxes: easy, impressive, and consistently delicious. With a crunchy cookie crust, a smooth cream cheese filling, and plenty of Oreo pieces throughout, it’s a guaranteed crowd-pleaser. Make it the day before, keep it chilled, and garnish at the last minute.
You’ll have a dessert that looks like it came from a bakery, with half the effort and all the flavor.
Printable Recipe Card
Want just the essential recipe details without scrolling through the article? Get our printable recipe card with just the ingredients and instructions.