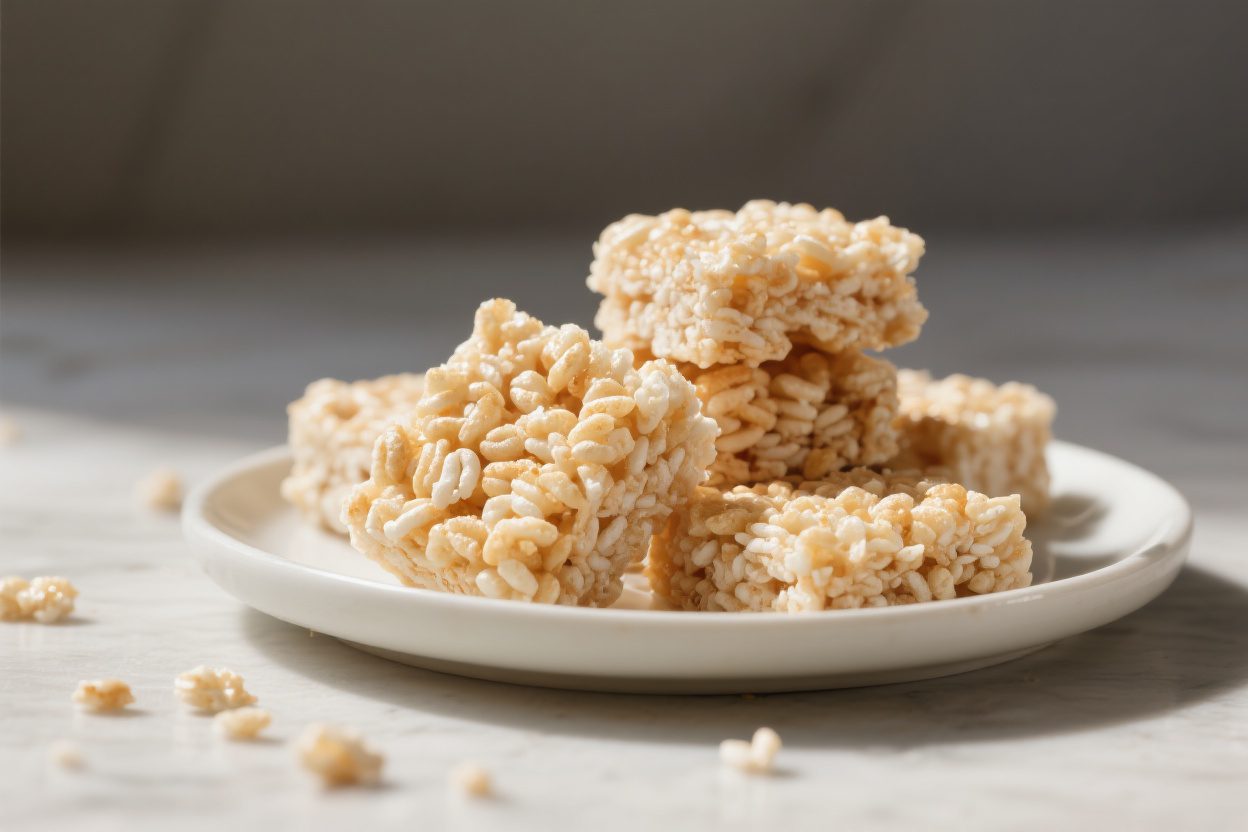
No-Bake Rice Krispie Treats – Soft, Chewy, and Ready in Minutes
Rice Krispie treats are the kind of sweet that feels like childhood and still hits the spot today. They’re quick, budget-friendly, and require zero baking—just a bowl, a pan, and a little patience while they set. This version focuses on soft, chewy squares that don’t turn rock-hard the next day.
Whether you’re making them for a party, a school bake sale, or a late-night craving, this recipe keeps things simple and reliable. You’ll get consistent texture, rich vanilla-marshmallow flavor, and clean slices that hold together without being sticky.
Ingredients
Method
- Prep your pan: Grease a 9x13-inch baking pan with nonstick spray or a thin layer of butter. Line with parchment for easy lifting, if you have it.
- Measure and set aside: Pour 6 cups of cereal into a large mixing bowl. Reserve 1 cup of mini marshmallows in a separate small bowl for later folding.
- Melt the butter low and slow: In a large pot over low heat, melt 6 tablespoons butter. Don’t rush this; gentle heat prevents a tough final texture.
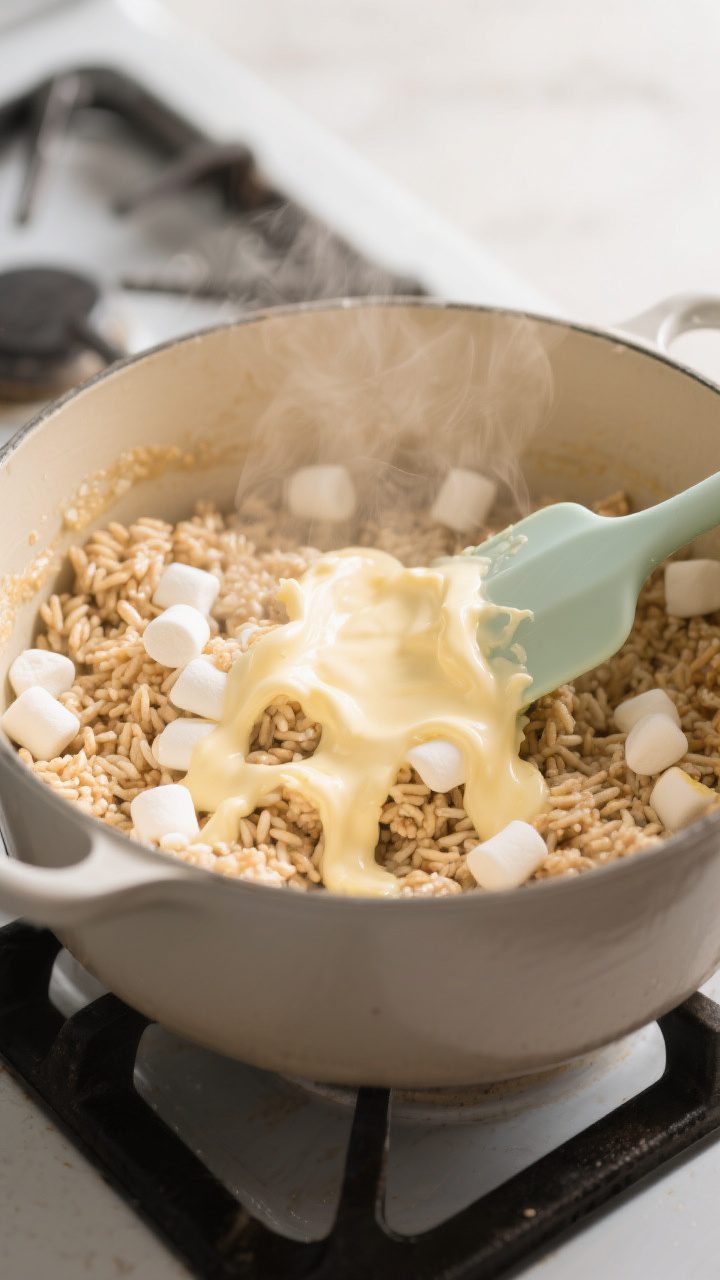
- Add most of the marshmallows: Stir in the 10-ounce bag of mini marshmallows (minus the 1 cup you reserved). Keep the heat on low and stir constantly until fully melted and smooth.
- Flavor it: Remove from heat. Stir in vanilla and a generous pinch of salt. Taste a tiny bit (careful—it’s hot) and adjust salt if desired.
- Combine with cereal: Pour the melted marshmallow mixture over the cereal. Use a greased spatula to fold gently until about 80% combined.
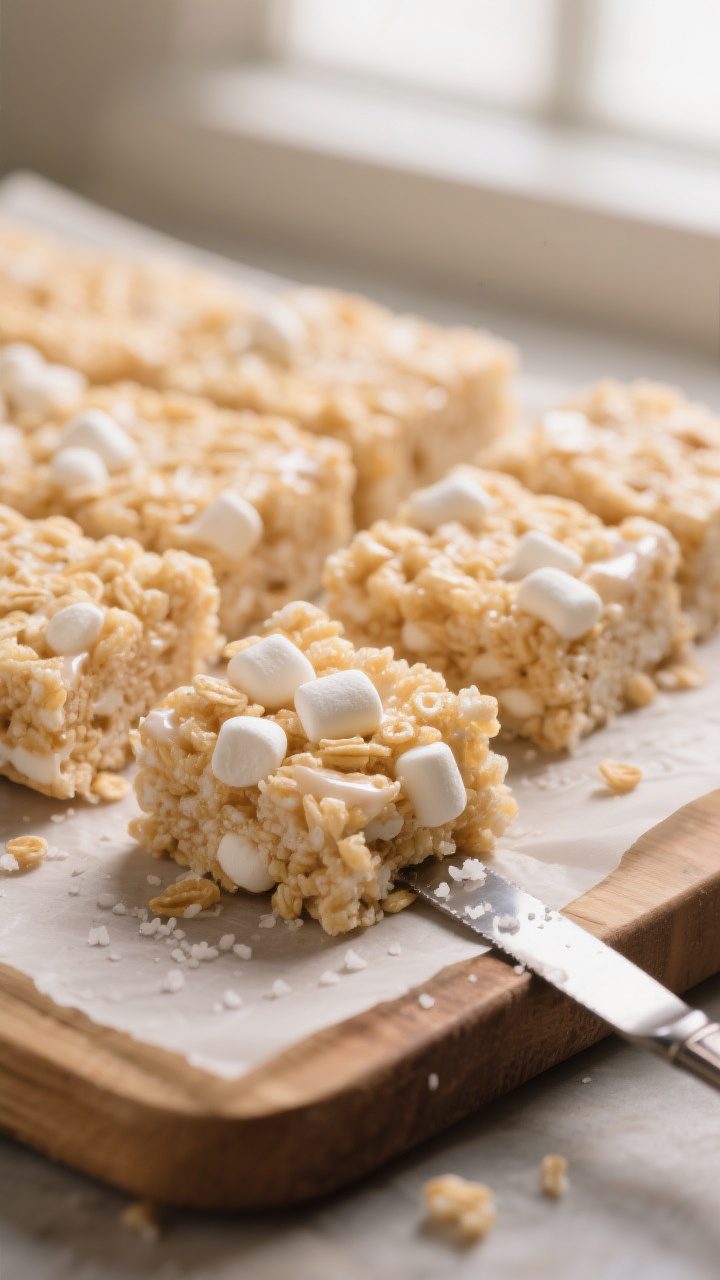
- Fold in the reserved marshmallows: Add the extra cup of mini marshmallows and fold just until evenly distributed. This creates soft, gooey pockets throughout.
- Press into the pan: Transfer the mixture to your prepared pan. Lightly grease your hands or a spatula, then press the mixture into an even layer. Do not pack it hard—a light press keeps the bars airy and chewy.
- Let set: Allow the treats to rest at room temperature for 30–45 minutes, or until firm enough to slice. For faster setting, chill for 10–15 minutes, but avoid over-chilling.
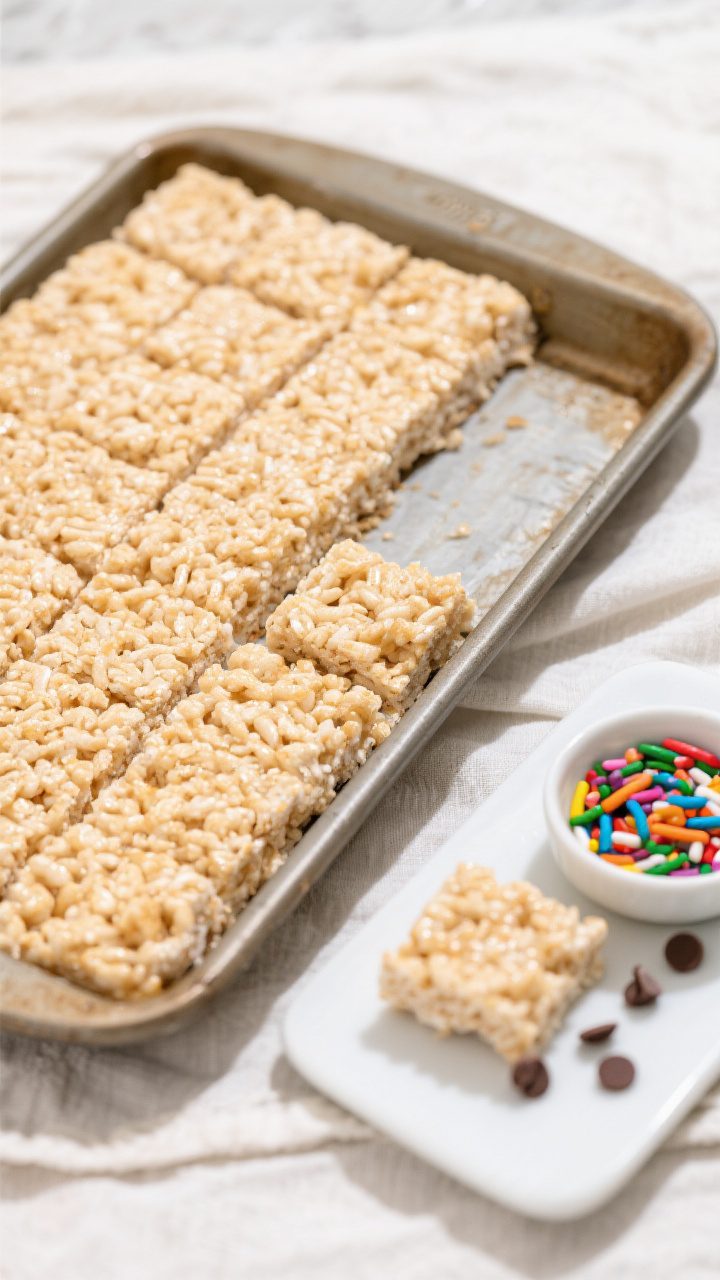
- Slice and serve: Lift from the pan (if lined) and cut into squares with a sharp knife. Wipe the knife between cuts for neat edges.
What Makes This Recipe So Good
- Perfectly chewy, never dry: A little extra butter and a gentle melt keep the marshmallows soft and gooey.
- No-bake and fast: From stovetop to pan in under 15 minutes, plus a short set time.
- Foolproof method: Low heat and a marshmallow “reserve” ensure great texture and fresh, stretchy pockets.
- Kid- and crowd-friendly: Familiar flavor, easy to slice, and holds up well for potlucks.
- Endlessly customizable: Add-ins like chocolate chips, peanut butter, or sprinkles work without complicating the process.
Shopping List
- Unsalted butter (6 tablespoons; salted works too—just reduce added salt)
- Mini marshmallows (10 ounces, about 6 cups; plus 1 extra cup for folding in)
- Rice Krispies cereal (6 cups)
- Vanilla extract (1 to 1½ teaspoons)
- Kosher salt (a big pinch; skip if using salted butter and prefer less sweet-salty contrast)
- Nonstick spray or extra butter (for greasing the pan and spatula)
Step-by-Step Instructions
- Prep your pan: Grease a 9×13-inch baking pan with nonstick spray or a thin layer of butter. Line with parchment for easy lifting, if you have it.
- Measure and set aside: Pour 6 cups of cereal into a large mixing bowl.
Reserve 1 cup of mini marshmallows in a separate small bowl for later folding.
- Melt the butter low and slow: In a large pot over low heat, melt 6 tablespoons butter. Don’t rush this; gentle heat prevents a tough final texture.
- Add most of the marshmallows: Stir in the 10-ounce bag of mini marshmallows (minus the 1 cup you reserved). Keep the heat on low and stir constantly until fully melted and smooth.
- Flavor it: Remove from heat.
Stir in vanilla and a generous pinch of salt. Taste a tiny bit (careful—it’s hot) and adjust salt if desired.
- Combine with cereal: Pour the melted marshmallow mixture over the cereal. Use a greased spatula to fold gently until about 80% combined.
- Fold in the reserved marshmallows: Add the extra cup of mini marshmallows and fold just until evenly distributed.
This creates soft, gooey pockets throughout.
- Press into the pan: Transfer the mixture to your prepared pan. Lightly grease your hands or a spatula, then press the mixture into an even layer. Do not pack it hard—a light press keeps the bars airy and chewy.
- Let set: Allow the treats to rest at room temperature for 30–45 minutes, or until firm enough to slice. For faster setting, chill for 10–15 minutes, but avoid over-chilling.
- Slice and serve: Lift from the pan (if lined) and cut into squares with a sharp knife.
Wipe the knife between cuts for neat edges.
Storage Instructions
- Room temperature: Store in an airtight container for 2–3 days. Add a slice of bread to the container to help keep them soft.
- Re-softening: If they firm up, microwave a square for 5–8 seconds to refresh the texture.
- Freezing: Not ideal, but possible. Wrap individual squares tightly and freeze up to 1 month.
Thaw at room temperature in the wrapper.
Benefits of This Recipe
- Beginner-friendly: Minimal steps, clear cues, and forgiving ingredients.
- Quick cleanup: One pot, one bowl, one pan. Parchment makes removal easy.
- All-ages appeal: Familiar flavor with a soft, stretchy bite that kids and adults love.
- Portable and shareable: Great for bake sales, lunch boxes, and last-minute get-togethers.
- Budget-conscious: Simple pantry ingredients with a big yield.
Pitfalls to Watch Out For
- High heat: Melting marshmallows on medium or high heat makes the mixture stiff and the bars dry. Keep the heat low and take your time.
- Overpacking the pan: Pressing too firmly leads to dense, hard treats.
Use a light hand.
- Old marshmallows: Stale marshmallows don’t melt smoothly and can turn the mixture grainy. Use a fresh bag.
- Skipping salt: A pinch of salt balances the sweetness and brightens flavor. Don’t skip it unless you must.
- Too many add-ins: Overloading with chips or candies can prevent the bars from holding together.
Keep extras to about 1 cup total.
Recipe Variations
- Browned Butter: Brown the butter over medium heat until golden and nutty, then reduce to low before adding marshmallows. Adds rich, toasty flavor.
- Peanut Butter Swirl: Stir 1/3–1/2 cup creamy peanut butter into the melted marshmallows. Top with a light drizzle of melted chocolate.
- Chocolate Chip: Fold in 1/2 cup mini chocolate chips with the reserved marshmallows.
Chill the marshmallow mixture for 2 minutes before folding so the chips don’t melt.
- Funfetti: Add 2–3 tablespoons rainbow sprinkles at the very end. Use jimmies (not nonpareils) to avoid color bleed.
- Salted Caramel: Drizzle 1/3 cup thick caramel sauce over the mixture in the pan and lightly swirl. Finish with flaky sea salt.
- Cocoa Twist: Swap 1–2 cups of Rice Krispies with Cocoa Krispies for a chocolatey version.
- Gluten-Friendly: Use a certified gluten-free crispy rice cereal and check marshmallow and vanilla labels.
FAQ
How do I keep Rice Krispie treats soft?
Use low heat, a little extra butter, and don’t pack them tightly in the pan.
Storing in an airtight container with a slice of bread helps maintain moisture.
Can I use regular marshmallows instead of mini?
Yes. Cut them into smaller pieces for easier melting and measure by weight (10 ounces). Mini marshmallows melt more evenly, but larger ones work in a pinch.
Why are my treats hard?
They were likely heated too hot or pressed too firmly.
Old marshmallows or stale cereal can also cause a tough texture. Next time, melt on low and handle the mixture gently.
Can I double the recipe?
Absolutely. Use a large pot and a rimmed baking sheet or two 9×13-inch pans.
Work quickly when mixing so everything combines before it cools.
Do I need corn syrup?
No. Marshmallows already contain sugar and stabilizers that bind the cereal. Corn syrup isn’t necessary for this texture or flavor.
How long should I wait before cutting?
About 30–45 minutes at room temperature.
If you’re in a hurry, chill briefly for 10–15 minutes, but don’t leave them in the fridge too long or they’ll firm up too much.
What’s the best way to slice neat squares?
Grease a sharp knife and wipe between cuts. If using parchment, lift the whole slab out first for cleaner edges and even portions.
Wrapping Up
No-bake Rice Krispie treats are the easy dessert you can count on—sweet, soft, and ready fast. With low heat, a light touch, and a few smart tweaks, you’ll get perfect bars every time.
Keep the base recipe handy, then play with variations to match any occasion. Whether it’s a weekday treat or a party platter, these chewy squares always disappear first.
Printable Recipe Card
Want just the essential recipe details without scrolling through the article? Get our printable recipe card with just the ingredients and instructions.