No-Bake S’mores Dessert Cups – Easy, Layered, and Crowd-Pleasing
S’mores feel like summer nights and campfire laughter, but you don’t need a fire pit to enjoy them. These No-Bake S’mores Dessert Cups deliver all the classic flavors—graham crackers, creamy chocolate, and fluffy marshmallows—in a simple layered treat. They’re easy to make, fun to serve, and perfect for parties or last-minute cravings.
No oven, no stress, just a sweet, nostalgic dessert you can whip up in minutes.
Ingredients
Method
- Make the graham cracker base: In a bowl, mix graham cracker crumbs, melted butter, sugar, and a pinch of salt until the mixture feels like damp sand. Spoon 2–3 tablespoons into each cup and press down firmly with the back of a spoon. Chill while you prepare the filling.
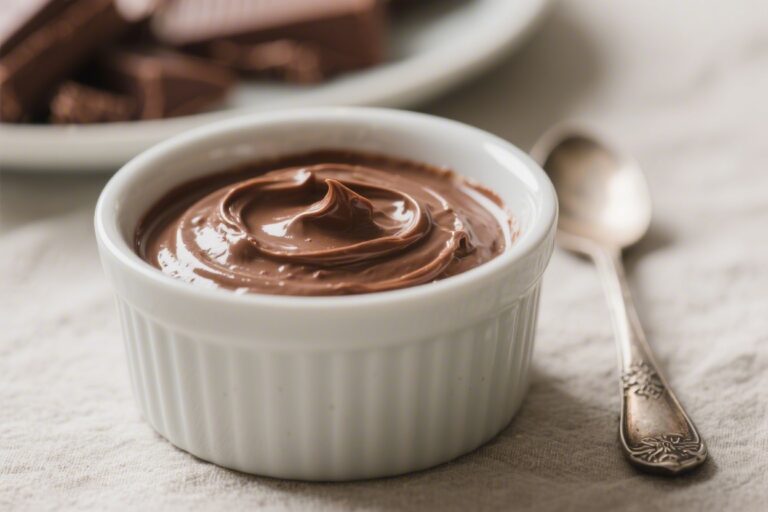
- Prepare the chocolate ganache: Warm heavy cream until steaming (microwave or stovetop). Pour over the chocolate chips in a heatproof bowl. Let sit 2 minutes, then stir until smooth and glossy. Set aside to cool slightly.
- Whip the chocolate cream layer: Beat softened cream cheese with powdered sugar and vanilla until smooth. Add half of the cooled ganache and beat until combined and fluffy. This gives you a silky, not-too-sweet middle layer.
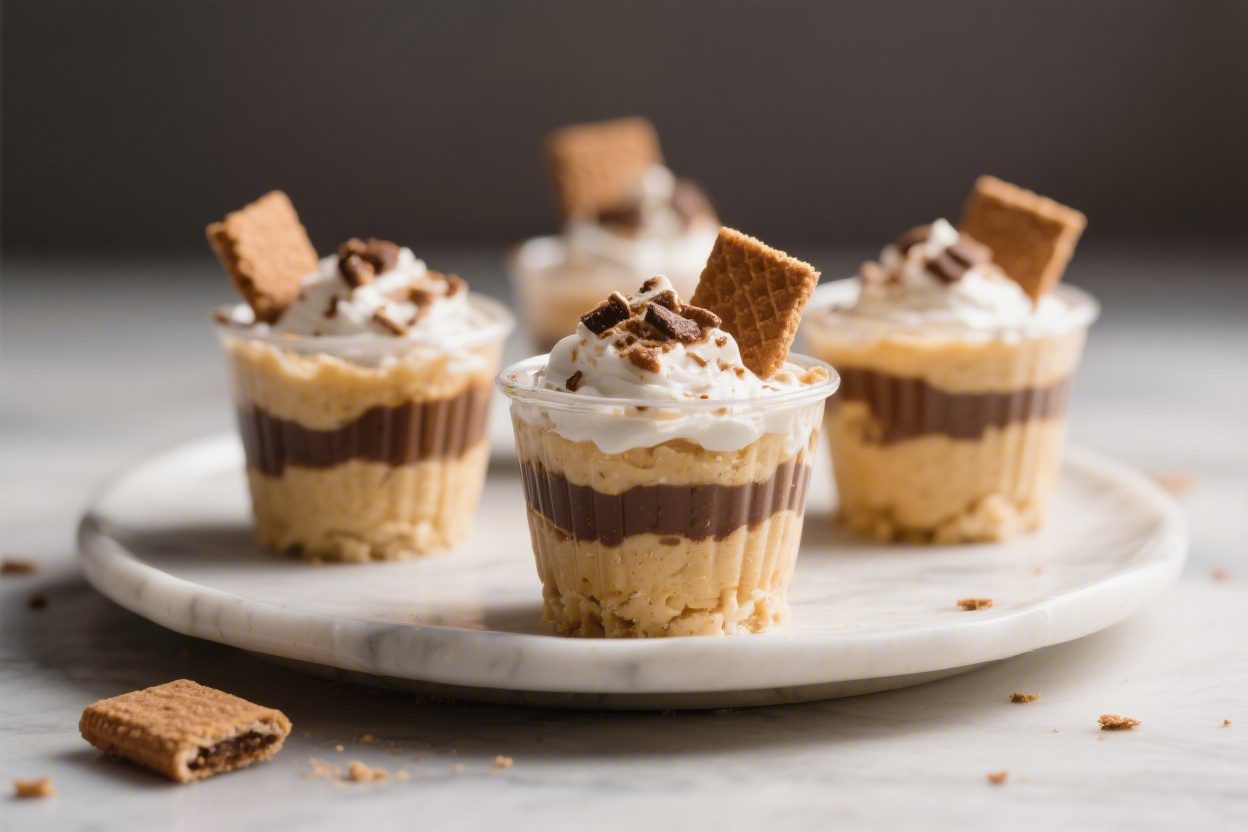
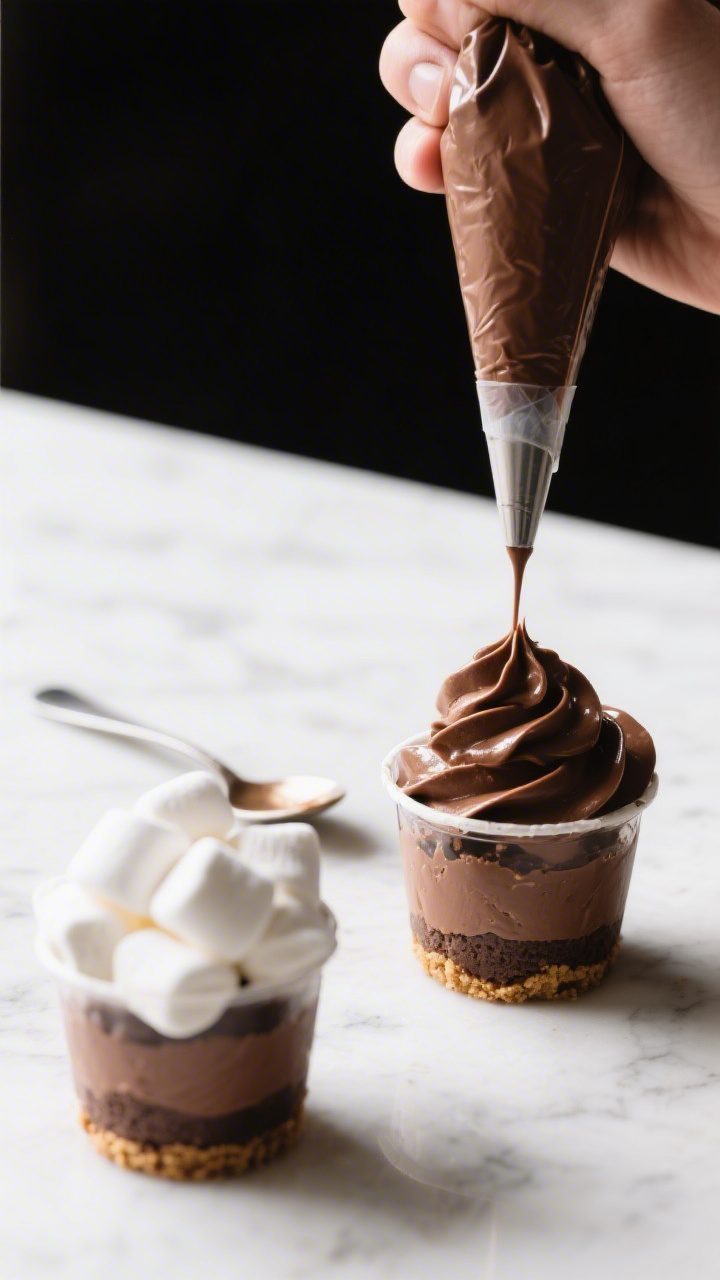
- Layer the cups: Spoon or pipe a layer of the chocolate cream over the chilled graham crust. Add a thin layer of remaining ganache on top for a rich chocolate ribbon. Tap cups gently to settle the layers.
- Top with marshmallow: Pile mini marshmallows generously over each cup. For extra stretch and classic flavor, fold marshmallow creme into the mini marshmallows before topping. Press lightly so they stay put.
- Chill to set: Refrigerate for at least 1–2 hours. The crust firms up, the chocolate layers thicken, and the flavors meld.
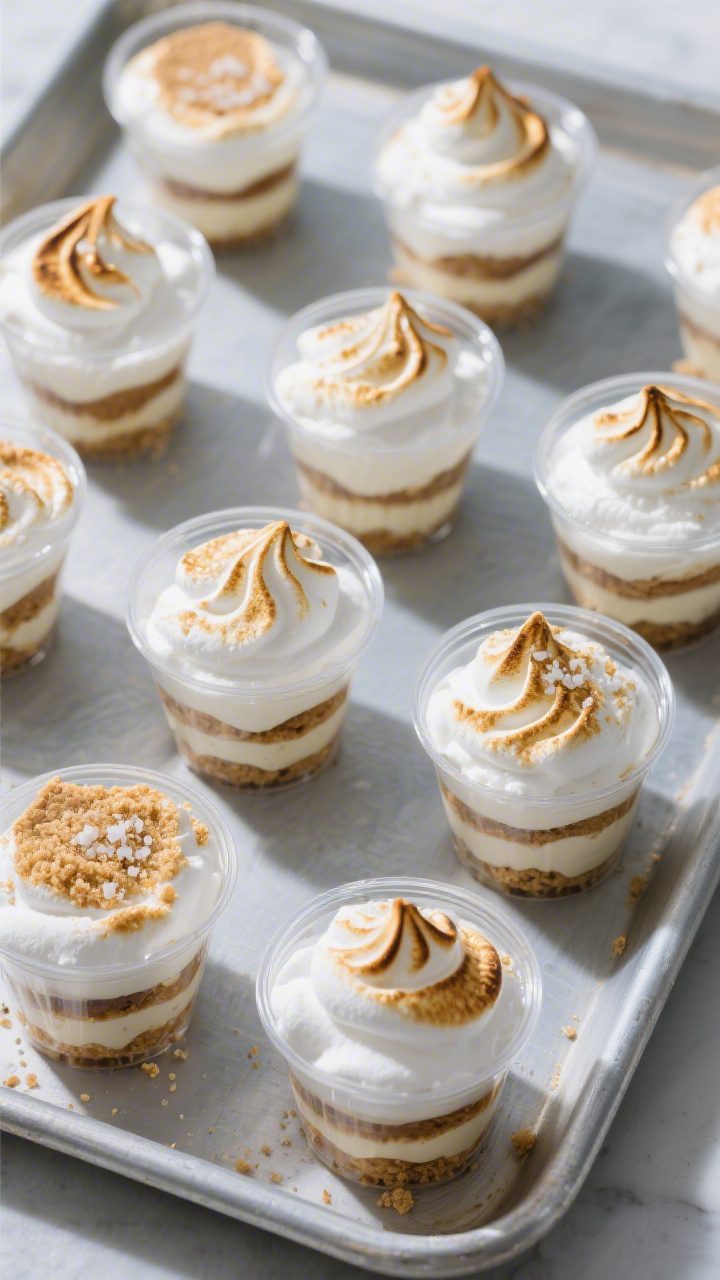
- Optional toast: Right before serving, lightly toast the marshmallow tops with a kitchen torch for that campfire look and flavor. If you don’t have a torch, skip this step or broil very briefly in an oven-safe dish, not individual plastic cups.
- Finish and serve: Sprinkle with extra graham crumbs, chocolate shavings, or a tiny pinch of flaky salt. Serve chilled or slightly cool. They’re rich, so small portions go a long way.
What Makes This Recipe So Good

- All the s’mores flavors without a grill: You get the buttery graham layer, rich chocolate filling, and pillowy marshmallow topping in tidy individual cups.
- No-bake and low-effort: The fridge does the work. No need to turn on the oven or mess with a torch unless you want to.
- Perfect for make-ahead: Assemble, chill, and pull them out when it’s dessert time. They set beautifully and hold their shape.
- Customizable: Swap the chocolate, adjust the sweetness, or add mix-ins.
It’s easy to adapt for kids or adults.
- Great for gatherings: Individual cups are tidy, portable, and look like you put in way more effort than you did.
Shopping List
- Graham cracker crumbs: About 2 cups (or crush whole graham crackers).
- Unsalted butter: 6 tablespoons, melted.
- Granulated sugar: 2 tablespoons (for the crust).
- Semi-sweet chocolate chips or chopped chocolate: 1 1/2 cups.
- Heavy cream: 3/4 cup (for the chocolate ganache layer).
- Cream cheese: 8 ounces, softened.
- Powdered sugar: 1/2 cup (for the chocolate cream layer).
- Vanilla extract: 1 teaspoon.
- Mini marshmallows: 3–4 cups.
- Marshmallow creme (optional): 1/2 cup, for extra marshmallow flavor in the topping.
- Salt: A pinch, to balance sweetness.
- Extra graham crumbs or chocolate shavings: For garnish.
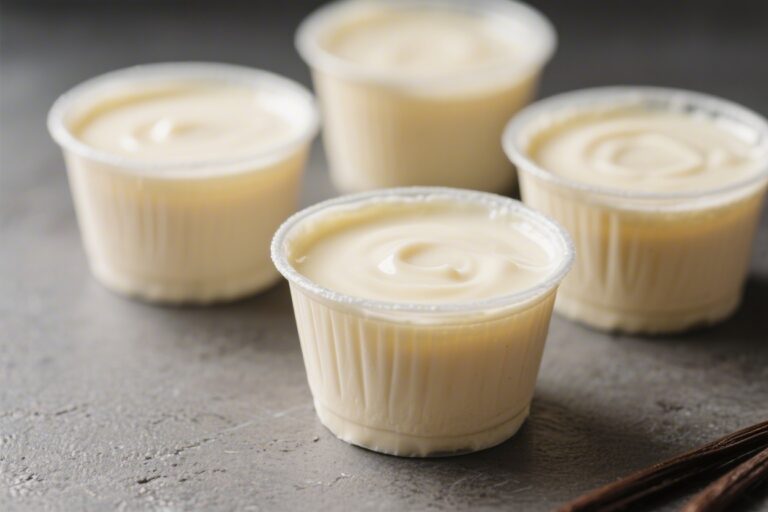
- Disposable or reusable clear cups: 8 to 10 small cups (6–8 ounces each).
Step-by-Step Instructions
- Make the graham cracker base: In a bowl, mix graham cracker crumbs, melted butter, sugar, and a pinch of salt until the mixture feels like damp sand. Spoon 2–3 tablespoons into each cup and press down firmly with the back of a spoon. Chill while you prepare the filling.
- Prepare the chocolate ganache: Warm heavy cream until steaming (microwave or stovetop).
Pour over the chocolate chips in a heatproof bowl. Let sit 2 minutes, then stir until smooth and glossy. Set aside to cool slightly.
- Whip the chocolate cream layer: Beat softened cream cheese with powdered sugar and vanilla until smooth.
Add half of the cooled ganache and beat until combined and fluffy. This gives you a silky, not-too-sweet middle layer.
- Layer the cups: Spoon or pipe a layer of the chocolate cream over the chilled graham crust. Add a thin layer of remaining ganache on top for a rich chocolate ribbon.
Tap cups gently to settle the layers.
- Top with marshmallow: Pile mini marshmallows generously over each cup. For extra stretch and classic flavor, fold marshmallow creme into the mini marshmallows before topping. Press lightly so they stay put.
- Chill to set: Refrigerate for at least 1–2 hours.
The crust firms up, the chocolate layers thicken, and the flavors meld.
- Optional toast: Right before serving, lightly toast the marshmallow tops with a kitchen torch for that campfire look and flavor. If you don’t have a torch, skip this step or broil very briefly in an oven-safe dish, not individual plastic cups.
- Finish and serve: Sprinkle with extra graham crumbs, chocolate shavings, or a tiny pinch of flaky salt. Serve chilled or slightly cool.
They’re rich, so small portions go a long way.
Keeping It Fresh
- Refrigeration: Cover each cup with plastic wrap or snap-on lids. They’ll keep well for 3–4 days.
- No soggy crust: Press the crust firmly and chill it before adding fillings. This helps it stay crisp longer.
- Marshmallow tip: Mini marshmallows can dry out over time.
If making more than a day ahead, wait to add the top layer until the day you serve.
- Transporting: Use taller cups with lids and keep them chilled in a cooler bag. Garnish right before serving for the best look.
Why This is Good for You
- Portion control: Individual cups help you enjoy a sweet treat without overdoing it.
- Balanced richness: Cream cheese in the chocolate layer adds body and tang, so you can use less sugar overall and still get a satisfying texture.
- Mindful ingredients: You control the sweetness, chocolate type, and portion size. Small tweaks can make a big difference.
- Feel-good factor: Nostalgic desserts can boost mood and make gatherings feel special.
Sharing dessert is good for the soul.
What Not to Do
- Don’t skip chilling: If you rush, the layers will be loose, and the cups won’t hold their shape.
- Don’t overheat the cream: Boiling cream can split chocolate. Warm until steaming, not bubbling.
- Don’t use cold cream cheese: It will create lumps. Soften it at room temperature first.
- Don’t torch plastic: If you plan to toast the tops, use heat-safe containers and keep the flame moving to avoid melting cups.
- Don’t overload with sugar: The marshmallows and crust are sweet.
Taste the chocolate layer and adjust sugar sparingly.
Alternatives
- Lighter swap: Use reduced-fat cream cheese and a darker chocolate (60–70%) to cut sweetness and add depth.
- Gluten-free option: Use gluten-free graham crackers or cookie crumbs. Check chocolate labels to be sure.
- Dairy-free version: Use dairy-free butter, coconut cream for ganache, and a plant-based cream cheese. Choose vegan marshmallows.
- Flavor twists: Add a spoonful of peanut butter to the chocolate cream, a splash of espresso to the ganache, or a sprinkle of cinnamon to the crust.
- Crunch lovers: Mix crushed pretzels into the crust for a salty-sweet edge, or add chopped toasted nuts on top.
- Boozy grown-up cups: Stir a tablespoon of Irish cream, Kahlúa, or bourbon into the ganache.
Keep portions small and label clearly.
FAQ
Can I make these ahead?
Yes. Assemble up to 24 hours in advance and keep chilled. Add marshmallows and garnish the day you serve for the best texture.
Do I need a mixer?
A hand mixer helps whip the cream cheese layer smooth, but you can use a sturdy whisk and some elbow grease.
Just make sure the cream cheese is fully softened.
What size cups should I use?
Six- to eight-ounce clear cups are ideal. They show off the layers and give you a satisfying but manageable portion.
How can I make the crust less crumbly?
Add an extra tablespoon of melted butter if the mixture looks dry. Press firmly, then chill at least 15 minutes before adding filling.
Can I skip the cream cheese?
You can.
Use all ganache for a denser, truffle-like cup. It will be richer, so go with smaller portions and a generous marshmallow top to balance it.
How do I get that toasted marshmallow flavor without a torch?
Use a small amount of store-bought toasted marshmallow flavoring in the marshmallow creme, or toast mini marshmallows separately on a parchment-lined baking sheet under the broiler for a minute, then add to cups.
What chocolate works best?
Semi-sweet chocolate gives a classic taste. For deeper flavor, try 60–70% dark.
Milk chocolate is sweeter and more nostalgic—use it if you prefer.
How long do they last?
They’re best within 2 days for peak texture, but will keep 3–4 days in the fridge. The marshmallows may dry a bit over time.
Wrapping Up
No-Bake S’mores Dessert Cups are simple, nostalgic, and incredibly satisfying. With just a few pantry staples and some chill time, you get a layered treat that looks polished and tastes like summer.
Keep a batch in the fridge for parties, weeknight desserts, or anytime you want something sweet without turning on the oven. Make them your own with the swaps above, and enjoy every creamy, chocolatey, marshmallowy bite.
Printable Recipe Card
Want just the essential recipe details without scrolling through the article? Get our printable recipe card with just the ingredients and instructions.