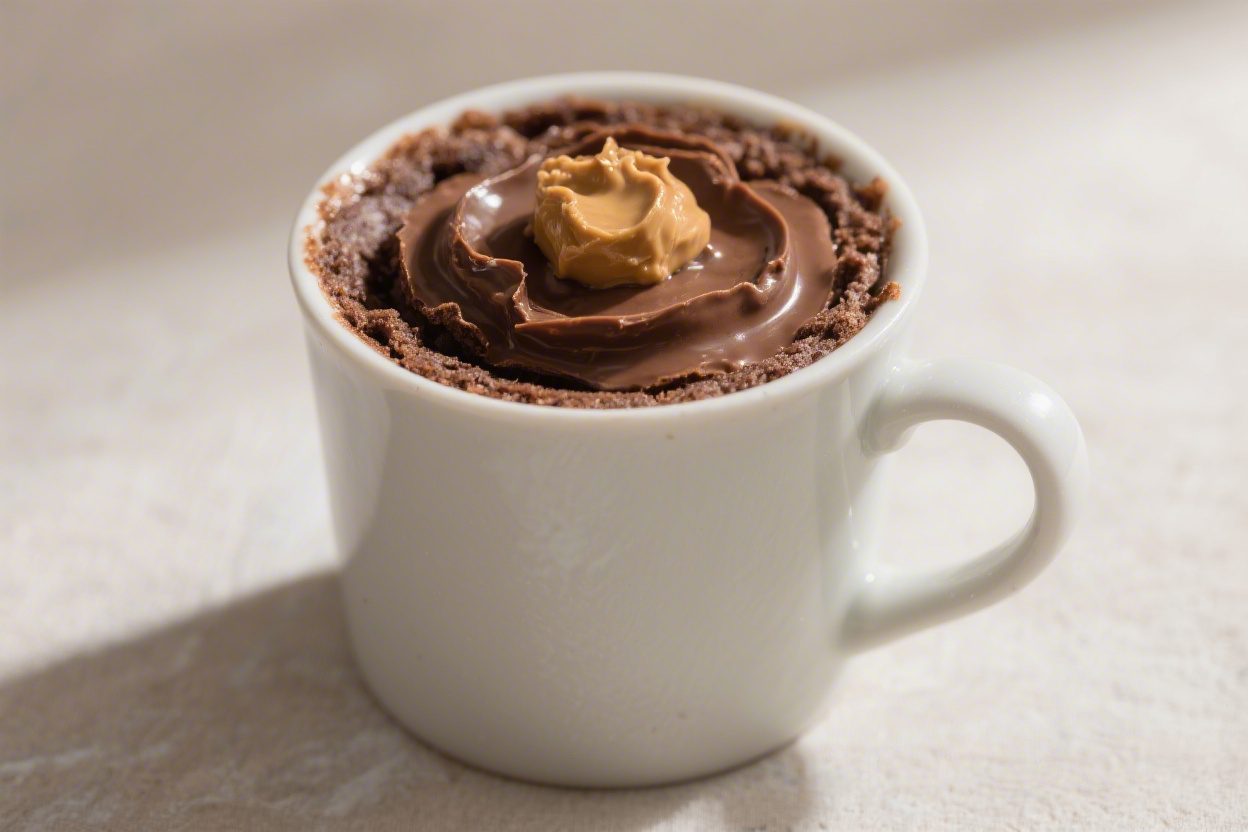
Chocolate Peanut Butter Mug Cake – A Quick, Cozy Treat for One
If you’re craving something warm, chocolatey, and comforting—but don’t want to turn on the oven—this Chocolate Peanut Butter Mug Cake has your back. It’s rich, gooey, and ready in minutes with simple pantry staples. You’ll mix everything in one mug, microwave it, and dig into a soft cake with a melty peanut butter center.
It’s perfect for late-night cravings, study breaks, or a small celebration just for you. No fancy tools, no stress, just pure chocolate-peanut butter happiness.
Ingredients
Method
- Choose the right mug. Use a microwave-safe mug that holds at least 12 ounces. This helps prevent overflow and gives the batter room to rise.
- Mix dry ingredients. In the mug, whisk together 1/4 cup flour, 2 tablespoons sugar, 1 1/2 tablespoons cocoa powder, 1/4 teaspoon baking powder, and a small pinch of salt until no streaks remain.
- Add wet ingredients. Stir in 1/4 cup milk, 2 tablespoons oil, and 1/4 teaspoon vanilla. Mix until smooth. The batter should be thick but pourable; add a teaspoon of milk if needed.
- Add the peanut butter. Drop 1 tablespoon of creamy peanut butter in the center. Gently press it down just below the surface or swirl lightly with a spoon.
- Optional toppings. Sprinkle a few chocolate chips or chopped peanuts on top for extra texture and flavor.
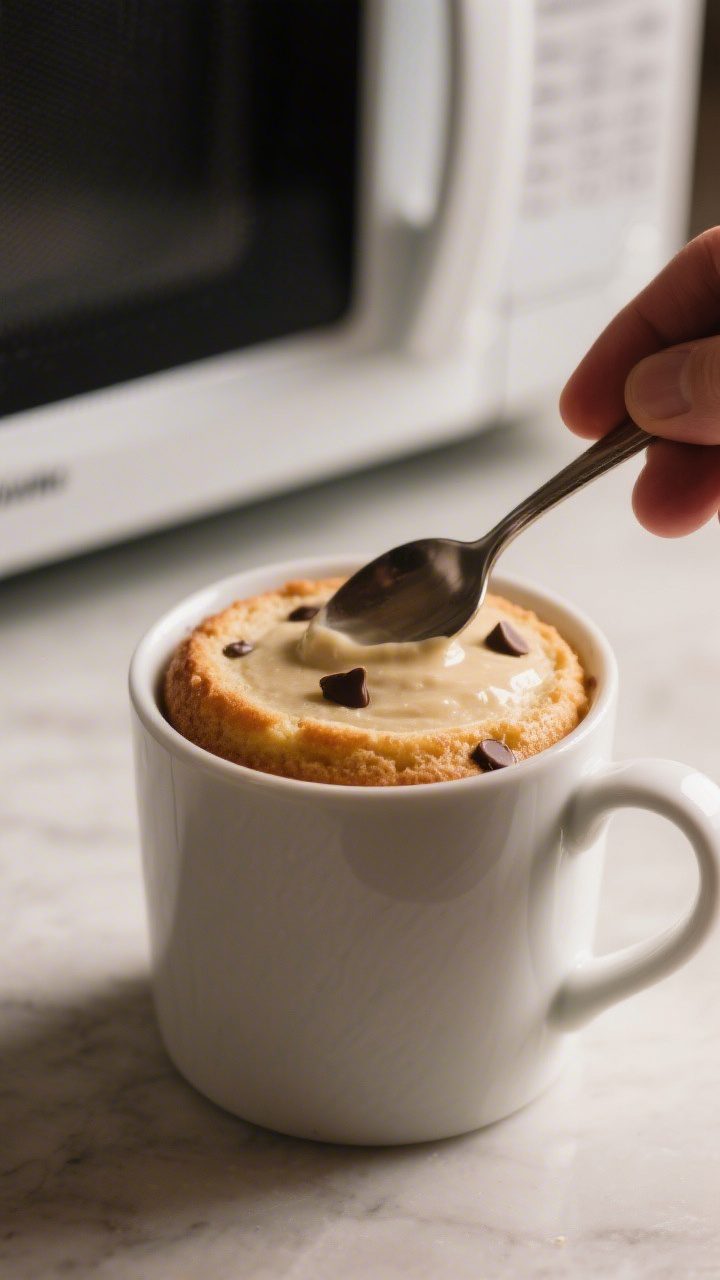
- Microwave carefully. Cook on high for 45–60 seconds to start. The cake should rise and look set around the edges with a slightly glossy center. If it’s still very wet, heat in 10-second bursts until done.
- Check doneness. The top should spring back lightly to the touch. Avoid overcooking—microwave heat continues to carry over and can dry it out.
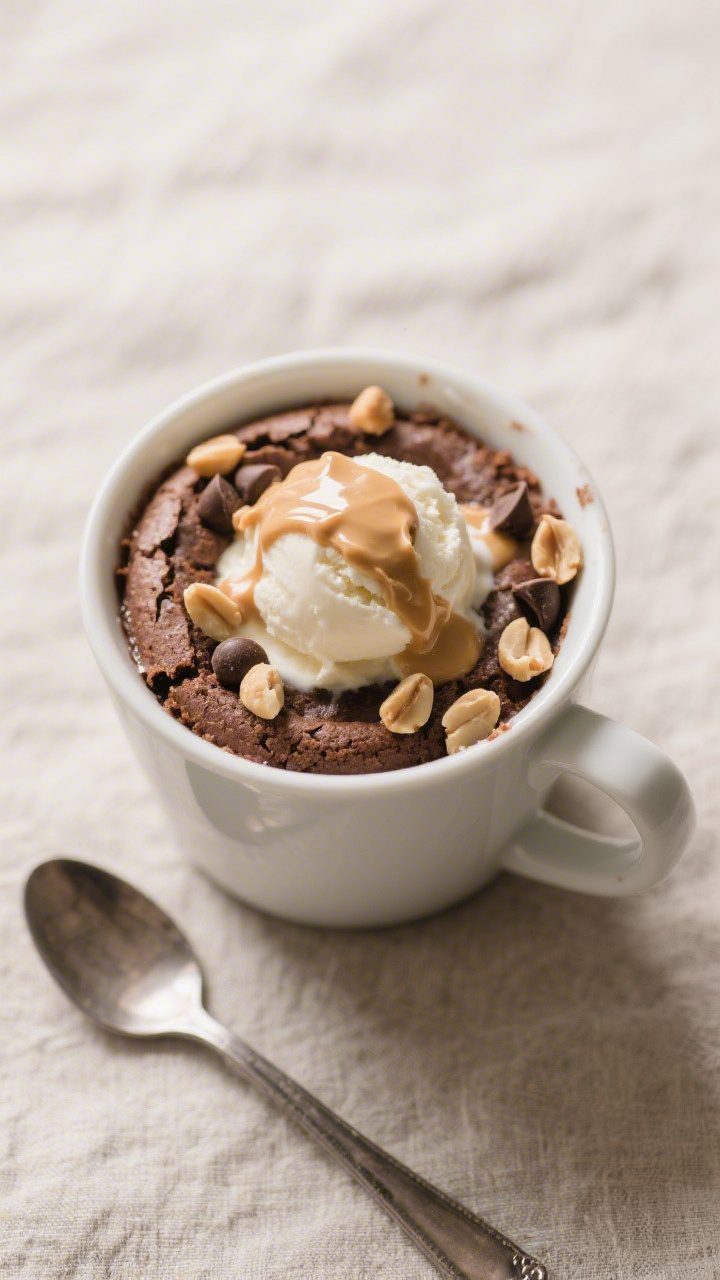
- Rest and serve. Let it sit for 1–2 minutes. Enjoy straight from the mug, or top with a scoop of ice cream, a drizzle of warm milk, or extra peanut butter.
What Makes This Special
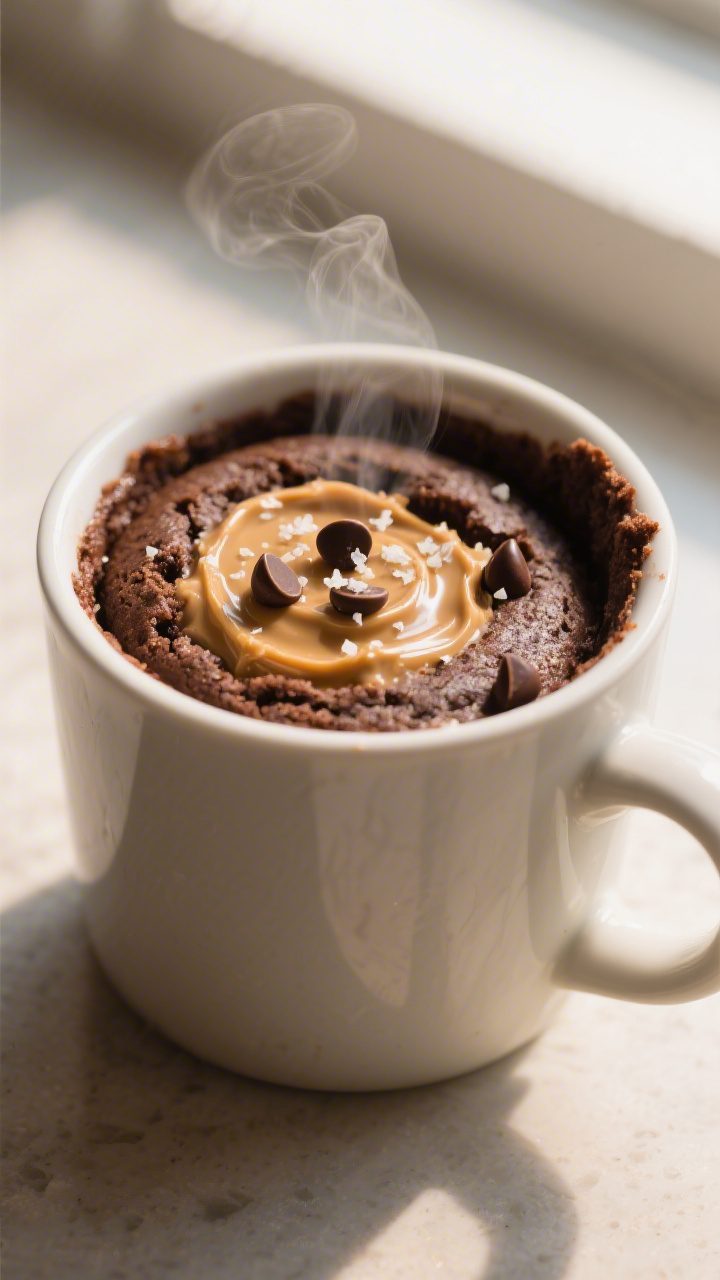
This mug cake hits that sweet spot between cake and brownie—tender crumb with a fudgy edge. The swirl or dollop of peanut butter melts into the center, giving you a little surprise in every bite.
It’s quick to customize, too: use dairy-free milk, swap sugars, or add chocolate chips. Best of all, it uses a single mug and cooks in about a minute, so cleanup is a breeze. Dessert doesn’t get much more convenient than that.
Shopping List
- All-purpose flour (or a 1:1 gluten-free blend)
- Granulated sugar (or coconut sugar)
- Unsweetened cocoa powder
- Baking powder
- Salt
- Milk (dairy or non-dairy like almond, oat, or soy)
- Neutral oil (canola, avocado, or melted coconut oil)
- Vanilla extract
- Peanut butter (creamy works best)
- Optional add-ins: chocolate chips, mini peanut butter chips, a pinch of espresso powder, or a few chopped peanuts
Instructions
- Choose the right mug. Use a microwave-safe mug that holds at least 12 ounces.
This helps prevent overflow and gives the batter room to rise.
- Mix dry ingredients. In the mug, whisk together 1/4 cup flour, 2 tablespoons sugar, 1 1/2 tablespoons cocoa powder, 1/4 teaspoon baking powder, and a small pinch of salt until no streaks remain.
- Add wet ingredients. Stir in 1/4 cup milk, 2 tablespoons oil, and 1/4 teaspoon vanilla. Mix until smooth. The batter should be thick but pourable; add a teaspoon of milk if needed.
- Add the peanut butter. Drop 1 tablespoon of creamy peanut butter in the center.
Gently press it down just below the surface or swirl lightly with a spoon.
- Optional toppings. Sprinkle a few chocolate chips or chopped peanuts on top for extra texture and flavor.
- Microwave carefully. Cook on high for 45–60 seconds to start. The cake should rise and look set around the edges with a slightly glossy center. If it’s still very wet, heat in 10-second bursts until done.
- Check doneness. The top should spring back lightly to the touch.
Avoid overcooking—microwave heat continues to carry over and can dry it out.
- Rest and serve. Let it sit for 1–2 minutes. Enjoy straight from the mug, or top with a scoop of ice cream, a drizzle of warm milk, or extra peanut butter.
Storage Instructions
This dessert is best fresh. Microwave cakes tend to dry out as they cool.
If you need to store it, cover the cooled mug and keep it at room temperature for up to 4 hours. For longer storage, transfer to an airtight container and refrigerate for up to 1 day. Reheat gently in the microwave for 10–15 seconds with a splash of milk on top to bring back some moisture.
Health Benefits
– Peanut butter provides plant-based protein and healthy fats, which help with satiety and steady energy. – Cocoa powder offers antioxidants, including flavonoids that support heart health. – Customizable ingredients let you reduce sugar, use whole-grain or gluten-free flour, or choose dairy-free milk to suit your needs. – Built-in portion control means you get a satisfying treat without a whole pan of leftovers calling your name.
What Not to Do
– Don’t overfill the mug. Too much batter can overflow and make a mess. – Don’t overmix. Stir just until combined; overmixing can make the cake tough. – Don’t overcook. Even 10 extra seconds can dry it out.
Stop when the edges are set and the center is slightly soft. – Don’t use a tiny or delicate mug. Thin glass or small cups can overheat, crack, or cause spillover. – Don’t skip the pinch of salt. It balances the sweetness and enhances the chocolate flavor.
Alternatives
– Flour swaps: Use a 1:1 gluten-free blend, or try 2 tablespoons oat flour plus 2 tablespoons almond flour for a softer, slightly denser crumb. – Sweeteners: Coconut sugar works well. For liquid sweeteners, use 1 1/2 tablespoons maple syrup and reduce milk by 1 teaspoon. – Nut-free: Swap peanut butter with sunflower seed butter or tahini for a toasty, nut-free version. – Dairy-free: Use almond, oat, or soy milk and dairy-free chocolate chips. – Lighter option: Replace half the oil with unsweetened applesauce. Texture will be a bit more cakey and less fudgy. – Extra chocolatey: Add 1–2 teaspoons mini chocolate chips to the batter and a tiny pinch of espresso powder to boost cocoa flavor. – Texture twist: Stir in chopped peanuts for crunch or top with a few flaky sea salt crystals after cooking.
FAQ
Can I bake this in the oven instead of the microwave?
Yes.
Transfer the batter to an oven-safe ramekin (8–10 ounces) and bake at 350°F (175°C) for about 12–15 minutes, until the edges are set and the center is slightly soft.
Why did my mug cake turn out rubbery?
It was likely overcooked or overmixed. Microwave in short bursts and stop when just set. Stir only until the batter comes together to avoid developing too much gluten.
Can I make it without oil?
You can swap half or all of the oil with unsweetened applesauce.
The cake will be less rich and slightly more sponge-like, but still tasty.
What size mug should I use?
A 12–14 ounce microwave-safe mug is ideal. It gives the batter room to rise and helps prevent overflow.
Is natural peanut butter okay?
Yes. Stir it well to incorporate the oils before adding.
Natural peanut butter may create a looser center, which many people enjoy.
How do I know when it’s done?
The edges should look set and the top should spring back gently. The center can look a little glossy—that’s good. If it’s still liquid, add 10-second bursts.
Can I make it sugar-free?
You can use a granulated, cup-for-cup sweetener designed for baking.
Keep in mind that texture and sweetness may vary slightly depending on the brand.
Will almond flour work on its own?
Almond flour alone won’t give the same structure. If you want a grain-free option, try half almond flour and half coconut flour (about 2 tablespoons almond flour plus 1 tablespoon coconut flour) and add a bit more milk if needed.
Wrapping Up
A warm, chocolatey dessert in minutes is hard to beat, especially when peanut butter is involved. This Chocolate Peanut Butter Mug Cake keeps things simple, customizable, and reliably satisfying.
Keep the basics in your pantry, and you’ll always have a little treat ready when the craving hits. Happy microwaving and enjoy every gooey spoonful.
Printable Recipe Card
Want just the essential recipe details without scrolling through the article? Get our printable recipe card with just the ingredients and instructions.