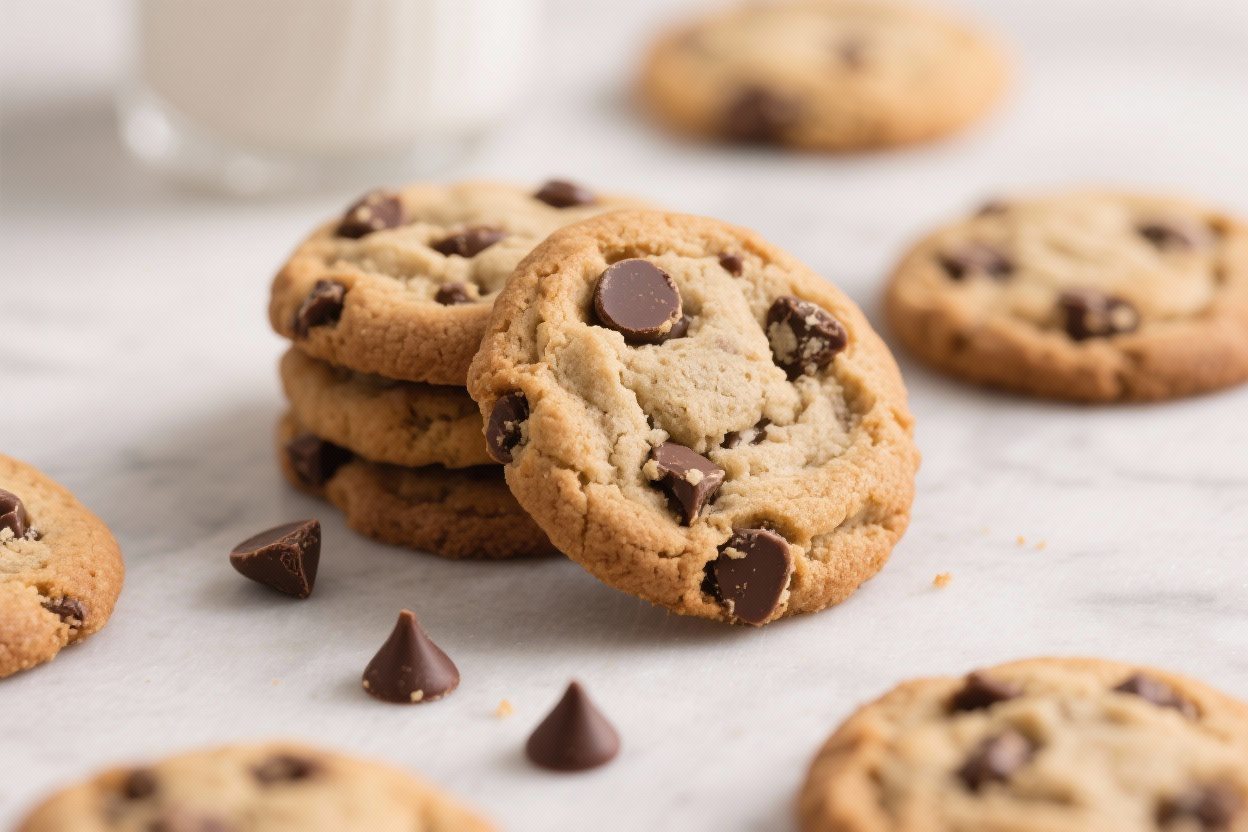
Soft & Chewy Chocolate Chip Cookies – Classic, Comforting, and Easy
Chocolate chip cookies are one of those timeless treats that make any day better. This version gives you soft centers, chewy edges, and warm pools of chocolate in every bite. You don’t need fancy tools or rare ingredients—just a few smart steps and a little patience.
Whether you’re baking for a crowd or just craving something sweet, these cookies deliver. Make a batch today, and watch them disappear.
Ingredients
Method
- Prep the basics. Line two baking sheets with parchment paper. Set the oven to 350°F (175°C). If your butter is hot, let it cool until just warm to the touch so it doesn’t cook the eggs.
- Whisk the wet ingredients. In a large bowl, whisk the melted butter, brown sugar, and granulated sugar until smooth and glossy, about 30 seconds. Whisk in the egg, egg yolk, and vanilla until combined.
- Combine the dry ingredients. In a separate bowl, whisk the flour, baking soda, salt, and cornstarch. This helps prevent clumps and keeps the dough uniform.
- Bring the dough together. Add the dry ingredients to the wet and stir with a spatula just until no dry streaks remain. Fold in the chocolate chips or chunks. The dough will be soft and a bit glossy.
- Chill briefly. Cover and chill the dough for 20–30 minutes. This step helps the cookies bake thicker and improves texture.
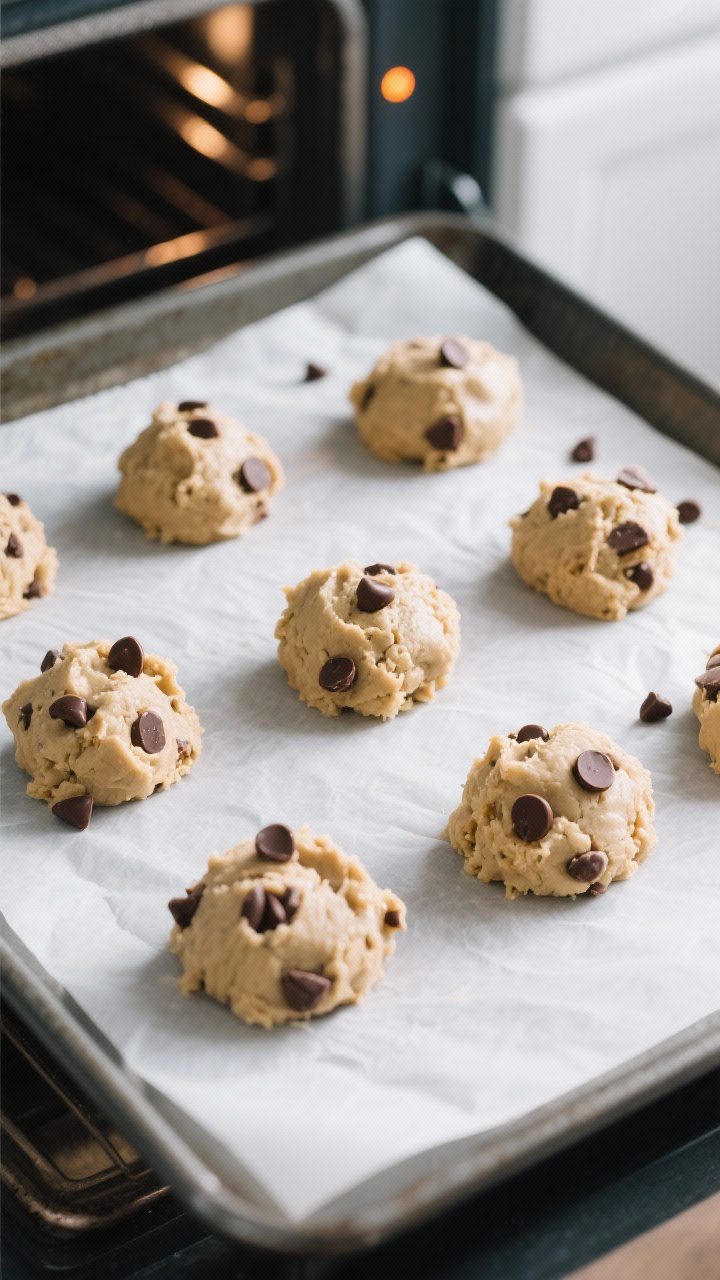
- Portion the cookies. Scoop 2-tablespoon mounds (about 40–45 g each) and place them 2 inches apart on the lined sheets. If you like, press a few extra chocolate chips on top for a bakery look.
- Bake. Bake one sheet at a time for 9–11 minutes until edges are set and lightly golden, but centers still look soft and slightly underdone. Don’t overbake—carryover heat will finish them.
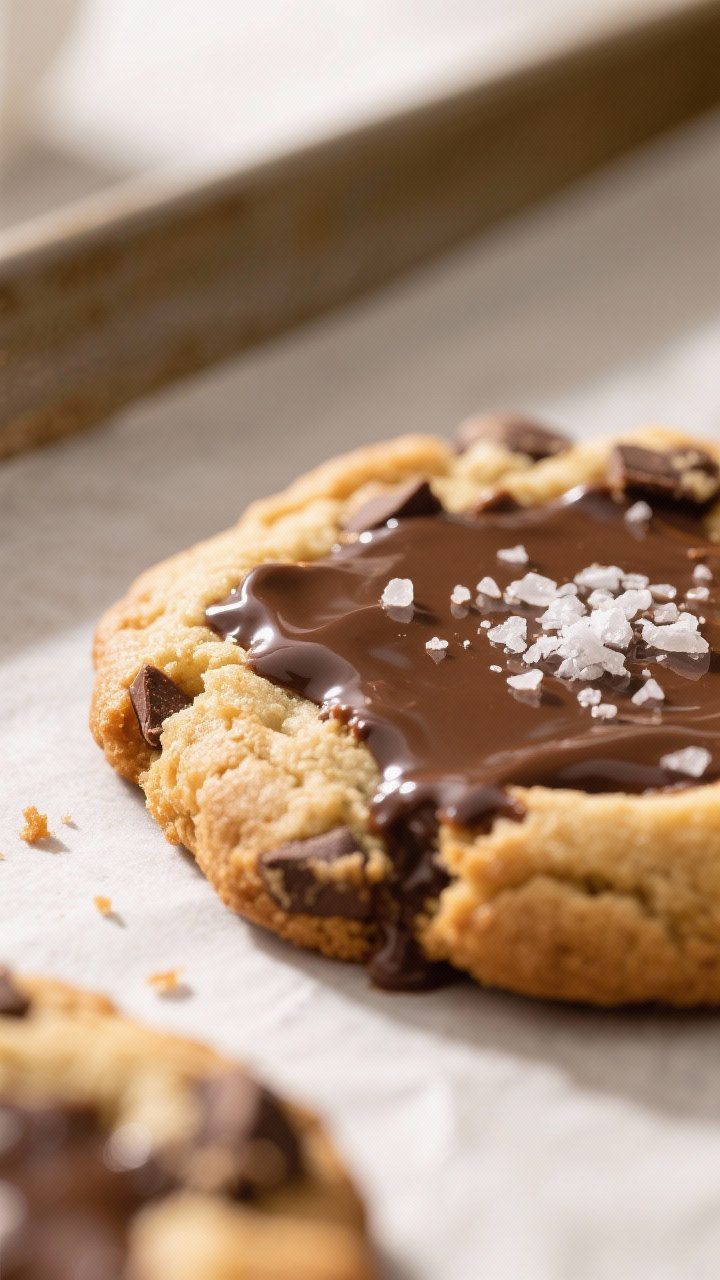
- Finish and cool. If using, sprinkle with a pinch of flaky sea salt right out of the oven. Let cookies cool on the sheet for 5–7 minutes, then move to a rack to cool completely (or enjoy warm).
- Adjust for preferences. For extra softness, pull at 9 minutes. For firmer edges, go closer to 11–12 minutes, watching closely.
What Makes This Special
These cookies hit the sweet spot between soft and chewy, thanks to the right balance of butter, sugar, and chilling time. Using both brown and white sugar adds flavor and moisture, while a little cornstarch keeps them tender.
We use melted butter for extra chew and to make the dough easy to mix by hand. And a brief chill helps control spreading so the cookies bake up thick and satisfying.
Ingredients
- 3/4 cup (170 g) unsalted butter, melted and slightly cooled
- 3/4 cup (150 g) packed light brown sugar
- 1/2 cup (100 g) granulated sugar
- 1 large egg + 1 large egg yolk, at room temperature
- 2 teaspoons vanilla extract
- 2 cups (250 g) all-purpose flour
- 1 teaspoon baking soda
- 1/2 teaspoon fine salt
- 1 teaspoon cornstarch (optional, for extra softness)
- 1 1/2 cups (270 g) chocolate chips or chunks (semi-sweet or a mix)
- Flaky sea salt, for topping (optional)
Step-by-Step Instructions
- Prep the basics. Line two baking sheets with parchment paper. Set the oven to 350°F (175°C).
If your butter is hot, let it cool until just warm to the touch so it doesn’t cook the eggs.
- Whisk the wet ingredients. In a large bowl, whisk the melted butter, brown sugar, and granulated sugar until smooth and glossy, about 30 seconds. Whisk in the egg, egg yolk, and vanilla until combined.
- Combine the dry ingredients. In a separate bowl, whisk the flour, baking soda, salt, and cornstarch. This helps prevent clumps and keeps the dough uniform.
- Bring the dough together. Add the dry ingredients to the wet and stir with a spatula just until no dry streaks remain.
Fold in the chocolate chips or chunks. The dough will be soft and a bit glossy.
- Chill briefly. Cover and chill the dough for 20–30 minutes. This step helps the cookies bake thicker and improves texture.
- Portion the cookies. Scoop 2-tablespoon mounds (about 40–45 g each) and place them 2 inches apart on the lined sheets.
If you like, press a few extra chocolate chips on top for a bakery look.
- Bake. Bake one sheet at a time for 9–11 minutes until edges are set and lightly golden, but centers still look soft and slightly underdone. Don’t overbake—carryover heat will finish them.
- Finish and cool. If using, sprinkle with a pinch of flaky sea salt right out of the oven. Let cookies cool on the sheet for 5–7 minutes, then move to a rack to cool completely (or enjoy warm).
- Adjust for preferences. For extra softness, pull at 9 minutes.
For firmer edges, go closer to 11–12 minutes, watching closely.
Keeping It Fresh
Store cookies in an airtight container at room temperature for 3–4 days. Slip in a slice of bread or a tortilla to keep them soft—the cookies will absorb moisture and stay tender. For longer storage, freeze baked cookies for up to 2 months in a zip-top bag.
You can also freeze scooped dough balls and bake straight from frozen, adding 1–2 minutes to the bake time.
Why This is Good for You
Cookies are comfort food, and there’s real value in that. Baking can be relaxing and a fun way to connect with family or friends. These cookies also use simple pantry staples and offer portion flexibility—you can bake just a few at a time when you want a treat.
And by making them at home, you control sweetness, chocolate type, and portion size.
What Not to Do
- Don’t skip the chill. Warm dough spreads too much, leading to thin, crispy cookies instead of soft and chewy ones.
- Don’t overmeasure the flour. Spoon and level it. Too much flour makes cookies dry and cakey.
- Don’t overbake. Pull them when the centers still look a touch underdone; they’ll set as they cool.
- Don’t use hot butter. It can scramble the eggs and create greasy cookies.
- Don’t overmix. Stop as soon as the flour disappears. Overmixing develops gluten and toughens the cookies.
Variations You Can Try
- Brown Butter Upgrade: Brown the butter until nutty, cool fully, then proceed.
Adds deep, toasty flavor.
- Chunky Mix: Use a mix of chocolate chips, chopped dark chocolate, and milk chocolate for varied texture.
- Nutty Crunch: Fold in 3/4 cup toasted walnuts or pecans for crunch and balance.
- Espresso Boost: Add 1 teaspoon instant espresso powder to the dry ingredients for a mocha vibe.
- Peanut Butter Swirl: Marble 1/3 cup creamy peanut butter into the dough right before scooping.
- Gluten-Free Swap: Use a 1:1 gluten-free flour blend with xanthan gum; chill a bit longer.
- Smaller Bites: Scoop 1 tablespoon each and bake 7–9 minutes for mini cookies.
FAQ
Can I make the dough ahead?
Yes. Chill the dough up to 48 hours. Let it sit at room temperature for 10–15 minutes if it’s too firm to scoop.
You can also pre-scoop balls and refrigerate or freeze them for easy baking later.
Why are my cookies flat?
Warm dough, hot butter, or too little flour can cause spreading. Make sure the butter is cooled, chill the dough, and measure flour accurately. If needed, add 1–2 tablespoons more flour to firm the dough slightly.
Why are my cookies cakey?
Too much flour or overmixing can make cookies cakey.
Spoon and level your flour, and mix only until the dry ingredients vanish. Also, avoid overbaking, which dries them out.
Can I use salted butter?
Yes. If using salted butter, reduce the added salt to a pinch.
Taste the dough if you’re unsure—just a tiny bit—to keep the salt balanced.
What kind of chocolate works best?
Semi-sweet chips are classic. For richer flavor, use a mix of chips and chopped bars. Chopped chocolate creates melty pockets and those pretty puddles on top.
How do I get perfectly round cookies?
Right after baking, use a wide round cutter or a mug to gently “scoot” the hot cookie edges into a circle.
Small, quick motions do the trick.
Can I reduce the sugar?
You can reduce total sugar by about 2–3 tablespoons without major changes. More than that will affect texture and spread, making the cookies drier.
Do I need cornstarch?
No, but it helps keep the centers soft. If you don’t have it, skip it—the cookies will still be delicious.
In Conclusion
These soft and chewy chocolate chip cookies are simple, reliable, and exactly what you want from a classic.
A few smart steps—like chilling the dough and pulling them while slightly underbaked—make all the difference. Keep a stash of dough balls in the freezer, and you’re never more than a few minutes away from fresh, warm cookies. Happy baking.
Printable Recipe Card
Want just the essential recipe details without scrolling through the article? Get our printable recipe card with just the ingredients and instructions.