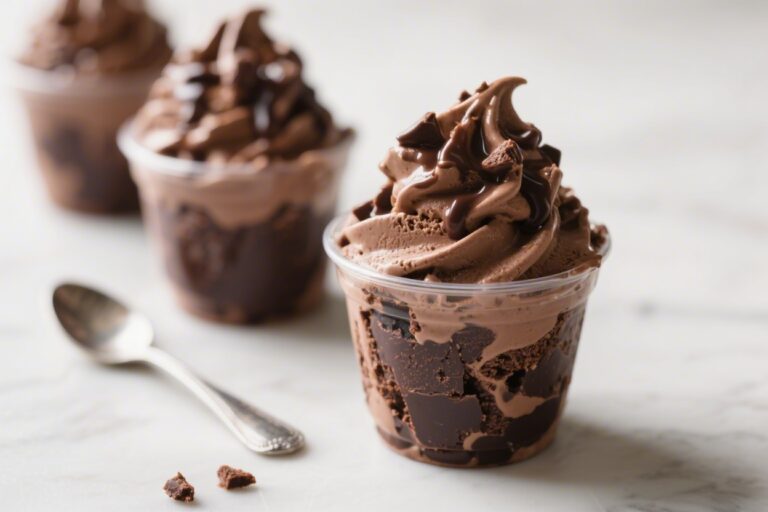
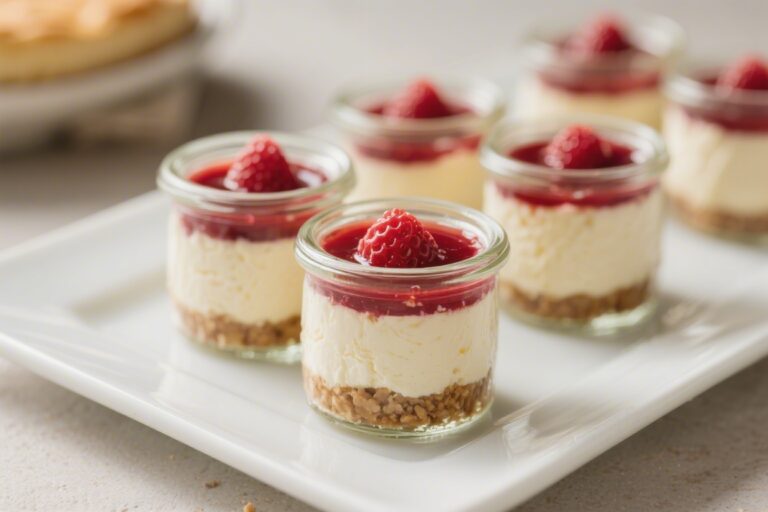
Classic Vanilla Pudding Cups – Creamy, Comforting, and Simple
There’s something soothing about a cool cup of vanilla pudding. It’s familiar, cozy, and always hits the spot, whether you’re serving it after dinner or sneaking a spoonful from the fridge. This version is smooth, silky, and pleasantly sweet, with real vanilla shining through.
It’s easy to make with pantry staples, and you don’t need any fancy tools. If you’ve only had boxed pudding before, this homemade take will surprise you in the best way.
Ingredients
Method
- Set up your tools. Grab a medium saucepan, a whisk, a heatproof spatula, and 4–6 small cups or ramekins. Have a fine-mesh strainer ready if you want an ultra-smooth finish.
- Mix dry ingredients. In the saucepan (off heat), whisk together the sugar, cornstarch, and salt until no lumps remain. This helps the cornstarch disperse evenly once the liquid goes in.
- Whisk in milk gradually. Slowly add the milk while whisking until the mixture is smooth. This step prevents clumps and keeps the pudding silky.
- Add egg yolks. Whisk in the yolks until fully combined. The mixture will look pale and slightly thickened from the cornstarch.
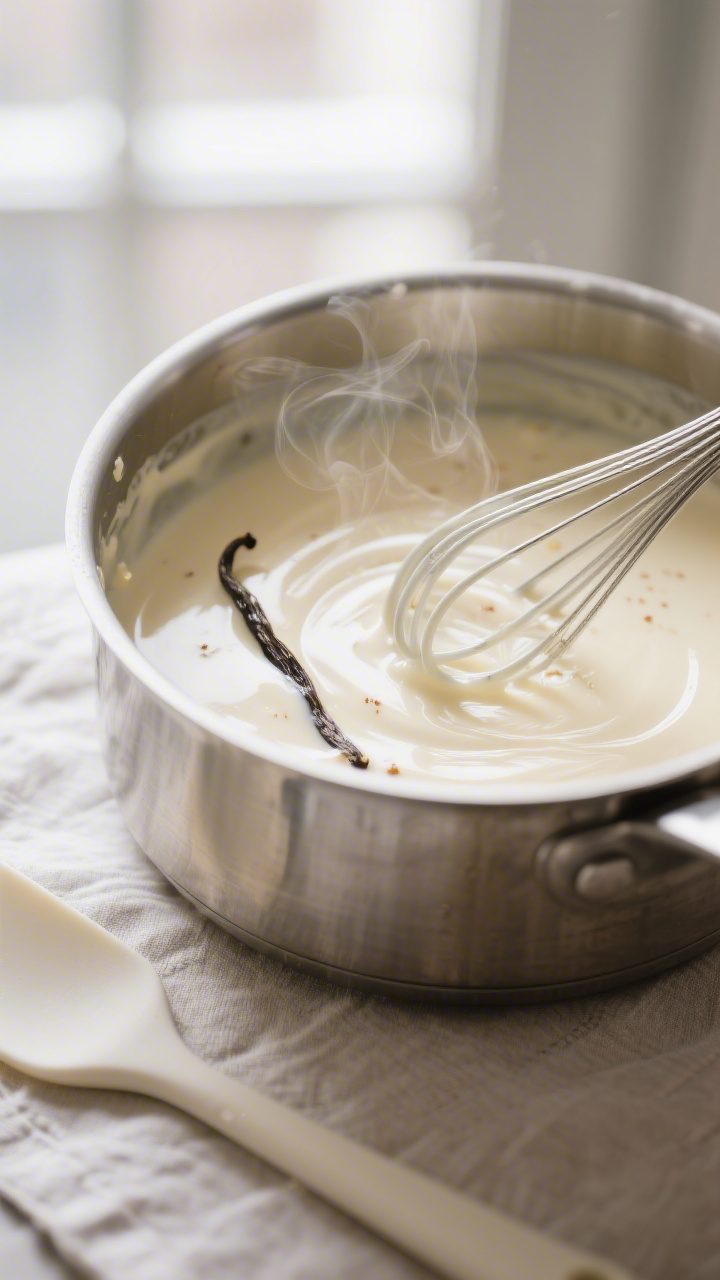
- Cook gently. Set the saucepan over medium heat. Cook, whisking constantly and scraping the corners, until it begins to thicken, 5–8 minutes. When it starts to bubble, reduce the heat to low and cook for 1–2 minutes more to fully activate the cornstarch. The texture should be thick but pourable.
- Finish with flavor. Remove from heat. Whisk in the butter, vanilla extract (and vanilla bean paste if using) until smooth and glossy.
- Strain (optional but excellent). For the silkiest pudding, pour it through a fine-mesh strainer into a bowl or large measuring cup.
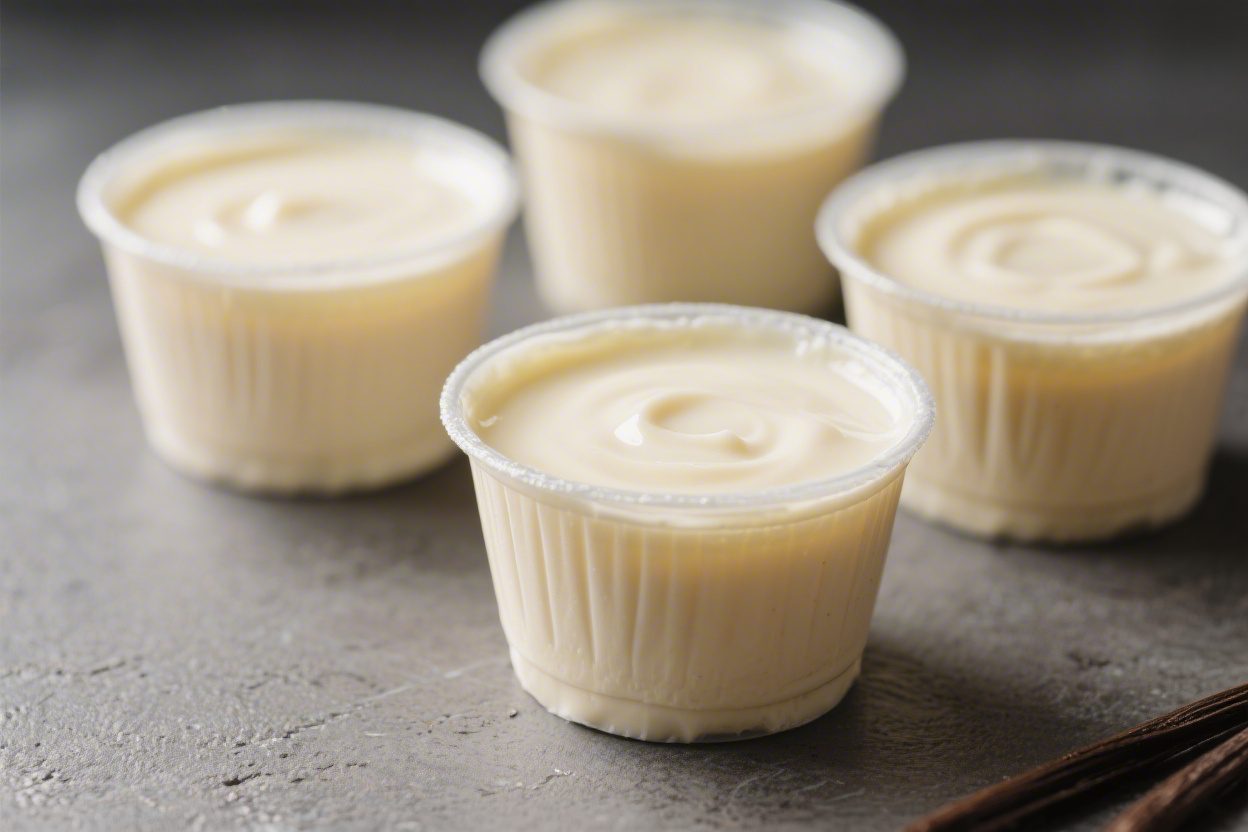
- Portion and chill. Divide into cups. Press a small piece of plastic wrap directly on the surface of each to prevent a skin, unless you like that old-school layer. Chill for at least 2 hours, or until set.
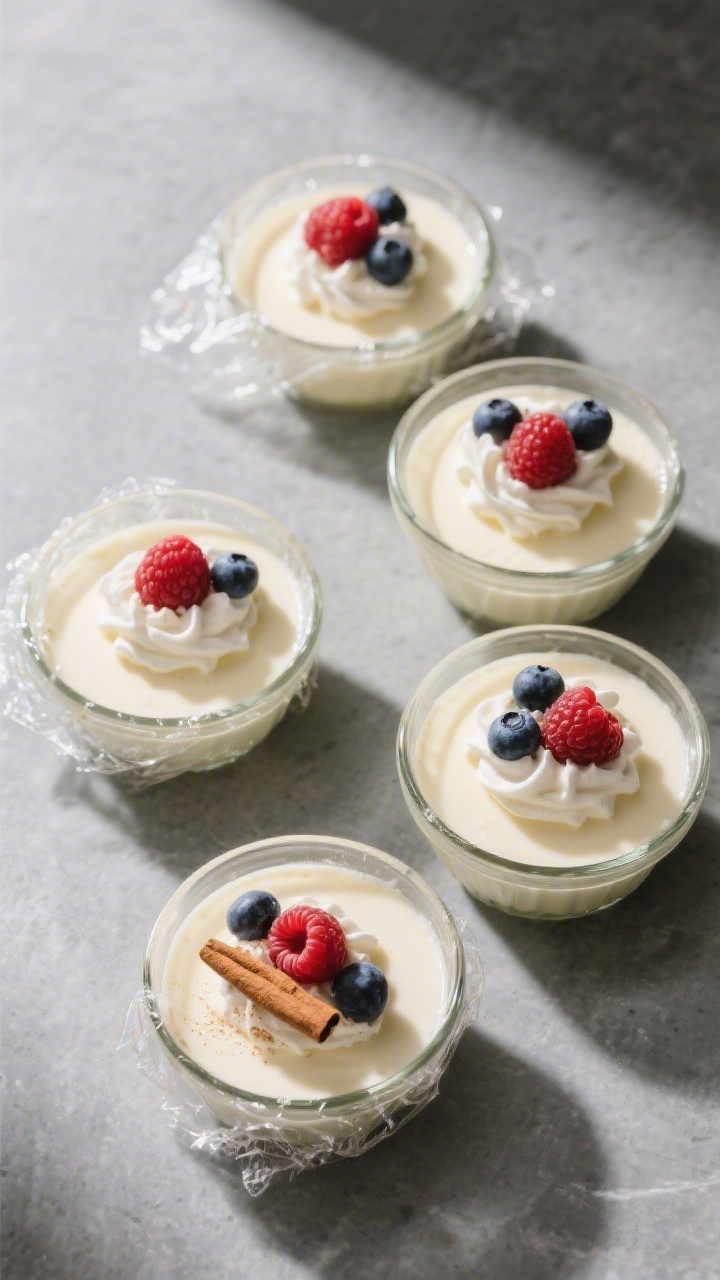
- Serve. Top with whipped cream, berries, or a dusting of cinnamon. Enjoy straight from the cup, cool and creamy.
Why This Recipe Works
This pudding gets its luscious texture from a simple blend of milk, egg yolks, and cornstarch. The cornstarch thickens it reliably without turning it gluey, as long as you follow the heat cues.
Using both vanilla extract and a touch of butter builds flavor and a velvety finish. A pinch of salt brightens the sweetness so it tastes balanced, not flat. Best of all, the method is straightforward and repeatable, so you end up with smooth, scoopable pudding every time.
What You’ll Need
- Whole milk (2 1/2 cups) – for creaminess and body
- Granulated sugar (1/2 cup) – sweetens without overpowering
- Cornstarch (3 tablespoons) – the key thickener
- Egg yolks (3 large) – adds richness and a silky texture
- Unsalted butter (2 tablespoons) – for a smooth, glossy finish
- Vanilla extract (2 teaspoons) – classic flavor; use real extract
- Fine salt (1/8 teaspoon) – enhances flavor
- Optional: vanilla bean paste (1 teaspoon) or scraped seeds from 1/2 vanilla bean for flecks and deeper aroma
- Optional toppings: lightly sweetened whipped cream, fresh berries, shaved chocolate, or crushed cookies
How to Make It
- Set up your tools. Grab a medium saucepan, a whisk, a heatproof spatula, and 4–6 small cups or ramekins.
Have a fine-mesh strainer ready if you want an ultra-smooth finish.
- Mix dry ingredients. In the saucepan (off heat), whisk together the sugar, cornstarch, and salt until no lumps remain. This helps the cornstarch disperse evenly once the liquid goes in.
- Whisk in milk gradually. Slowly add the milk while whisking until the mixture is smooth. This step prevents clumps and keeps the pudding silky.
- Add egg yolks. Whisk in the yolks until fully combined.
The mixture will look pale and slightly thickened from the cornstarch.
- Cook gently. Set the saucepan over medium heat. Cook, whisking constantly and scraping the corners, until it begins to thicken, 5–8 minutes. When it starts to bubble, reduce the heat to low and cook for 1–2 minutes more to fully activate the cornstarch.
The texture should be thick but pourable.
- Finish with flavor. Remove from heat. Whisk in the butter, vanilla extract (and vanilla bean paste if using) until smooth and glossy.
- Strain (optional but excellent). For the silkiest pudding, pour it through a fine-mesh strainer into a bowl or large measuring cup.
- Portion and chill. Divide into cups. Press a small piece of plastic wrap directly on the surface of each to prevent a skin, unless you like that old-school layer.
Chill for at least 2 hours, or until set.
- Serve. Top with whipped cream, berries, or a dusting of cinnamon. Enjoy straight from the cup, cool and creamy.
Keeping It Fresh
Store pudding cups covered in the refrigerator for up to 4 days. Keep the plastic wrap touching the surface to avoid a thick skin and to minimize condensation.
If the pudding firms up more than you like, give it a quick whisk before serving to loosen the texture. Avoid freezing; the dairy and cornstarch don’t thaw well and can turn grainy.

Health Benefits
- Calcium and protein: Whole milk provides calcium for bone health and a small but meaningful bump of protein.
- Control over ingredients: You can reduce sugar slightly, use organic milk, or choose a lactose-free milk to suit dietary needs.
- Portion-friendly: Serving in small cups helps keep portions in check while still feeling satisfying.
- Egg yolks add nutrients: Yolks bring vitamins A, D, and choline, which support brain and eye health.
What Not to Do
- Don’t rush the heat. High heat can scorch the bottom and curdle the eggs. Steady, medium heat with constant whisking is your friend.
- Don’t skip the simmer. Cornstarch needs a gentle boil for a minute to set properly.
If you stop early, the pudding may taste starchy or stay runny.
- Don’t add vanilla too early. Boiling drives off flavor. Stir in vanilla after removing from heat.
- Don’t walk away. Pudding goes from perfect to lumpy fast. Keep whisking and watch the texture closely.
- Don’t expect non-dairy milks to behave the same. Some plant milks are thinner; the pudding may not set without adjustments.
Recipe Variations
- Vanilla Bean Deluxe: Swap the extract for a scraped vanilla bean and 1 teaspoon of vanilla bean paste for intense flavor and pretty specks.
- Lightened-Up: Use 2 cups 2% milk and 1/2 cup half-and-half.
Texture stays creamy with slightly less richness.
- Lactose-Free: Use lactose-free whole milk. It thickens like regular milk and keeps the classic flavor intact.
- Coconut Twist: Replace 1 cup of the milk with full-fat coconut milk and add a pinch of toasted coconut on top.
- Maple Vanilla: Replace 1/4 cup of the sugar with pure maple syrup. Add an extra 1 teaspoon of cornstarch to balance the added liquid.
- Banana Cream Cups: Layer sliced bananas and crushed vanilla wafers in the cups before adding warm pudding.
Chill and top with whipped cream.
- Chai-Spiced: Add 1/2 teaspoon ground cinnamon, 1/4 teaspoon ground cardamom, and a tiny pinch of ginger and cloves when mixing the dry ingredients.
FAQ
Can I make this without eggs?
Yes. Omit the yolks and increase cornstarch to 4 tablespoons. The texture will be a bit lighter and less rich, but still smooth and satisfying.
Why is my pudding lumpy?
Lumps usually mean uneven heating or not whisking enough.
You can fix it by whisking vigorously off heat or pushing the hot pudding through a fine-mesh strainer. Next time, keep the heat moderate and whisk constantly, scraping the pan’s edges and corners.
Can I use almond or oat milk?
You can, but results vary. Choose a barista-style or full-fat version for better body, and increase cornstarch to 4 tablespoons if the mixture seems thin.
The flavor will be slightly different from dairy-based pudding.
How sweet is this recipe?
It’s gently sweet. If you prefer less, reduce sugar to 6 tablespoons. If you like it richer, keep the sugar as written and consider adding a teaspoon of vanilla bean paste for more depth.
How do I avoid a skin on top?
Press plastic wrap directly on the surface before chilling.
If a skin does form, whisk the pudding before serving or embrace it for a nostalgic touch.
Can I make it ahead for a party?
Absolutely. Make it up to 2 days in advance, portion into cups, cover, and chill. Add toppings just before serving to keep textures fresh.
What size cups should I use?
Four 6-ounce cups make generous servings.
For smaller portions, use six 4-ounce cups. This recipe is flexible, so use what you have.
Why did my pudding taste starchy?
It likely didn’t simmer long enough after thickening. Keep it gently bubbling for 1–2 minutes to cook off the raw starch flavor, then remove from heat and finish with butter and vanilla.
In Conclusion
Classic Vanilla Pudding Cups are proof that simple ingredients can deliver big comfort.
With a calm stovetop, steady whisking, and quality vanilla, you’ll get creamy, elegant results every time. Make them for a weeknight dessert, a nostalgic treat, or a make-ahead party sweet. Either way, they’ll disappear fast—so maybe stash one in the back of the fridge for yourself.
Printable Recipe Card
Want just the essential recipe details without scrolling through the article? Get our printable recipe card with just the ingredients and instructions.