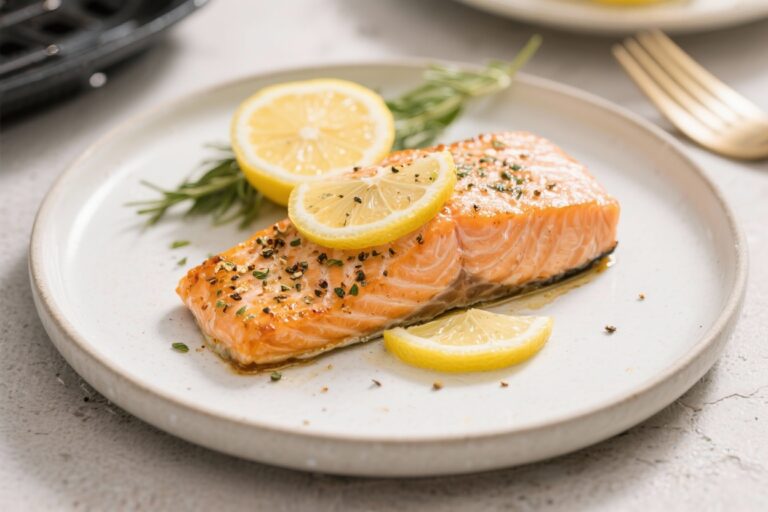
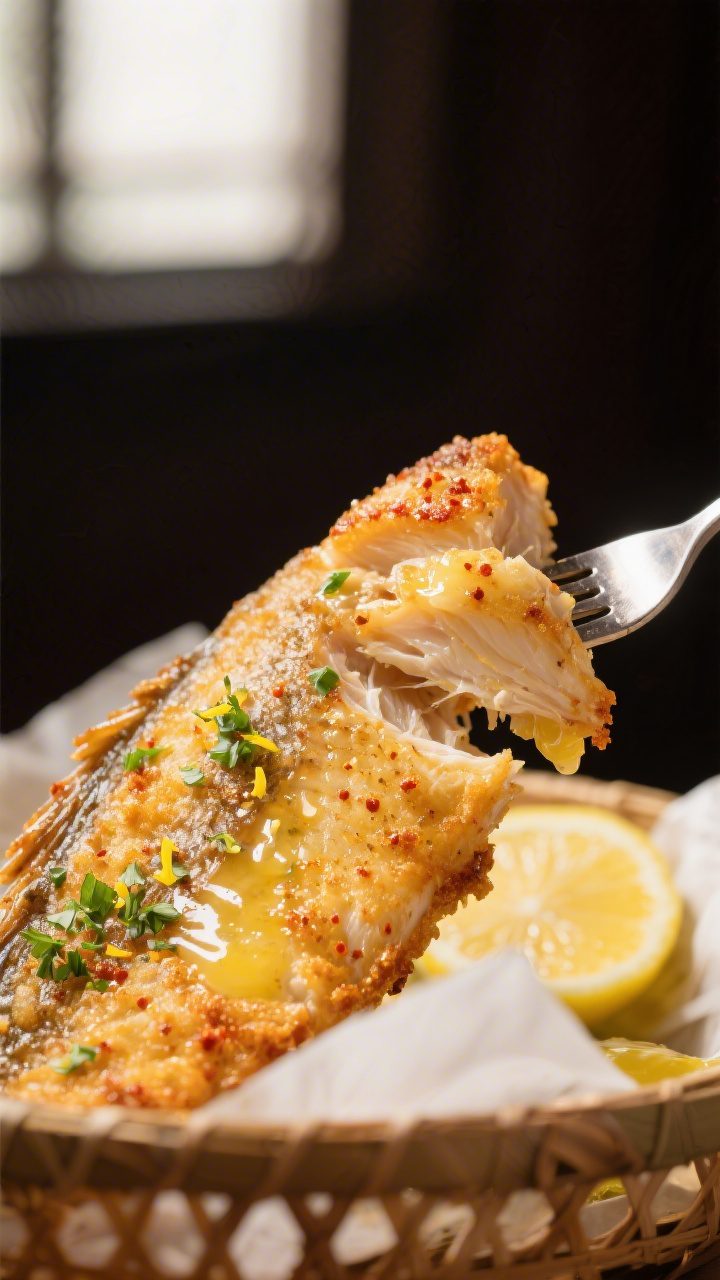
Air Fryer Tilapia With Lemon Garlic – Fast, Fresh, and Flavorful
If you’re looking for a quick weeknight dinner that tastes like something from a seaside café, this Air Fryer Tilapia with Lemon Garlic fits the bill. It’s bright, flaky, and full of fresh flavor, with a citrusy kick and a buttery finish. The best part?
It cooks in under 15 minutes and requires almost no cleanup. This is the kind of recipe you keep on repeat—simple enough for a Tuesday, special enough for guests. Serve it with rice, a crisp salad, or roasted veggies, and you’ve got a complete meal with minimal effort.

Ingredients
Method
- Preheat the air fryer: Set it to 400°F (200°C). Lightly spray the basket with cooking spray so the fish doesn’t stick.
- Pat the fish dry: Use paper towels to remove surface moisture from the tilapia. Dry fish gets better color and texture.
- Make the lemon-garlic mix: In a small bowl, combine 1 tablespoon olive oil, 1 tablespoon melted butter, the zest of half a lemon, 1 tablespoon lemon juice, and the minced garlic. Add 1/2 teaspoon salt, 1/4 teaspoon black pepper, 1/2 teaspoon paprika, and 1/2 teaspoon dried oregano if using. Stir well.
- Season the fillets: Brush the mixture evenly over both sides of the tilapia. If the fillets are very thin, go light on the lemon juice to avoid breaking the flesh.
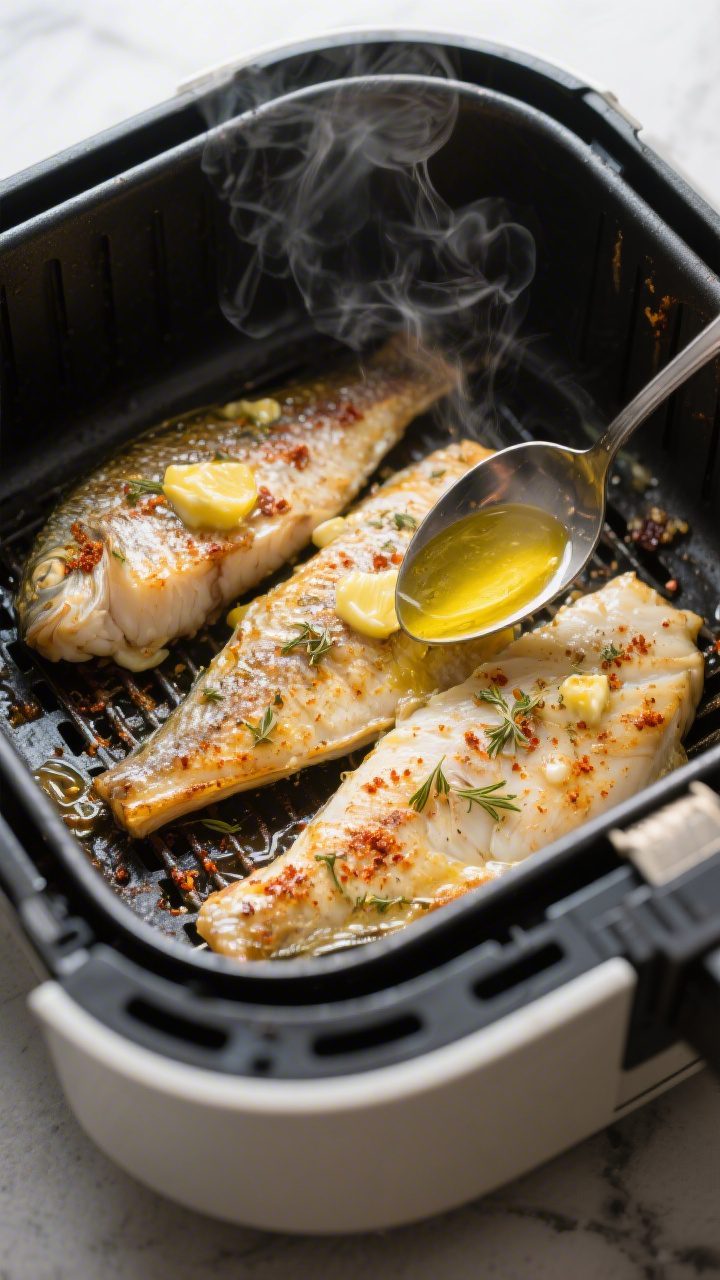
- Arrange in the air fryer: Place the fillets in a single layer. Don’t overlap. If needed, cook in batches for even results.
- Air fry until flaky: Cook for 7–10 minutes, depending on thickness. Thin fillets may be done at 6–7 minutes; thicker ones may take 10–11. The fish is done when it flakes easily with a fork and reaches an internal temperature of 145°F (63°C).
- Optional quick baste: Halfway through, open the basket and spoon any juices over the fillets for extra moisture and flavor.
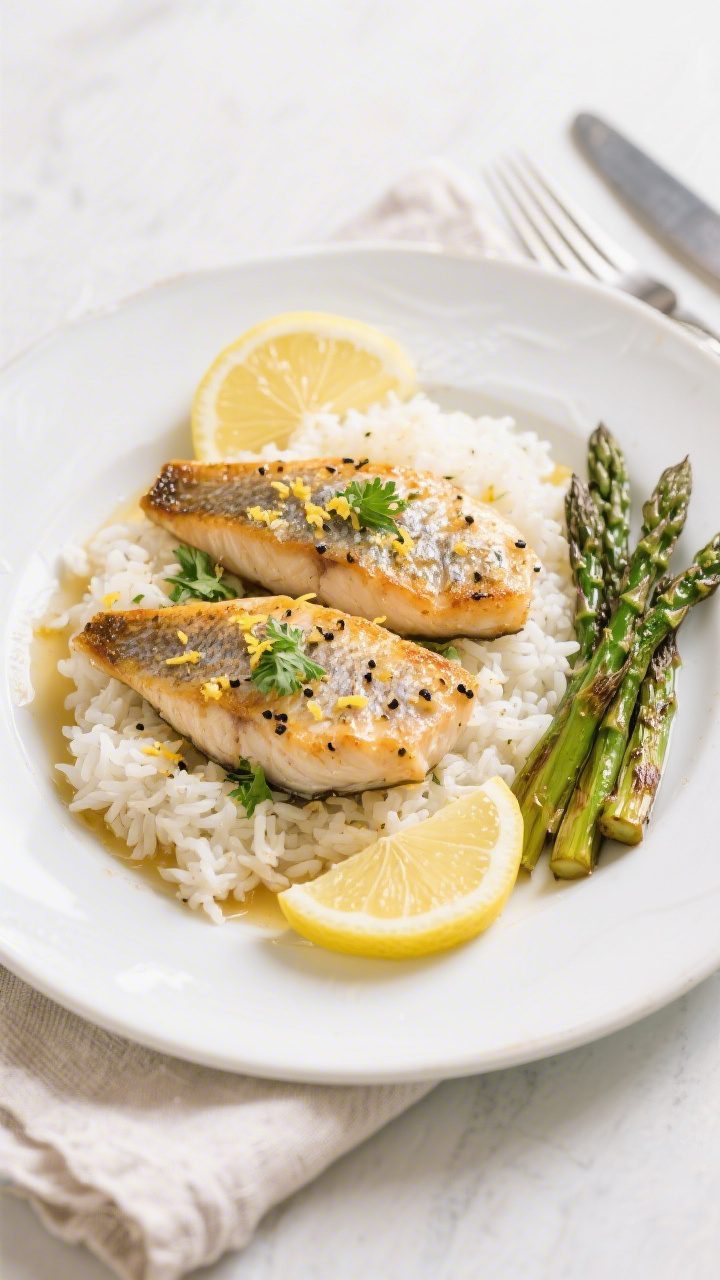
- Finish and serve: Transfer to plates, spoon over any remaining pan juices, and garnish with chopped parsley and fresh lemon wedges. Add an extra pinch of salt if needed.
What Makes This Recipe So Good
- Fast and foolproof: The air fryer gives you tender, flaky fish in minutes.
No splattering oil, no babysitting a pan.
- Fresh, clean flavors: Lemon, garlic, and a touch of butter bring out the mild taste of tilapia without overpowering it.
- Light but satisfying: It’s high in protein and low in calories, but still feels like comfort food.
- Minimal cleanup: One small bowl and your air fryer basket. That’s it.
- Versatile: Works with frozen fillets (thawed first), different herbs, or even other white fish.
Shopping List
- Tilapia fillets (4 small or 2 large, about 1–1.25 pounds total)
- Fresh lemon (zest and juice)
- Garlic (2–3 cloves, minced)
- Olive oil
- Butter (optional but recommended)
- Salt (kosher or sea salt)
- Black pepper
- Paprika (sweet or smoked)
- Dried oregano or Italian seasoning (optional)
- Fresh parsley (for garnish)
- Cooking spray (for the air fryer basket)
- Lemon wedges (for serving)
Instructions
- Preheat the air fryer: Set it to 400°F (200°C). Lightly spray the basket with cooking spray so the fish doesn’t stick.
- Pat the fish dry: Use paper towels to remove surface moisture from the tilapia.
Dry fish gets better color and texture.
- Make the lemon-garlic mix: In a small bowl, combine 1 tablespoon olive oil, 1 tablespoon melted butter, the zest of half a lemon, 1 tablespoon lemon juice, and the minced garlic. Add 1/2 teaspoon salt, 1/4 teaspoon black pepper, 1/2 teaspoon paprika, and 1/2 teaspoon dried oregano if using. Stir well.
- Season the fillets: Brush the mixture evenly over both sides of the tilapia.
If the fillets are very thin, go light on the lemon juice to avoid breaking the flesh.
- Arrange in the air fryer: Place the fillets in a single layer. Don’t overlap. If needed, cook in batches for even results.
- Air fry until flaky: Cook for 7–10 minutes, depending on thickness.
Thin fillets may be done at 6–7 minutes; thicker ones may take 10–11. The fish is done when it flakes easily with a fork and reaches an internal temperature of 145°F (63°C).
- Optional quick baste: Halfway through, open the basket and spoon any juices over the fillets for extra moisture and flavor.
- Finish and serve: Transfer to plates, spoon over any remaining pan juices, and garnish with chopped parsley and fresh lemon wedges. Add an extra pinch of salt if needed.
How to Store
- Refrigerate: Store leftovers in an airtight container for up to 2 days.
Tilapia is delicate, so eat it sooner rather than later.
- Reheat: Warm in the air fryer at 325°F (160°C) for 3–4 minutes, or microwave gently in 20–30 second bursts. Don’t overheat or it will dry out.
- Freeze: Cooked tilapia can be frozen for up to 1 month, but texture may soften. Cool completely, wrap tightly, then freeze.
Thaw in the fridge overnight before reheating.
Benefits of This Recipe
- Weeknight-friendly: From fridge to table in about 20 minutes, including prep.
- Nutrient-dense: Tilapia is a lean protein with B vitamins and minerals, while lemon and garlic add flavor without heavy sauces.
- Budget-conscious: Tilapia is often more affordable than other seafood and widely available.
- No-fuss cooking: Air frying gives you consistent results without guesswork.
- Customizable: Simple base flavors that pair with almost any side dish you have on hand.
What Not to Do
- Don’t overcrowd the basket: Overlapping fillets steam instead of crisping around the edges. Cook in batches if needed.
- Don’t skip drying the fish: Patting dry helps seasoning stick and improves texture.
- Don’t overcook: Tilapia goes from flaky to dry quickly. Check early, especially with thin fillets.
- Don’t rely only on lemon juice: Use zest too.
It adds bright citrus flavor without making the fish watery.
- Don’t add garlic too late: Raw garlic on top at the end can taste harsh. Mix it into the oil-butter blend so it mellows as it cooks.
Variations You Can Try
- Herb-forward: Swap oregano for dill or parsley. Add a bit of chives for a fresh finish.
- Smoky and spicy: Use smoked paprika and a pinch of cayenne or red pepper flakes.
- Lemon-pepper style: Skip paprika and use a generous shake of lemon pepper seasoning with extra zest.
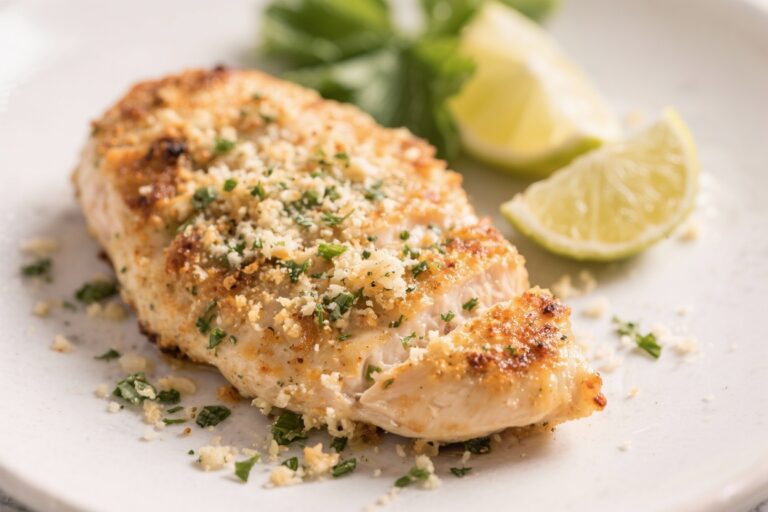
- Parmesan crust: Mix 2 tablespoons grated Parmesan with the seasoning and brush on lightly for a savory edge.
- Butter-free: Make it dairy-free by using only olive oil or a plant-based butter alternative.
- Different fish: Try cod, haddock, or basa.
Adjust time slightly based on thickness.
FAQ
Can I use frozen tilapia?
Yes, but thaw it first for even cooking. Pat it dry well after thawing. If you cook it from frozen, the texture can turn watery and the seasoning won’t stick as well.
How do I know when tilapia is done?
It should flake easily with a fork and look opaque white throughout.
For certainty, use an instant-read thermometer and look for 145°F (63°C) in the thickest part.
What sides go well with this?
Simple sides shine here. Try steamed rice, quinoa, roasted asparagus, sautéed green beans, garlic mashed potatoes, or a crisp garden salad with vinaigrette.
Can I make this without butter?
Absolutely. Use all olive oil.
Butter adds richness, but the lemon and garlic still deliver great flavor on their own.
How do I keep the fish from sticking?
Lightly spray the air fryer basket and make sure the fish is dry before seasoning. You can also place the fillets on a small piece of parchment designed for air fryers.
Is tilapia a strong-tasting fish?
No. Tilapia is mild and slightly sweet, which makes it a great match for lemon and garlic.
It’s perfect if you prefer delicate seafood flavors.
Can I meal prep this?
Yes, though fish is best fresh. Cook the fillets and store them for up to two days. Reheat gently, and add fresh lemon juice right before serving to brighten the flavors.
In Conclusion
Air Fryer Tilapia with Lemon Garlic is the kind of recipe that proves simple can be spectacular.
It’s fast, fresh, and flexible, with bright citrus, warm garlic, and a tender, flaky finish. Keep a few fillets in the fridge or freezer, and you’ll always have a reliable, healthy dinner ready to go. Pair it with your favorite sides, add a squeeze of lemon, and enjoy a restaurant-worthy meal at home with almost no effort.
Printable Recipe Card
Want just the essential recipe details without scrolling through the article? Get our printable recipe card with just the ingredients and instructions.