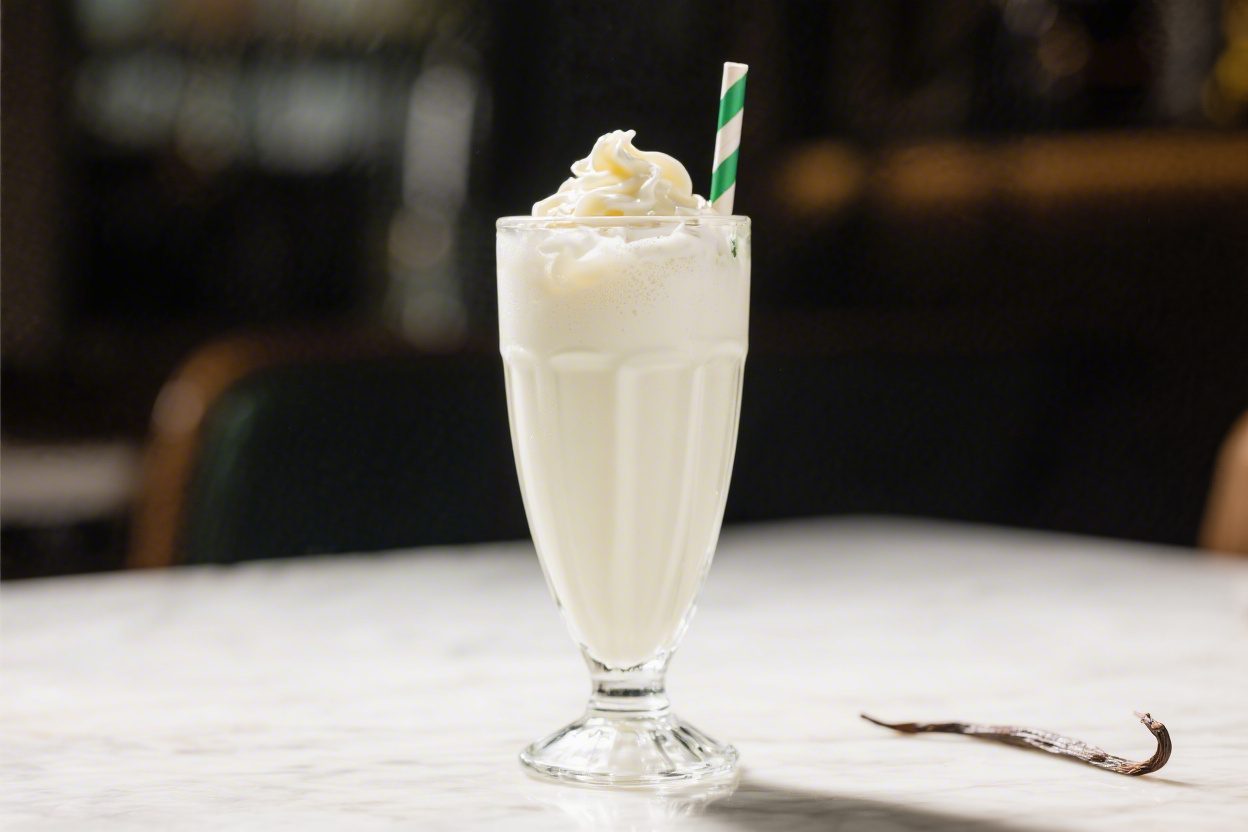
Vanilla Milkshake (Old-Fashioned) – Simple, Creamy, and Classic
Nothing beats a cold, frothy vanilla milkshake made the old-fashioned way. It’s the kind of treat that feels nostalgic and comforting, like something you’d order at a diner with a cherry on top. This version keeps things simple: a short ingredient list, balanced sweetness, and that thick, scoopable texture.
You don’t need fancy tools or techniques—just good ice cream, real vanilla, and a blender. Whether you’re making it for dessert, a weekend treat, or a little pick-me-up, this recipe delivers pure, creamy joy.
Ingredients
Method
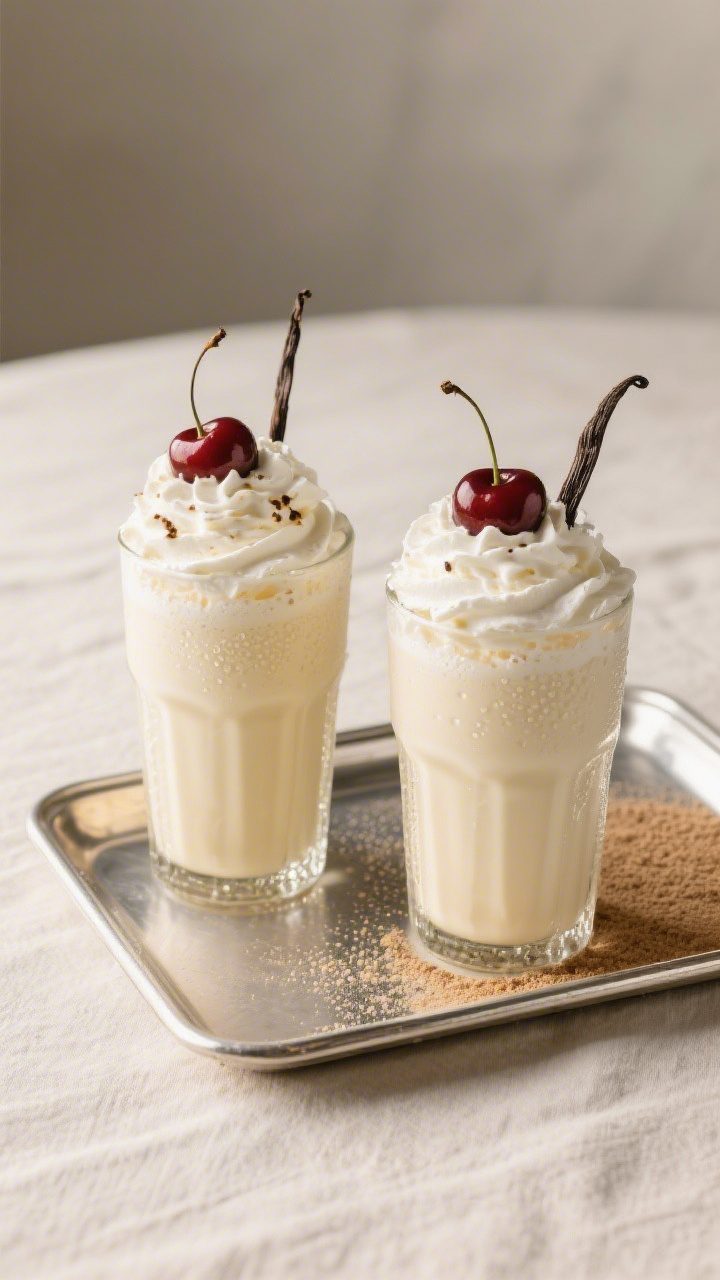
- Chill your glasses. Pop two tall glasses into the freezer while you prep. Cold glasses help keep the shake thick and frosty.
- Soften the ice cream slightly. Let the ice cream sit on the counter for 2–3 minutes so it blends smoothly without over-mixing.
- Add ingredients to the blender. Start with 3/4 cup cold whole milk, then add the ice cream, vanilla extract, optional sugar, and a tiny pinch of salt.
- Blend briefly. Pulse on low until just combined and creamy, about 10–20 seconds. Avoid over-blending or it can get thin.
- Adjust texture. For thicker, add another scoop of ice cream. For thinner, splash in a little more milk. Blend 3–5 seconds after each adjustment.
- Taste and tweak. If it needs more vanilla or sweetness, add a touch and blend for a few seconds. Keep it balanced, not syrupy.
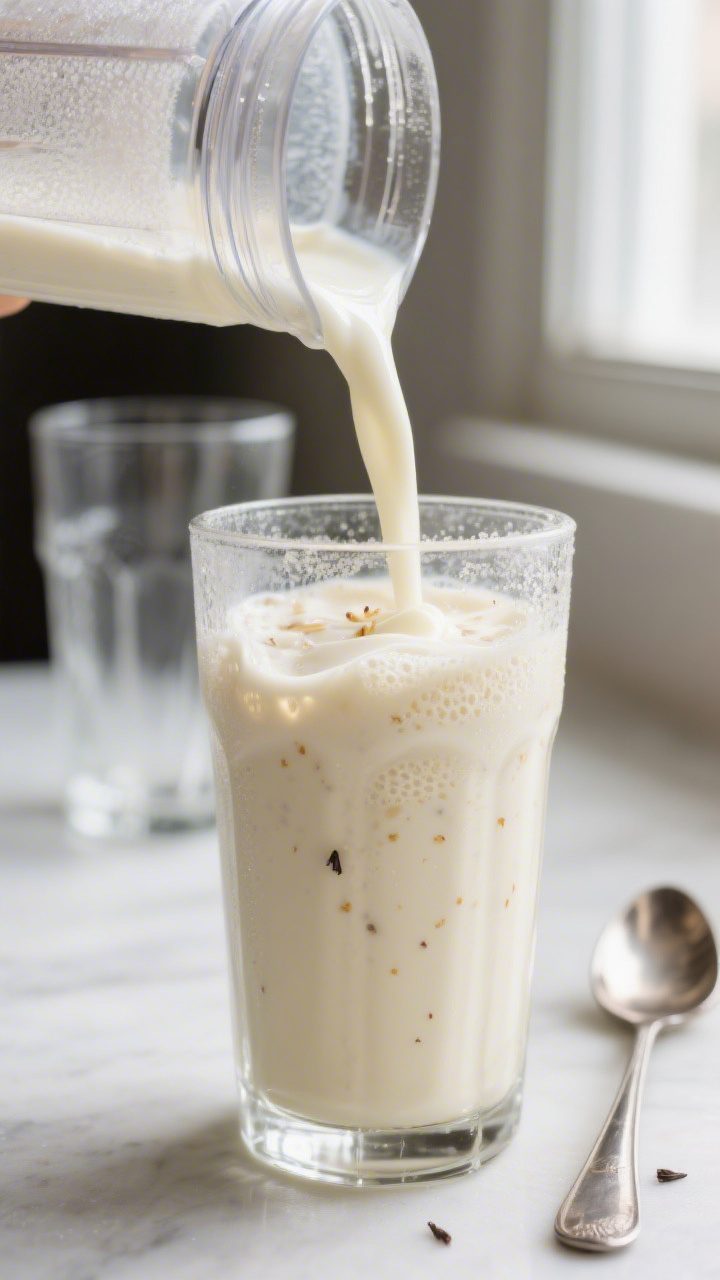
- Serve immediately. Pour into chilled glasses. Top with whipped cream and a cherry if you like. Add a wide straw or a long spoon.
What Makes This Special
This milkshake leans into the classics: thick, cold, and unapologetically vanilla. Instead of loading it with syrups, it highlights real vanilla flavor and the natural creaminess of quality ice cream.
The texture is key—thick enough to hold a straw, but still sippable. It’s also easy to customize, so you can tweak sweetness, thickness, and flavor to match your taste. And best of all, it comes together in under five minutes.
Shopping List
- Vanilla ice cream (high-quality, full-fat; 3 cups/about 6 large scoops)
- Whole milk (3/4 to 1 cup, cold)
- Pure vanilla extract (1 to 1 1/2 teaspoons)
- Sugar or simple syrup (optional, 1 to 2 teaspoons, to taste)
- Pinch of salt (optional, enhances flavor)
- Whipped cream (optional, for topping)
- Maraschino cherry (optional, classic finish)
Step-by-Step Instructions
- Chill your glasses. Pop two tall glasses into the freezer while you prep.
Cold glasses help keep the shake thick and frosty.
- Soften the ice cream slightly. Let the ice cream sit on the counter for 2–3 minutes so it blends smoothly without over-mixing.
- Add ingredients to the blender. Start with 3/4 cup cold whole milk, then add the ice cream, vanilla extract, optional sugar, and a tiny pinch of salt.
- Blend briefly. Pulse on low until just combined and creamy, about 10–20 seconds. Avoid over-blending or it can get thin.
- Adjust texture. For thicker, add another scoop of ice cream. For thinner, splash in a little more milk.
Blend 3–5 seconds after each adjustment.
- Taste and tweak. If it needs more vanilla or sweetness, add a touch and blend for a few seconds. Keep it balanced, not syrupy.
- Serve immediately. Pour into chilled glasses. Top with whipped cream and a cherry if you like.
Add a wide straw or a long spoon.
Keeping It Fresh
Milkshakes are best enjoyed right away. If you need to hold it for a bit, keep it in the freezer for 10–15 minutes and stir before serving. For a short make-ahead option, blend it slightly thicker than you want, freeze for 20–30 minutes, then stir or re-blend for a few seconds.
Avoid storing overnight—ice crystals will form and the texture turns icy, not creamy.
Why This is Good for You
This is a treat, not a health drink, and that’s okay. Still, there are a few simple upsides. Using high-quality dairy gives you protein and calcium, and keeping the ingredient list short means no artificial flavors or stabilizers if you choose good brands.
You’re also in full control of sweetness—a small pinch of sugar can brighten the vanilla without overdoing it.
Pitfalls to Watch Out For
- Over-blending: Too long in the blender warms the mixture and makes it thin. Short bursts are best.
- Too much milk: It’s tempting to pour in more, but it can turn your shake into vanilla milk. Add slowly.
- Weak vanilla: Low-quality extract can taste flat.
Use pure vanilla extract, not imitation, for best flavor.
- Warm glasses: Serving in room-temp glasses makes it melt faster. Chill them if you can.
- Old ice cream: Freezer-burned ice cream brings off-flavors and icy bits. Fresh, sealed tubs work best.
Variations You Can Try
- Malt Shop Style: Add 1–2 tablespoons malted milk powder for that nostalgic diner flavor.
- Vanilla Bean Boost: Split and scrape half a vanilla bean into the blender for specks and a deeper aroma.
- Lightened Version: Use 2% milk and a lighter ice cream.
Blend gently to maintain body.
- Extra-Rich: Swap 2–3 tablespoons of milk with heavy cream for a luxe finish.
- Salted Honey: Replace sugar with 1 teaspoon honey and a slightly larger pinch of salt.
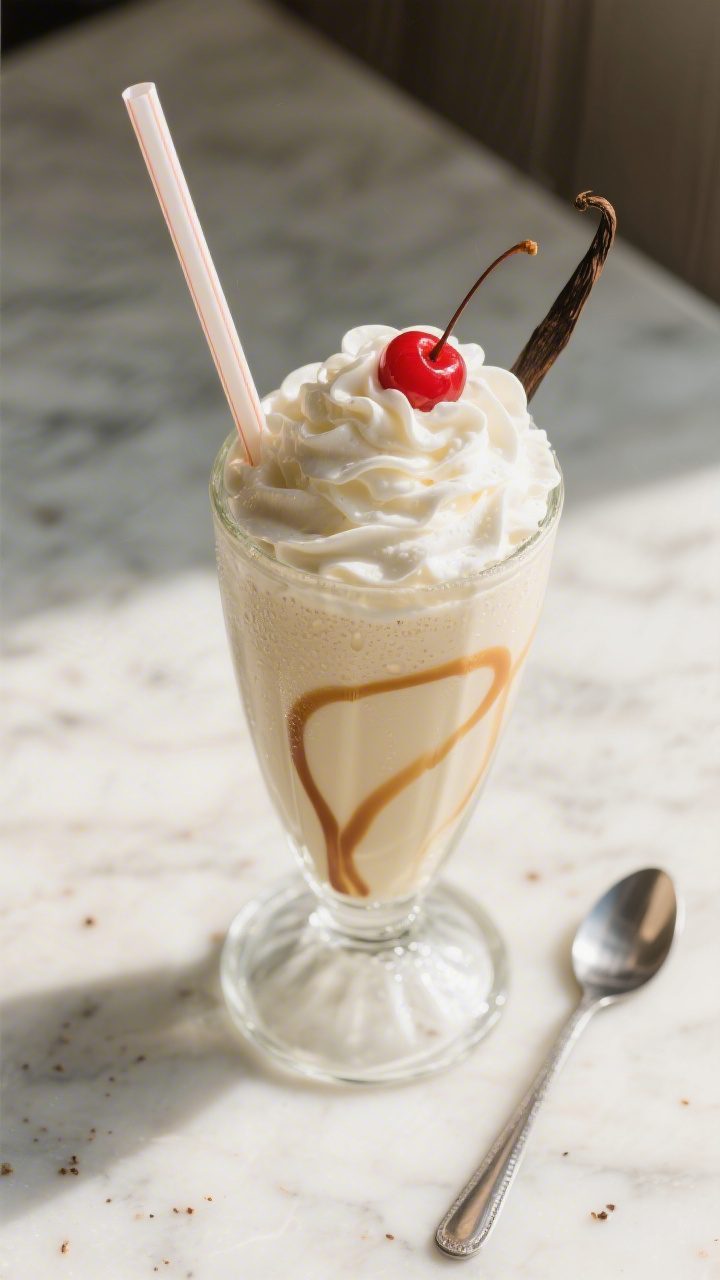
- Caramel Ribbon: Drizzle caramel sauce into the glass before pouring for a swirl effect.
- Coffee Kick: Add 2–3 tablespoons cold brew for a subtle mocha-vanilla vibe.
- Dairy-Free: Use a rich vanilla oat or coconut ice cream with almond or oat milk. Add a pinch of salt to balance sweetness.
- Protein Twist: Add half a scoop neutral or vanilla whey and a splash more milk; don’t over-blend.
FAQ
How do I make my milkshake thicker?
Use more ice cream and less milk, and keep everything cold. If it’s too thin, add a scoop of ice cream and blend for just a few seconds.
Chilling your glasses also helps keep the texture thick.
Can I make this without a blender?
Yes. Soften the ice cream a bit and whisk it hard with cold milk in a large bowl, or use an immersion blender. It takes more effort, but you’ll still get a smooth, creamy result.
What kind of vanilla extract should I use?
Use pure vanilla extract for the best flavor.
If you have vanilla paste or a scraped vanilla bean, even better—use about the same amount as extract for a stronger, more complex vanilla taste.
Is there a way to cut the sweetness?
Choose a less-sweet ice cream and skip added sugar. A tiny pinch of salt can also round out the flavor so it tastes balanced rather than sugary.
Why does my milkshake separate or get icy?
Over-blending can warm the mixture, and refreezing can create ice crystals. Blend just until smooth and enjoy right away.
If you must hold it, freeze briefly and stir before serving.
What’s the best ice cream to use?
Full-fat, high-quality vanilla ice cream with simple ingredients works best. Look for options labeled “vanilla bean” or “French vanilla” if you like a richer flavor.
Can I make this for a crowd?
Yes. Blend in batches and keep each batch in the freezer for 10 minutes to hold.
Stir before serving and top individually with whipped cream and cherries.
How can I make it taste like a classic diner milkshake?
Add malted milk powder, use whole milk, and keep the blend time short for that thick, creamy, old-school texture. Serve in a chilled tall glass with a metal spoon and a cherry on top.
In Conclusion
An old-fashioned vanilla milkshake is simple, satisfying, and timeless. With a few quality ingredients and a gentle hand on the blender, you get a thick, creamy shake that tastes like pure vanilla bliss.
Keep it classic or make it your own with easy tweaks. Either way, it’s a quick treat that always feels special.
Printable Recipe Card
Want just the essential recipe details without scrolling through the article? Get our printable recipe card with just the ingredients and instructions.